Love this? Save it for later!
Share the inspiration with your friends
“You know,” my neighbor Jenna said one sunny Saturday morning, “I’m terrible at mixing drinks, but I want something festive for Mom’s brunch.” She had just moved in and was juggling a toddler and a hectic work schedule. When I suggested a mimosa bar, she raised an eyebrow and admitted she thought it was complicated. Honestly, I get it—mimosa bars can sound fancy or intimidating, especially if you’re new to hosting. But this Easy 2-Ingredient Beginner Mimosa Bar for Mother’s Day Brunch changed everything for her, and it might just do the same for you.
It wasn’t some grand plan or a professional cocktail class that got me here. Instead, it was a last-minute idea on a busy Friday afternoon when I realized I forgot to buy a gift for my mom’s brunch the next day. I had sparkling wine and a few juices lying around, so I decided to keep it ridiculously simple. The result? A cheerful, colorful spread that made everyone smile without any fuss or stress. Maybe you’ve been there—rushing, juggling, wondering how to make something special without a million steps or ingredients.
This mimosa bar is perfect for beginners and anyone who wants to impress without the mess. Plus, it’s flexible—you can add fresh fruit if you want, but really, two ingredients are all you need to get the party started. Jenna tried it the next weekend, and her mom couldn’t stop raving about how thoughtful and delicious the brunch was. Honestly, that cracked bowl on the counter and a spilled juice bottle were totally worth it. Let me tell you, this simple idea stuck with me because it’s proof that you don’t need a bartender’s toolkit to make something memorable, just a little sparkle and a splash of juice.
Why You’ll Love This Recipe
This Easy 2-Ingredient Beginner Mimosa Bar for Mother’s Day Brunch has quickly become my go-to for several reasons. It’s not just about convenience; it’s about making a festive, refreshing drink that anyone can whip up without breaking a sweat. Here’s why this recipe stands out:
- Quick & Easy: Comes together in under 10 minutes, perfect for busy mornings or last-minute plans.
- Simple Ingredients: Just sparkling wine and your choice of fruit juice—no fancy mixers or syrups required.
- Perfect for Mother’s Day Brunch: Adds a festive touch without taking over your kitchen time.
- Crowd-Pleaser: Loved by all ages, from the mimosa novices to the seasoned sippers.
- Unbelievably Delicious: The bubbly sparkle with fresh juice creates a light, refreshing flavor that feels indulgent but not heavy.
What really makes this mimosa bar different is how beginner-friendly it is. You don’t need a cocktail shaker or a lineup of ingredients; just pour, mix, and enjoy. The balance is perfect—no overpowering sweetness or dryness. It’s like the classic brunch drink but with zero stress. Plus, I often suggest adding a splash of fresh orange juice or a few frozen berries for an easy upgrade without complicating things. This recipe isn’t just good—it’s the kind that makes you pause and smile after the first sip.
What Ingredients You Will Need
For this Easy 2-Ingredient Beginner Mimosa Bar, the ingredients are straightforward, pantry-friendly, and easy to source. Each plays a key role in creating that perfect bubbly and fruity combo that mimosa lovers crave.
- Sparkling Wine or Champagne (750 ml bottle): Choose a dry or brut sparkling wine for the best balance. I personally recommend La Marca Prosecco for its crisp bubbles and approachable price. If you prefer a non-alcoholic version, sparkling white grape juice works great too.
- Fruit Juice (3 cups / 720 ml): Traditionally, orange juice is the star here. Freshly squeezed is ideal if you have the time (and patience!), but a good-quality store-bought variety like Tropicana Pure Premium will do just fine. For more variety, consider pineapple juice, cranberry juice, or even peach nectar.
Optional additions you might want to have on hand if you’re feeling adventurous:
- Fresh Fruit Garnishes: Orange slices, strawberries, or raspberries add a pop of color and subtle flavor.
- Herbs: A sprig of mint or basil can bring a fresh note to your mimosa glasses.
Substitution tips:
- Use almond juice or coconut water for a different twist on the juice base.
- Swap sparkling wine for non-alcoholic sparkling cider to make it kid-friendly or for guests who don’t drink alcohol.
Keep in mind, the key to a successful mimosa bar is quality sparkling wine and juice you actually enjoy drinking by themselves. That way, the combo shines even with just two ingredients.
Equipment Needed
- Champagne Flutes or Glasses: Narrow glasses help hold the bubbles longer and look fancy without effort. If you don’t have flutes, any tall glass will do.
- Pitchers or Carafes: To hold and display your juice options. I find clear glass pitchers add to the visual appeal and make it easy for guests to pour themselves.
- Ice Bucket or Cooler: Keeps your sparkling wine chilled throughout the brunch. If you don’t own a formal bucket, a bowl with ice works just fine.
- Small Bowls for Garnishes: For fresh fruit or herbs. Nothing fancy needed—use what you have.
Optional but nice-to-have:
- Measuring Cups: To pour juice accurately if you prefer consistent ratios.
- Small Spoons or Tongs: For picking up fruit garnishes without sticky fingers.
Honestly, you can set this bar up with minimal equipment. I’ve hosted mimosa bars just using whatever glasses and bowls I had around, and it worked beautifully. The key is presentation and keeping everything chilled. If you’re curious about hosting other brunch drinks, my crispy garlic chicken recipe pairs well with easy cocktails for casual gatherings.
Preparation Method
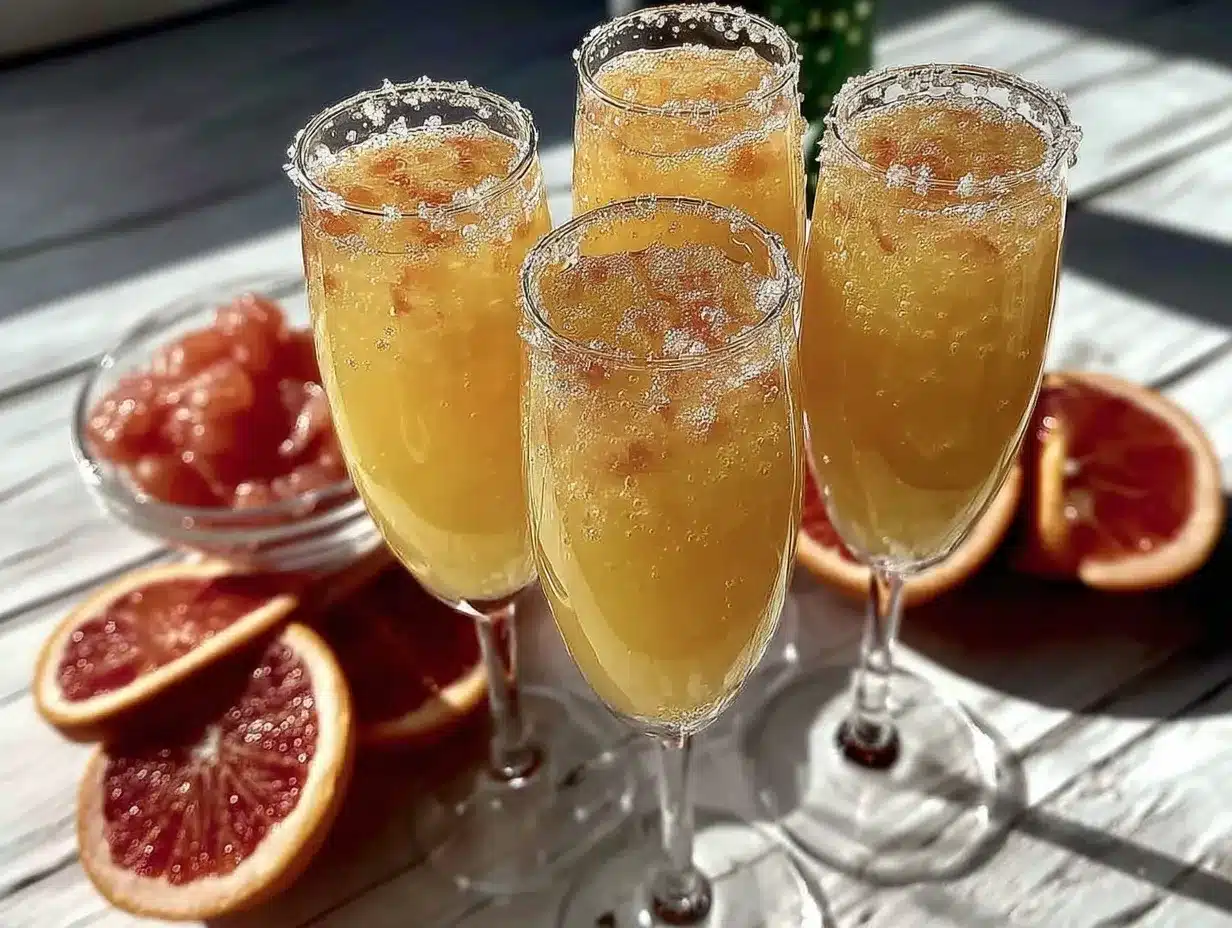
- Chill Your Sparkling Wine: Place your bottle of sparkling wine or Prosecco in the fridge for at least 3 hours before serving. Ideally, you want it between 45-50°F (7-10°C). If you’re short on time, an ice bucket with water and ice cubes for 20-30 minutes does the trick.
- Prepare Your Juice Options: Pour your chosen juice(s) into pitchers or carafes. If you want to keep things classic, just orange juice works perfectly. For variety, have a second pitcher with pineapple or cranberry juice. Keep these chilled in the fridge until ready.
- Set Up Your Mimosa Bar: Arrange the pitchers, chilled sparkling wine, glasses, and garnishes on your table or counter. Place fruit slices in small bowls with tongs or spoons. I like to add a few ice cubes in a bowl for guests who want to cool their glasses further.
- Mixing the Mimosas: Guests or you can pour about ⅓ to ½ cup (80-120 ml) of juice into a flute, then top with sparkling wine. The ideal ratio is roughly 1 part juice to 2 parts sparkling wine, but feel free to adjust based on taste. Pour gently down the side of the glass to keep bubbles lively.
- Garnish and Serve: Add a slice of orange or a few berries to each glass for a festive touch. If using herbs, a sprig of mint looks lovely and smells fresh.
Pro tip: Don’t fill the glasses all the way to the top. Leave a little space to prevent spills and to keep the bubbles from overflowing. If the sparkling wine fizzes too aggressively, pour slower or tilt the glass slightly.
Last time I hosted, my cat decided to jump on the table mid-pour (classic!), but the mimosa bar stayed intact and the guests loved the laid-back vibe. It reminds me that easy entertaining doesn’t mean perfect—it’s about fun and flavor.
Cooking Tips & Techniques
When setting up a mimosa bar, timing and presentation are key. Here are some tips to make your experience smooth and enjoyable:
- Keep Everything Cold: Sparkling wine loses its fizz quickly if warm. Keep bottles chilled until pouring and consider adding a bowl of ice near the bar for juice pitchers.
- Pour Slowly: Pour sparkling wine gently down the side of the glass to preserve bubbles and prevent foam overflow.
- Fresh Juice vs. Store-Bought: Freshly squeezed juice offers the brightest flavor but can be more tart. Store-bought juice is sweeter and consistent. I’ve tried both and liked the balance of fresh juice mixed with a splash of sweeter juice on occasion.
- Don’t Overfill Glasses: Leaving room prevents spills and lets guests add garnishes comfortably.
- Multitasking: Set up your mimosa bar before guests arrive so you’re free to entertain. I usually prepare the garnishes last to keep fruit fresh and vibrant.
- Watch for Common Mistakes: Avoid using overly sweet sparkling wines, which can make the drink cloying. Also, don’t mix juices ahead of time to keep flavors fresh.
From my experience, a little prep goes a long way. Once set, your mimosa bar practically runs itself, and you can focus on enjoying the celebration.
Variations & Adaptations
This Easy 2-Ingredient Beginner Mimosa Bar is super flexible and can be tuned to match your style or dietary needs. Here are some variations I’ve played around with:
- Seasonal Twist: Swap orange juice for fresh peach nectar in summer or pomegranate juice in the fall. Both add festive colors and flavors.
- Low-Sugar Option: Use sparkling water mixed with a splash of 100% fruit juice instead of sparkling wine for a lighter, lower-calorie drink.
- Herbal Infusions: Add a sprig of rosemary or lavender to your juice pitcher for a subtle floral note. It’s a fun way to make the bar feel more upscale without complexity.
- Mocktail Mimosa: Use non-alcoholic sparkling cider instead of wine for a kid-friendly or designated driver-friendly option.
Personally, I once mixed pineapple juice with sparkling rosé for a bright, tropical feel that was a hit at a summer brunch. It’s easy to switch things up to fit your mood or guest preferences.
Serving & Storage Suggestions
Serve your mimosas immediately after mixing to enjoy the freshest bubbles and best flavor. Champagne flutes look fantastic when garnished with a thin orange wheel or a strawberry on the rim. For a casual vibe, any tall glass will do, but the presentation does add a little sparkle (pun intended).
If you have leftovers, sparkling wine doesn’t keep well once opened—best to finish within a few hours. Leftover juice can be refrigerated in a sealed container for up to 3 days. For chilled storage, keep your juice in the fridge and your sparkling wine in an ice bucket or fridge between refills.
To reheat (if you want a warm brunch mimosa twist), gently warm the juice but never the sparkling wine—it kills the bubbles. I prefer to keep everything chilled to preserve that refreshing zing.
Nutritional Information & Benefits
Here’s a ballpark for one 6-ounce (180 ml) mimosa made with brut sparkling wine and orange juice:
| Calories | Approximately 90-110 |
|---|---|
| Carbohydrates | About 8-12 grams (mainly from fruit juice) |
| Sugar | 7-10 grams |
| Alcohol Content | About 8-12% (varies by wine) |
Orange juice offers vitamin C and antioxidants, which can give a little immune boost while keeping things light. Using a brut or dry sparkling wine keeps sugars lower than sweeter varieties. For those with dietary restrictions, swapping to non-alcoholic sparkling cider or juice makes this accessible for everyone.
Conclusion
This Easy 2-Ingredient Beginner Mimosa Bar for Mother’s Day Brunch is proof that you don’t need complicated recipes or a stocked bar to make a festive, joyful celebration. The simplicity is the charm—you get delicious, bubbly drinks with minimal effort and maximum smiles. Customize it with your favorite juices or garnishes, and it’ll feel uniquely yours.
I love this recipe because it reminds me that sometimes the best moments come from the easiest ideas. If you give it a try, drop a comment below and tell me which juice combo you loved most or how you made it your own. Let’s raise a glass to effortless hosting and happy Mother’s Days!
FAQs About Easy 2-Ingredient Mimosa Bars
What juices work best for a mimosa bar?
Orange juice is classic, but you can also use pineapple, cranberry, peach nectar, or pomegranate juice. Choose 100% juice without added sugars for the best flavor.
Can I make a mimosa bar non-alcoholic?
Absolutely! Substitute sparkling wine with non-alcoholic sparkling cider, grape juice, or soda water to keep the bubbly vibe without alcohol.
How do I keep the sparkling wine bubbly longer?
Keep the bottle chilled until serving, pour gently down the side of the glass, and avoid overfilling. Use narrow glasses like flutes to hold bubbles better.
Can I prepare the mimosa bar the night before?
Set up the table and garnishes the night before, but keep sparkling wine and juice refrigerated separately. Pour the drinks fresh just before serving for best bubbles and flavor.
What’s the ideal mimosa ratio?
A good starting point is about 1 part juice to 2 parts sparkling wine, but feel free to adjust based on your taste—some like it fruitier, others prefer more fizz.
Pin This Recipe!
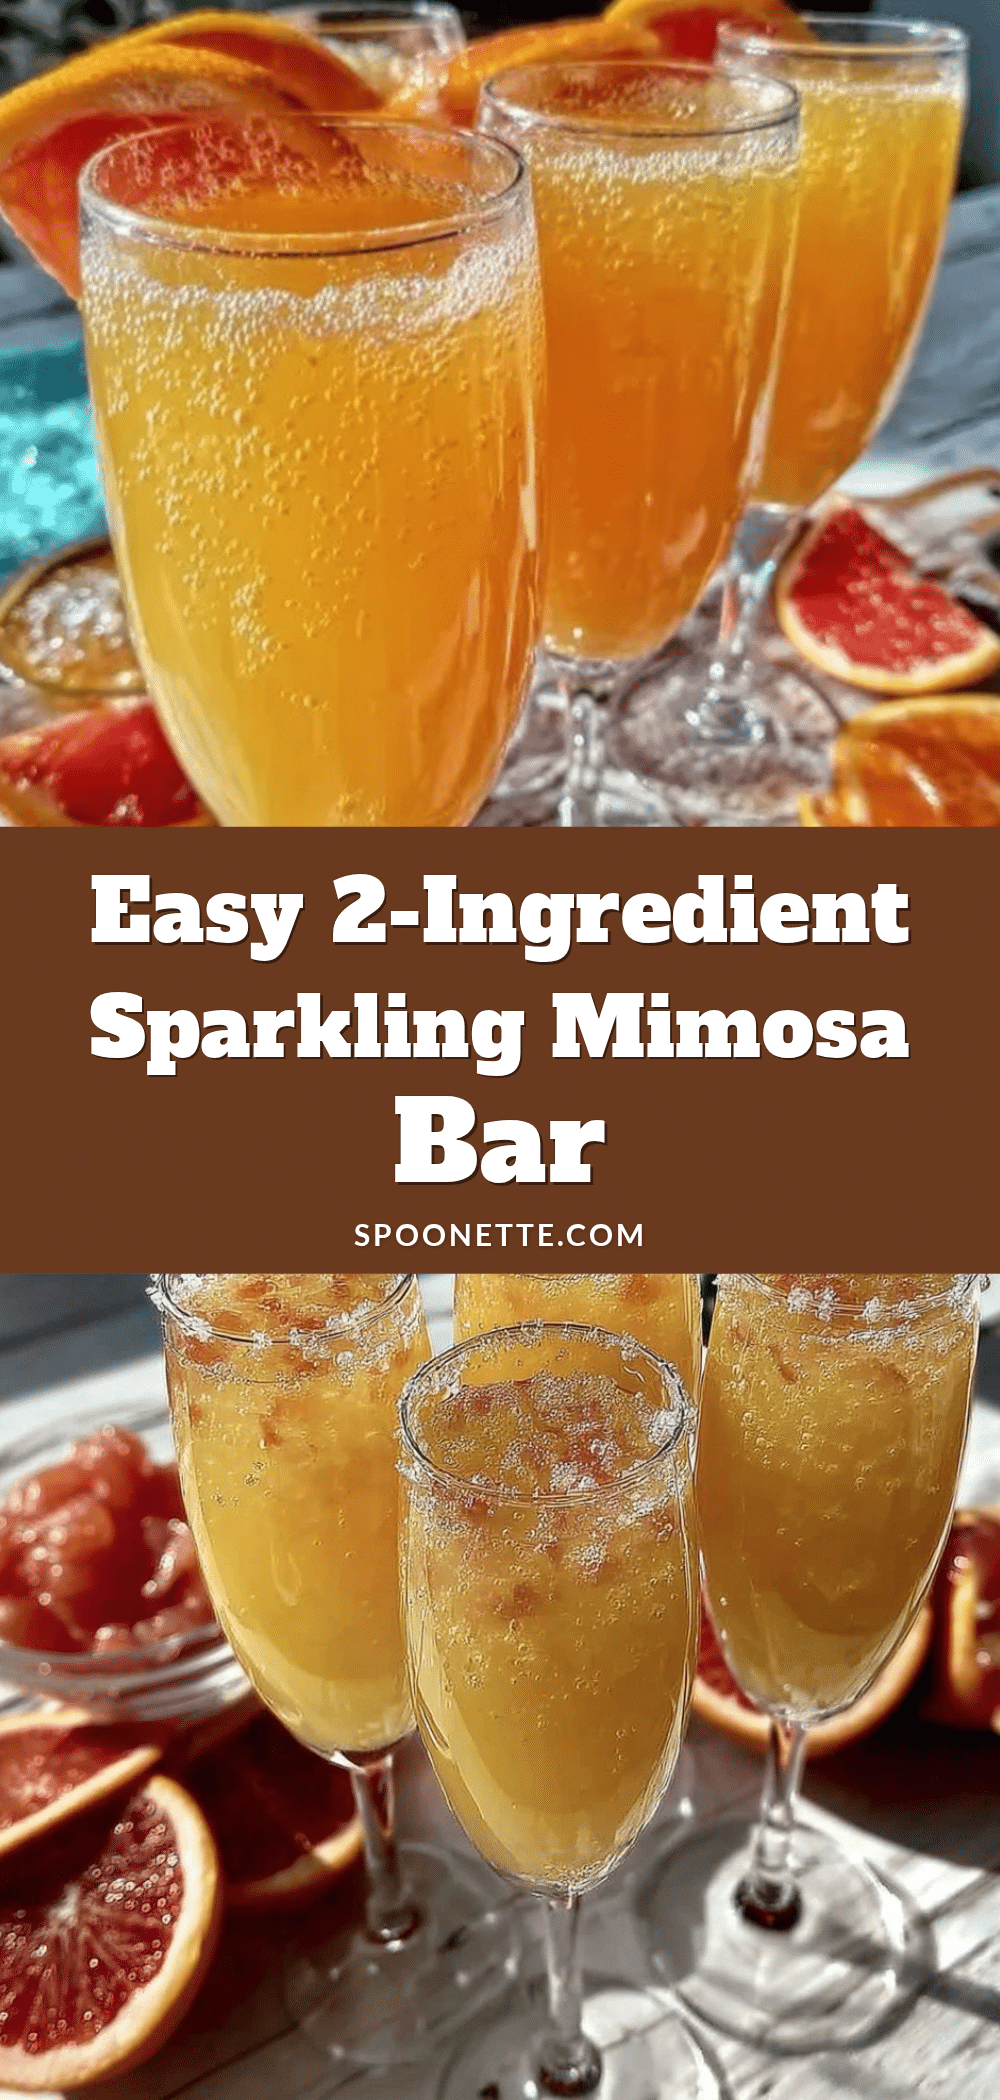
Easy 2-Ingredient Mimosa Bar Recipe for Mother’s Day Brunch Ideas
A simple and beginner-friendly mimosa bar recipe using just sparkling wine and fruit juice, perfect for Mother’s Day brunch or any festive occasion.
- Prep Time: 10 minutes
- Cook Time: 0 minutes
- Total Time: 10 minutes
- Yield: 6 servings 1x
- Category: Beverage
- Cuisine: American
Ingredients
- 750 ml bottle sparkling wine or champagne (dry or brut)
- 3 cups (720 ml) fruit juice (orange juice recommended, or pineapple, cranberry, peach nectar)
- Optional fresh fruit garnishes (orange slices, strawberries, raspberries)
- Optional herbs (mint, basil)
Instructions
- Chill your sparkling wine or Prosecco in the fridge for at least 3 hours or in an ice bucket for 20-30 minutes until 45-50°F (7-10°C).
- Pour chosen juice(s) into pitchers or carafes and keep chilled in the fridge.
- Set up the mimosa bar with pitchers, chilled sparkling wine, glasses, and garnishes arranged on the table.
- Pour about ⅓ to ½ cup (80-120 ml) of juice into a flute, then top with sparkling wine using a ratio of roughly 1 part juice to 2 parts sparkling wine.
- Garnish each glass with a slice of orange, berries, or a sprig of herbs and serve immediately.
Notes
Keep sparkling wine chilled until serving to preserve bubbles. Pour sparkling wine gently down the side of the glass to avoid foam overflow. Do not overfill glasses to prevent spills. Fresh juice offers brighter flavor but store-bought juice is fine. Leftover juice can be refrigerated up to 3 days; sparkling wine is best consumed within a few hours after opening.
Nutrition
- Serving Size: 1 mimosa (6 oz / 180
- Calories: 90110
- Sugar: 710
- Carbohydrates: 812
Keywords: mimosa, mimosa bar, Mother's Day brunch, sparkling wine, easy cocktail, brunch drinks, beginner cocktail, 2-ingredient mimosa



