Love this? Save it for later!
Share the inspiration with your friends
“I was barely awake, standing in my tiny apartment kitchen, when my phone buzzed with a last-minute invite to a picnic downtown. Honestly, I had zero time, no energy, and definitely no intention to cook anything fancy. That’s when I stumbled on what I now call my ‘Easy No-Cook Beginner Lunch Wrap Formula.’ It was a total lifesaver—three minutes, no heat, zero stress, and surprisingly tasty.
You know that feeling when you’re staring blankly into the fridge, wondering how to turn a few odds and ends into something edible? That was me that morning, juggling a half-squeezed lemon, some leftover greens, and a sad little packet of cream cheese. Somehow, these basic things came together perfectly wrapped in a tortilla, and just like that, my picnic hero was born.
Funny enough, I almost forgot the wraps on the counter when I rushed out the door, but the crunch and fresh flavors kept me coming back for more. If you’ve ever felt flustered by lunchtime or craved something simple yet satisfying, trust me, this easy no-cook beginner lunch wrap isn’t just a recipe—it’s a quick fix you’ll want on speed dial.”
Why You’ll Love This Recipe
After trying countless lunch ideas during my busy weeks, this easy no-cook beginner lunch wrap formula stands out for a bunch of reasons. I’ve tested it over and over, tweaking it for better flavor and speed, and honestly, it’s become my go-to for quick meals that don’t feel like a compromise.
- Quick & Easy: Comes together in under 3 minutes—perfect for those hectic days or last-minute hunger pangs.
- Simple Ingredients: No fancy or hard-to-find items. You probably already have everything in your kitchen.
- Perfect for Any Occasion: Great for packed lunches, picnics, office meals, or even a lazy weekend treat.
- Crowd-Pleaser: Whether it’s kids, coworkers, or friends, this wrap always gets nods of approval.
- Unbelievably Delicious: The fresh, crisp textures mixed with creamy and tangy flavors hit that comfort-food spot without fuss.
This isn’t just another sandwich or wrap—it’s a formula that lets you build endless variations. The secret is in balancing texture and flavor quickly, without turning on a stove or oven. I mean, who doesn’t want a no-cook recipe that’s foolproof and actually tastes like you put effort into it? Plus, it’s super forgiving, so even if you’re a beginner in the kitchen, you can’t really mess this up.
What Ingredients You Will Need
This recipe uses simple, wholesome ingredients to deliver bold flavor and satisfying texture without the fuss. Most are pantry staples or easy to find at any grocery store. Feel free to swap or skip based on what you have on hand!
- Large flour tortillas: Soft and pliable, about 10-inch diameter. I prefer Mission brand for their perfect size and texture.
- Leafy greens: Romaine, spinach, or spring mix—adds freshness and crunch. Choose firm, fresh leaves for best results.
- Cream cheese, softened: Adds creaminess and helps bind the wrap. You can use dairy-free cream cheese if preferred.
- Sliced deli turkey or chicken: Optional but adds protein and substance. Thinly sliced for easy folding.
- Shredded carrots: For a sweet crunch and color pop.
- Thinly sliced cucumber: Provides a cool, crisp bite.
- Avocado slices or mashed avocado: Adds richness and a silky texture. Use ripe but firm avocado.
- Fresh herbs (optional): Cilantro or parsley for a bright flavor lift.
- Lemon juice or your favorite vinaigrette: Just a splash to brighten the flavors.
- Salt and pepper: To taste, simple but essential seasoning.
If you’re looking for variations, you can swap the flour tortilla with whole wheat or gluten-free wraps. For a vegetarian version, replace the deli meat with sliced roasted veggies or hummus. Honestly, this formula is flexible enough to suit many tastes and diets.
Equipment Needed
You don’t need much to whip up this easy no-cook beginner lunch wrap. Here’s what I use:
- A sharp kitchen knife for slicing veggies and avocado precisely.
- A cutting board—preferably one with a non-slip base, so it feels steady when you’re chopping quickly.
- A small bowl for mixing cream cheese with lemon juice or any seasoning you want to add.
- A spatula or butter knife for spreading the cream cheese evenly on the tortilla.
- An optional wrap press or just your hands to fold everything neatly.
If you don’t have a knife that’s super sharp, no worries—just take your time slicing. I’ve even used a serrated bread knife in a pinch. And if you’re working with kids or beginners, plastic knives with safe edges work well for the softer veggies.
Preparation Method
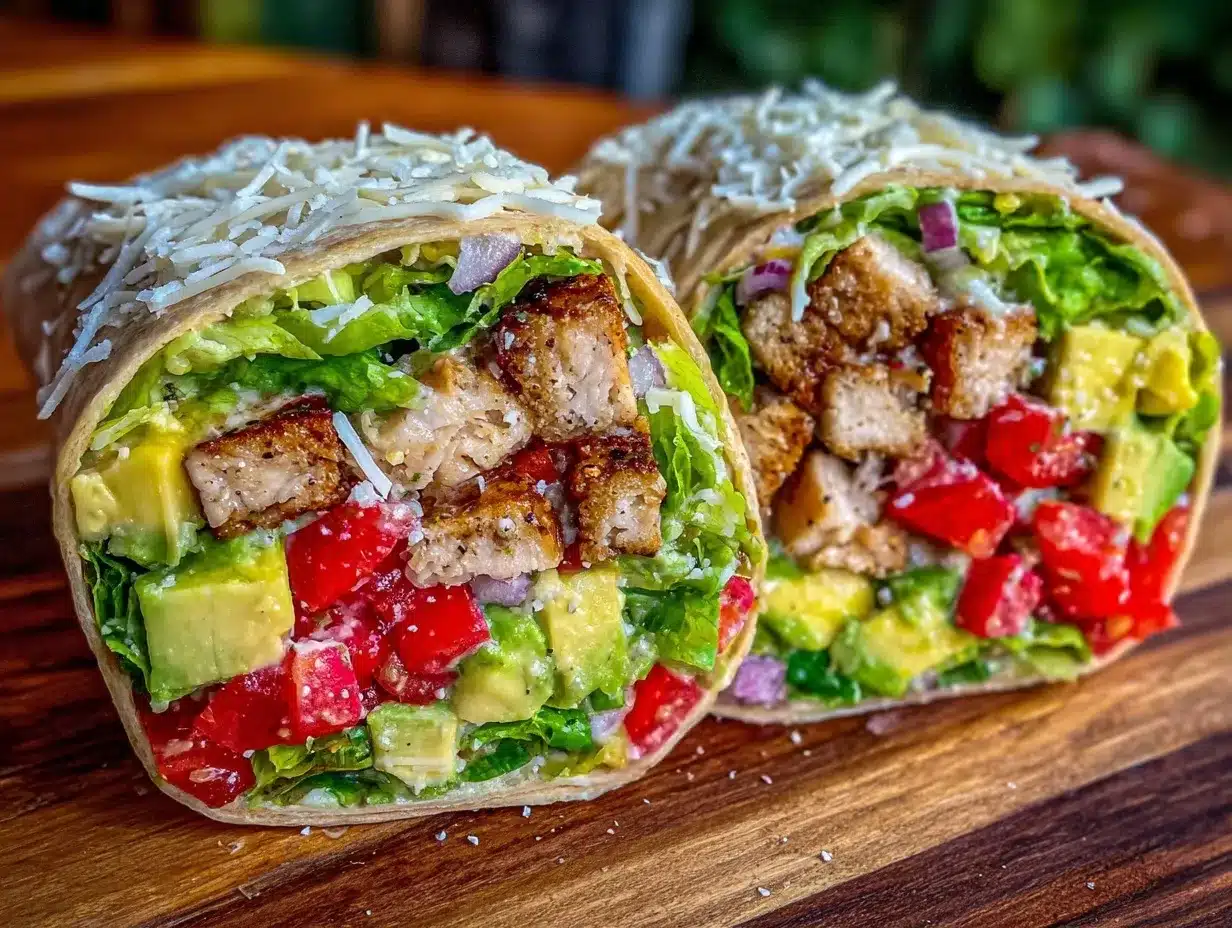
- Prep your ingredients (about 2 minutes): Lay out the large flour tortilla flat on your clean surface. Wash and dry your leafy greens thoroughly to avoid soggy wraps. Thinly slice cucumbers, shred carrots, and slice or mash the avocado. If using deli meat, arrange slices so they’re ready to layer.
- Mix the spread (30 seconds): In a small bowl, soften the cream cheese with a splash of lemon juice and a pinch of salt and pepper. Stir until smooth and spreadable. This little step adds a zesty kick that brightens the wrap and keeps everything moist.
- Assemble the wrap (1 minute): Spread the cream cheese mixture evenly over the entire tortilla, leaving about a half-inch border around the edges to prevent overflow. Layer your greens first, then add the deli meat (if using), followed by carrots, cucumber slices, and avocado. Scatter fresh herbs on top if you have them.
- Season and fold (30 seconds): Give a quick sprinkle of salt and pepper for that final flavor boost. Fold in the sides and then roll the tortilla tightly from one end to the other. The cream cheese acts like glue, helping the wrap hold together neatly.
- Slice and serve: Use a sharp knife to cut the wrap in half diagonally. Serve immediately or wrap tightly in parchment paper or plastic wrap if taking it on-the-go.
Pro tip: If your tortilla feels a bit stiff, warm it slightly in the microwave for 5-7 seconds before spreading. This makes rolling easier and prevents cracking. And trust me, the texture of the finished wrap should feel light but with a satisfying bite—not soggy or limp.
Cooking Tips & Techniques
Even though this recipe is no-cook, a few simple techniques make a big difference. First, always dry your greens well. I learned the hard way that wet lettuce turns wraps soggy fast. A salad spinner works wonders here.
When spreading the cream cheese, don’t rush—an even layer prevents dry spots and keeps every bite flavorful. Also, layering is key: putting greens first creates a moisture barrier, helping the tortilla stay firm longer.
Be mindful of avocado ripeness. Too ripe and it turns mushy; too firm and it’s hard to bite through. I usually pick avocados that yield slightly when pressed gently.
Rolling tightly but gently is an art. Too loose and the wrap falls apart; too tight and you squish the ingredients flat. I’ve found a gentle but snug roll keeps everything intact and pretty to look at.
Finally, if you want to prep ahead, wrap your assembled lunch wrap tightly in parchment and refrigerate for up to 4 hours. Just slice right before serving for the freshest experience.
Variations & Adaptations
- Vegetarian: Skip the deli meat and add hummus or roasted chickpeas for protein. Toss in some shredded cheese or sliced bell peppers for extra flavor.
- Gluten-Free: Use gluten-free tortillas or large lettuce leaves as a wrap substitute. Butter lettuce or collard greens work great as sturdy, fresh alternatives.
- Spicy Kick: Add a drizzle of hot sauce or sprinkle red pepper flakes in the cream cheese spread. Sliced jalapeños or pepper jack cheese also add heat.
- Seasonal Twist: Swap cucumber and carrots for crunchy apple slices or roasted sweet potato in the fall. Fresh herbs like basil or mint can swap cilantro for a different flavor profile.
- Personal Favorite: I once added a spoonful of cranberry sauce to the cream cheese for a Thanksgiving-inspired wrap that was surprisingly addictive—sweet, tangy, and creamy all at once.
Serving & Storage Suggestions
Serve these wraps fresh and cool for the best texture—warmth tends to make the tortilla a bit soft and the filling less crisp. They pair wonderfully with a side of crunchy chips, fresh fruit, or a light soup like tomato or gazpacho.
For on-the-go meals, wrap tightly in parchment paper or reusable beeswax wraps to keep everything in place. Store leftovers in the fridge for up to 24 hours; beyond that, the tortilla may get soggy.
To reheat, a quick toast in a dry skillet for 30 seconds per side revives the wrap’s texture without cooking the filling. Alternatively, enjoy cold—the fresh crunch is part of the charm.
Flavors actually deepen a bit if you let the wrap rest wrapped in the fridge for an hour before eating. The lemony cream cheese and herbs blend into the veggies, making every bite tastier.
Nutritional Information & Benefits
This easy no-cook beginner lunch wrap is a balanced meal with moderate calories, protein from the deli meat and cream cheese, fiber from fresh veggies, and healthy fats from avocado. A typical wrap clocks in around 350-400 calories depending on fillings.
Leafy greens provide vitamins A and C along with antioxidants, while avocado offers heart-healthy monounsaturated fats. Using whole wheat tortillas boosts fiber and B vitamins if you choose that option.
Gluten-free and vegetarian adaptations make this recipe versatile for different dietary needs. Just be mindful of dairy if you’re lactose intolerant—dairy-free cream cheese alternatives work well.
I find this recipe great for a light but filling lunch that keeps energy steady without post-meal sluggishness—perfect for busy afternoons or casual outings.
Conclusion
This easy no-cook beginner lunch wrap formula is a game-changer when you want something fast, fresh, and fuss-free. Whether you’re new to making wraps or just need a quick meal fix, this recipe makes it easy to whip up a satisfying lunch in mere minutes.
Feel free to tweak the ingredients to your taste or what you have on hand—it really is a flexible formula, not a strict recipe. Honestly, I keep coming back to this one because it’s just so straightforward and delicious, no matter how rushed my day is.
If you try it, I’d love to hear what combos you create or any tweaks you make. Drop a comment below or share your thoughts to keep the lunch wrap love going. Remember, good food doesn’t have to be complicated—sometimes the simplest recipes become your favorites!
Frequently Asked Questions
Can I make this wrap ahead of time?
Yes! Wrap it tightly in parchment paper and store in the fridge for up to 4 hours. Avoid making it more than a day ahead to prevent sogginess.
What can I use instead of cream cheese?
Hummus, mashed avocado alone, or a dairy-free spread work well as creamy alternatives.
Is this recipe suitable for vegetarians?
Absolutely. Just skip the deli meat and add plant-based proteins like hummus, beans, or roasted veggies.
Can I freeze these wraps?
Freezing isn’t recommended as the fresh veggies and tortilla texture won’t hold up well after thawing.
What’s the best way to keep the wrap from falling apart?
Spread the cream cheese evenly and roll the wrap tightly but gently. Using fresh, crisp greens first helps create a moisture barrier that keeps the tortilla firm.
Pin This Recipe!
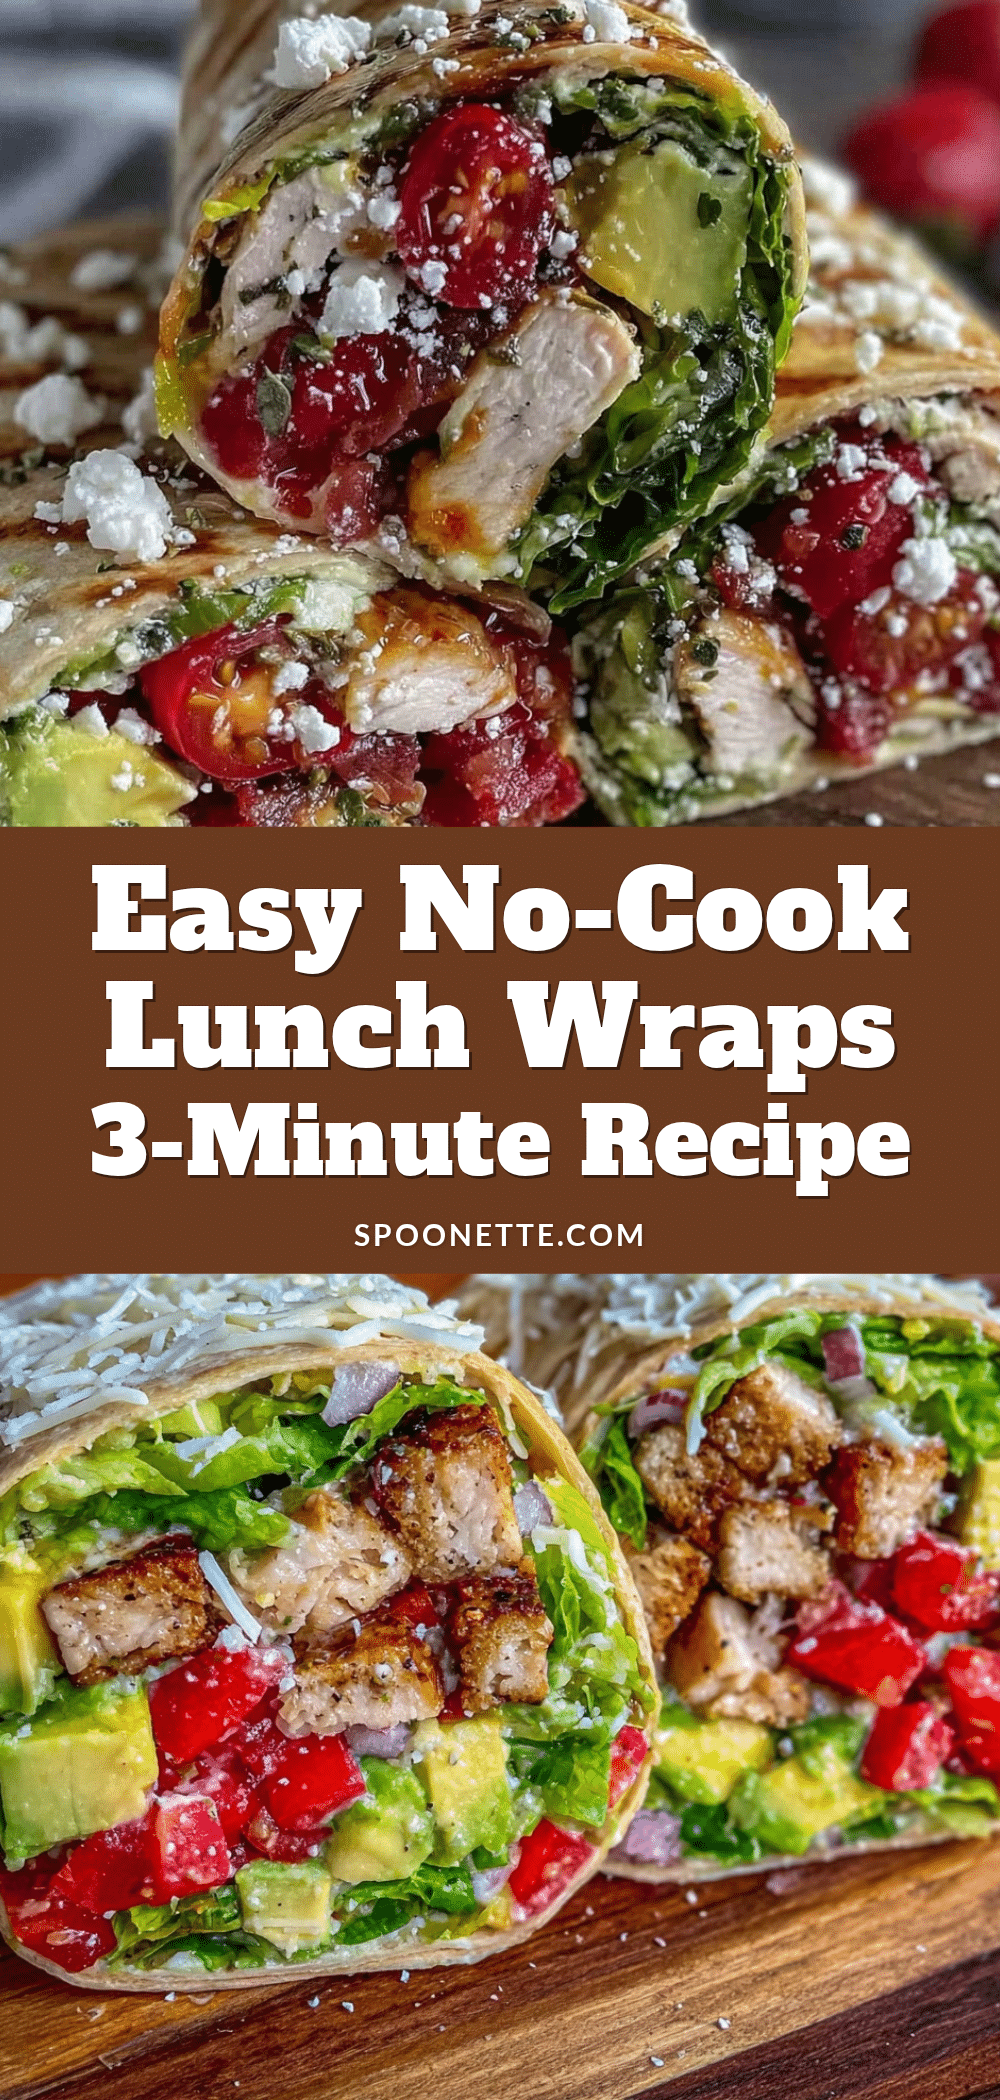
Easy No-Cook Beginner Lunch Wrap Formula Recipe in 3 Minutes for Perfect Quick Meals

A quick, no-cook lunch wrap recipe that comes together in under 3 minutes using simple ingredients for a fresh, satisfying meal perfect for busy days or picnics.
- Prep Time: 3 minutes
- Cook Time: 0 minutes
- Total Time: 3 minutes
- Yield: 1 wrap
- Category: Main Course
- Cuisine: American
Ingredients
- Large flour tortillas (about 10-inch diameter)
- Leafy greens (romaine, spinach, or spring mix)
- Cream cheese, softened (dairy-free alternative optional)
- Sliced deli turkey or chicken (optional)
- Shredded carrots
- Thinly sliced cucumber
- Avocado slices or mashed avocado
- Fresh herbs (cilantro or parsley, optional)
- Lemon juice or your favorite vinaigrette
- Salt and pepper to taste
Instructions
- Lay out the large flour tortilla flat on a clean surface. Wash and dry leafy greens thoroughly.
- Thinly slice cucumbers, shred carrots, and slice or mash the avocado. Arrange deli meat slices if using.
- In a small bowl, soften cream cheese with a splash of lemon juice and a pinch of salt and pepper. Stir until smooth and spreadable.
- Spread the cream cheese mixture evenly over the tortilla, leaving about a half-inch border around the edges.
- Layer greens first, then deli meat (if using), followed by carrots, cucumber slices, and avocado. Scatter fresh herbs on top if desired.
- Sprinkle salt and pepper for final seasoning. Fold in the sides and roll the tortilla tightly from one end to the other.
- Cut the wrap in half diagonally with a sharp knife and serve immediately or wrap tightly for on-the-go.
Notes
If tortilla feels stiff, warm slightly in microwave for 5-7 seconds before spreading. Dry greens well to avoid sogginess. Roll tightly but gently to keep wrap intact. Can prep ahead and refrigerate up to 4 hours wrapped tightly in parchment paper.
Nutrition
- Serving Size: 1 wrap
- Calories: 350400
- Sugar: 4
- Sodium: 450
- Fat: 18
- Saturated Fat: 6
- Carbohydrates: 30
- Fiber: 5
- Protein: 15
Keywords: no-cook wrap, quick lunch, beginner recipe, easy wrap, picnic food, healthy lunch, turkey wrap, vegetarian wrap



