Love this? Save it for later!
Share the inspiration with your friends
“I swear, the sauce was supposed to be the star of the dinner,” I muttered under my breath last Thursday evening. There I was, standing in a kitchen that smelled like a fancy bistro, but the sauce looked like a sad science experiment gone wrong—curdled, separated, and frankly, broken. You know that feeling when you’ve got guests arriving in twenty minutes and your sauce decides to throw a tantrum? Yeah, that. Honestly, I wasn’t expecting to become a sauce-fixing ninja that night.
It all started when I tried to make a classic hollandaise for a brunch party at a local community center. I was juggling the eggs, lemon juice, and butter, thinking I had it all under control, when suddenly the sauce broke. Instead of tossing it and ordering takeout, I rolled up my sleeves and pulled out some tricks I’d picked up from chef friends and kitchen disasters past. After a few tweaks and a couple of near misses (I almost added cold cream straight from the fridge—don’t do that!), the sauce came back together silky smooth and luscious.
Maybe you’ve been there too—standing over a pot of broken sauce, wondering how something so simple could turn into such a mess. Well, let me tell you, this recipe isn’t just about making sauce from scratch; it’s about those little expert tips that rescue your sauce like a pro and save dinner from disaster. I kept notes during that night (amidst the chaos and a few dropped utensils), and now I’m sharing exactly how to fix broken sauce with ease, confidence, and a bit of kitchen magic.
Why You’ll Love This Recipe
Fixing a broken sauce might sound intimidating, but with these expert tips, it’s actually pretty straightforward. Let me share why this guide will become your go-to whenever the sauce looks like it’s fallen apart:
- Quick & Easy: Each tip can be applied in under 5 minutes, perfect for those last-minute kitchen saves.
- Simple Ingredients: You don’t need fancy gadgets or exotic items—just basics you probably already have in your pantry.
- Perfect for Any Sauce: Whether it’s hollandaise, béarnaise, or a cream-based sauce, these tips cover a range of common sauces.
- Crowd-Pleaser: Save face at dinner parties and impress your guests by turning kitchen mishaps into silky success stories.
- Unbelievably Effective: These aren’t just theory—they come from hands-on experience and a few embarrassing kitchen disasters I survived!
What sets this advice apart is the practical approach I’ve gathered from working alongside professional chefs and trial-and-error evenings. For instance, one trick involves whisking in warm water gently to bring the texture back without watering down flavor. It’s not just about fixing the sauce; it’s about understanding why it broke and how to save it without starting over.
This guide will make you feel less like you’re putting out kitchen fires and more like you’re orchestrating a smooth culinary performance. Honestly, there’s something satisfying about turning a broken sauce into a velvety masterpiece, and I hope you experience that too!
What Ingredients You Will Need
This guide focuses on ingredients you’ll typically have on hand to repair a broken sauce. The key is having the right staples ready to go, so you’re never caught off-guard.
- Butter: Unsalted, preferably at room temperature (helps with emulsification and richness)
- Egg yolks: Fresh and at room temperature (essential for emulsified sauces like hollandaise)
- Lemon juice or vinegar: Freshly squeezed or good-quality white wine vinegar (adds acidity to balance flavors and stabilize)
- Warm water: Usually around 100°F (38°C) to gently adjust consistency without shocking the sauce
- Heavy cream: Optional, but helpful for smoothing out certain cream-based sauces (use room temperature for best results)
- Mustard: Dijon or whole grain (acts as an emulsifier and flavor enhancer)
- Salt and white pepper: For seasoning without affecting the sauce color
Note: For dairy-free adaptations, swap butter with olive oil or vegan margarine and use coconut cream in place of heavy cream. If you’re working on a sauce that doesn’t involve eggs, focus on adjusting the fat and liquid balance carefully.
Equipment Needed
To fix broken sauce efficiently, having the right tools on hand really helps.
- Whisk: A sturdy balloon whisk is your best friend here, giving you control without overworking the sauce.
- Heatproof bowl: Glass or stainless steel for gentle warming over a double boiler setup.
- Small saucepan: To hold simmering water for your double boiler (helps avoid direct heat which can break sauces).
- Measuring spoons and cups: Precision matters with acidic components and liquids.
- Immersion blender (optional): If your sauce is stubbornly broken, a quick pulse can help bring it back together.
If you don’t have an immersion blender, don’t worry! A whisk does wonders, and sometimes less is more. I remember once trying to fix a stubborn béarnaise with an old fork—less elegant, but it worked when I was in a pinch. For budget-friendly options, a basic silicone whisk and a heatproof mixing bowl from your local store will do just fine.
Preparation Method
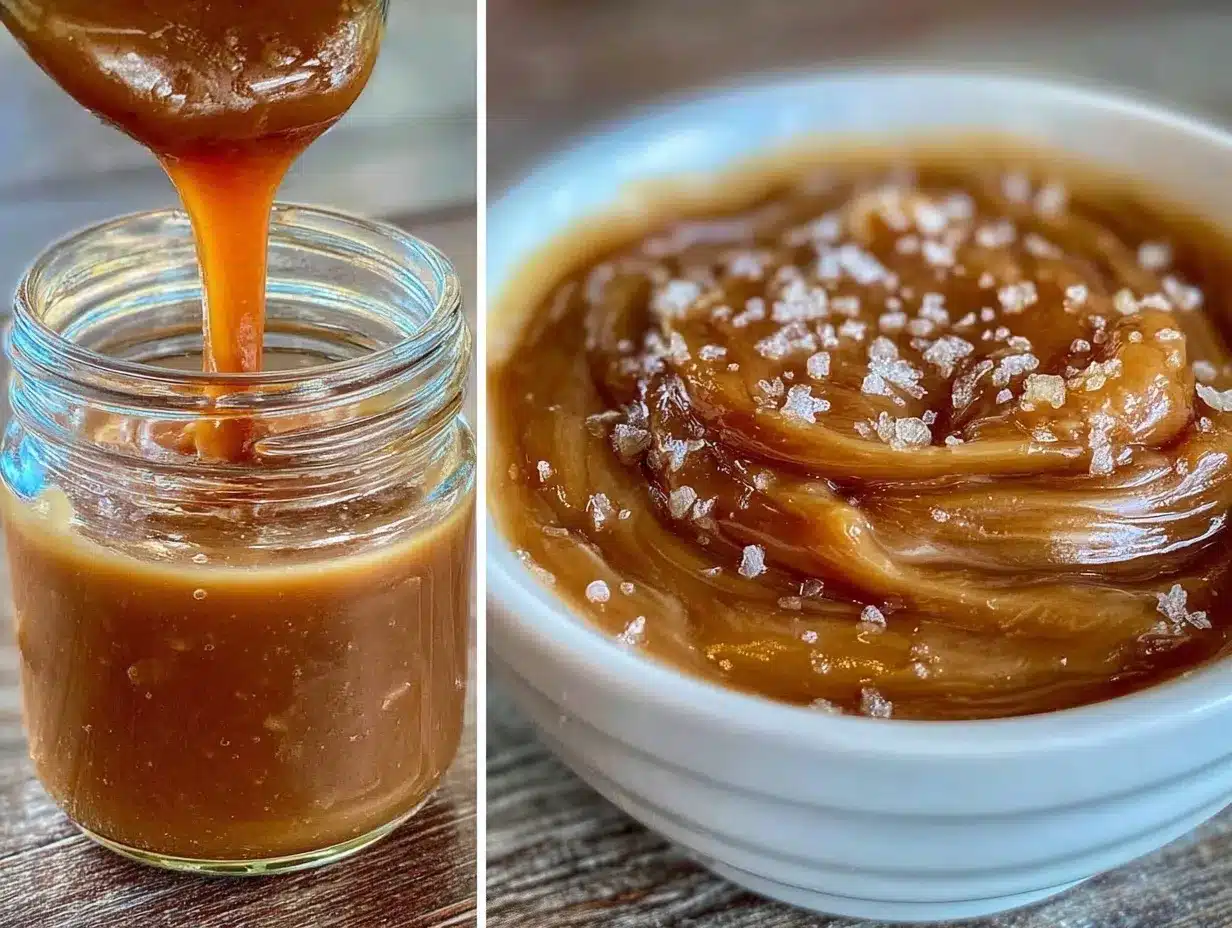
- Assess the Sauce: The first step is to figure out how badly the sauce is broken. Is it separated with oily puddles, grainy, or curdled? This helps decide which method to use. (1-2 minutes)
- Add Warm Water Slowly: For sauces like hollandaise or béarnaise, try adding 1 tablespoon (15 ml) of warm water. Whisk vigorously to help the sauce re-emulsify. This dilutes the fat slightly and encourages the mixture to come back together. Repeat in small increments if needed. (3-5 minutes)
- Use an Extra Egg Yolk: If the sauce resists, whisk a fresh egg yolk in a clean bowl, then slowly incorporate the broken sauce into it. This creates a fresh emulsifying base and often saves the day. (5-7 minutes)
- Try Whisking Over Gentle Heat: Set your bowl over simmering water (double boiler). Whisk continuously while gently warming to coax the sauce into blending again. Avoid direct heat to prevent further breaking. (5-10 minutes)
- Blend If Necessary: If whisking doesn’t work, use an immersion blender on low speed to quickly bring the sauce together. This works especially well for cream-based sauces. (1-2 minutes)
Pro tip: Avoid adding cold ingredients suddenly; they can shock the emulsion. Always aim for room temperature or gently warmed components.
Remember to trust your senses here—when the sauce looks glossy and smooth, you’re on the right track. During one frantic fix, I accidentally added a bit too much lemon juice, and the sauce nearly broke again. A tiny pinch of sugar helped balance the acidity and brought harmony back. Cooking is as much about feeling as it is about precision.
Cooking Tips & Techniques
Fixing broken sauce is about understanding the balance between fat, liquid, and temperature. Here are some tried-and-true tips that have saved my sauce more than once:
- Temperature control is king: Too hot or too cold can wreck your sauce. Always keep your heat gentle and steady, especially when whisking.
- Patience pays off: Don’t rush adding ingredients. Gradual incorporation helps maintain the emulsion.
- Whisking technique: Use brisk, consistent whisking motions. Too slow and the sauce won’t come back; too aggressive and you might overwork it.
- Use fresh eggs: Older eggs don’t emulsify as well, so fresh yolks make a big difference in recovery.
- Don’t panic-add fat: Adding butter or cream too quickly can worsen a broken sauce. Add fats slowly and allow the mixture to absorb each addition.
Once, I tried to fix a sauce by dumping in cold cream, thinking it’d smooth things out. Nope—it just made things worse! Lesson learned: warm your dairy before mixing. Also, multitasking helps; while fixing your sauce, you can prep sides or set the table—just keep an eye on the sauce so it doesn’t get away from you.
Variations & Adaptations
Every kitchen and palate is different, so here are some ways to adjust these techniques based on your needs:
- Dairy-Free Sauces: Use olive oil or coconut oil instead of butter. Warm the oil slightly before adding to the sauce to keep the emulsion stable.
- Vegan Versions: Aquafaba (chickpea water) can replace egg yolks in some emulsified sauces. Whisk carefully and steadily to build the sauce.
- Flavor Twists: Add fresh herbs or a dash of mustard during the fix to brighten the flavor and help the sauce bind.
- Seasonal Ingredients: For summer, a splash of fresh citrus juice can add brightness; in winter, a touch of warmed cream can add comfort.
- Personal Trial: I once fixed a stubborn beurre blanc by blending in a spoonful of mashed avocado—odd, but it gave a creamy texture and saved the sauce!
Serving & Storage Suggestions
Once your sauce is back to silky smooth glory, serving it at the right temperature is key. Most sauces like hollandaise or béarnaise shine warm but not hot—about 100-110°F (38-43°C) is perfect.
Pair your fixed sauce with classic dishes like steamed asparagus, grilled fish, or my favorite, roasted potatoes. A crisp white wine or sparkling water with a twist of lemon complements the richness nicely.
If you have leftovers, store the sauce in an airtight container in the fridge for up to 24 hours. Gently reheat over a double boiler, whisking continuously to avoid breaking again. Avoid microwaving as it can cause uneven heating and separation.
Sometimes, the sauce flavors deepen after resting a few hours, so a quick re-whisk before serving can bring back that fresh, glossy finish.
Nutritional Information & Benefits
While sauces like hollandaise are indulgent, they can also bring some nutritional perks. Egg yolks are rich in vitamins A, D, and E, and contain healthy fats that your body appreciates. Butter adds richness and fat-soluble vitamins, but moderation is key.
This recipe guide focuses on technique rather than ingredients, so you can control portions and ingredients to fit your dietary needs. For example, using olive oil instead of butter lowers saturated fat and adds heart-healthy monounsaturated fats.
If you’re watching calories or prefer dairy-free options, the suggested adaptations make this approach flexible without sacrificing flavor or texture.
Conclusion
Fixing broken sauce might seem like a kitchen emergency, but with these expert tips, you’ll handle it confidently and calmly. Remember, sauces are all about balance—fat, liquid, and temperature—and a little patience goes a long way.
I love this guide because it turns a stressful moment into a chance to learn and impress. Plus, there’s something satisfying about rescuing a sauce rather than starting over—it feels like a mini kitchen victory. So next time your sauce looks like it’s given up, you’ll have a few tricks up your sleeve to bring it back to life.
Give these tips a try, tweak them to your taste, and don’t forget to share your sauce-saving stories in the comments below. Happy cooking!
FAQs
Why does my sauce break or separate?
Sauces break when the emulsion of fat and liquid fails, often due to overheating, adding ingredients too quickly, or temperature shock.
Can I fix any broken sauce with these tips?
Most emulsified sauces like hollandaise, béarnaise, and cream sauces can be rescued using these methods, but some very broken or overcooked sauces might not recover.
Is an immersion blender necessary to fix broken sauce?
Not always. A whisk and patience usually work, but an immersion blender can speed up the process for stubborn sauces.
How do I prevent my sauce from breaking in the first place?
Maintain gentle heat, add ingredients gradually, and keep components at similar temperatures to keep the emulsion stable.
Can I store fixed sauce for later use?
Yes, store it in an airtight container in the fridge for up to 24 hours and reheat gently over a double boiler while whisking to maintain texture.
Pin This Recipe!
Fix Broken Sauce Like a Pro with 5 Easy Expert Tips for Perfect Results

Learn expert tips to rescue broken sauces like hollandaise, béarnaise, and cream-based sauces quickly and easily, saving your dinner from disaster with simple pantry ingredients and techniques.
- Prep Time: 5 minutes
- Cook Time: 10 minutes
- Total Time: 15 minutes
- Yield: Varies (depends on sauce quantity)
- Category: Sauce / Condiment
- Cuisine: French-inspired
Ingredients
- Unsalted butter, preferably at room temperature
- Fresh egg yolks, at room temperature
- Lemon juice or white wine vinegar, freshly squeezed or good quality
- Warm water (around 100°F / 38°C)
- Heavy cream (optional, room temperature)
- Dijon or whole grain mustard
- Salt
- White pepper
Instructions
- Assess the sauce to determine how badly it is broken (separated, grainy, or curdled).
- Add 1 tablespoon (15 ml) of warm water slowly to the sauce and whisk vigorously to help re-emulsify. Repeat in small increments if needed.
- If the sauce resists, whisk a fresh egg yolk in a clean bowl, then slowly incorporate the broken sauce into it to create a fresh emulsifying base.
- Set the bowl over simmering water (double boiler) and whisk continuously while gently warming to coax the sauce into blending again. Avoid direct heat.
- If whisking doesn’t work, use an immersion blender on low speed to quickly bring the sauce back together, especially for cream-based sauces.
Notes
Avoid adding cold ingredients suddenly to prevent shocking the emulsion. Use room temperature or gently warmed components. Patience and gentle heat are key. For dairy-free versions, substitute butter with olive oil or vegan margarine and heavy cream with coconut cream. Aquafaba can replace egg yolks for vegan emulsions.
Nutrition
- Serving Size: Per serving size var
- Calories: 80100
- Sugar: 1
- Sodium: 50100
- Fat: 810
- Saturated Fat: 46
- Carbohydrates: 12
- Protein: 12
Keywords: broken sauce, fix sauce, hollandaise, béarnaise, sauce rescue, emulsified sauce, kitchen tips, sauce repair



