Love this? Save it for later!
Share the inspiration with your friends
“You know, I used to think chicken was foolproof—until the day I ended up with a plate of dry, rubbery chicken that even my dog gave a second sniff before walking away,” I confessed to my friend while we chatted over coffee last Thursday. Honestly, that moment was a turning point for me in understanding the science behind cooking chicken just right.
It all began on a rainy evening when I was trying out a new recipe for a flavorful chicken dinner. The kitchen was buzzing with the sound of sizzling, the aroma was promising, but when I cut into the chicken, it was tough and dry. Frustrated, I started digging into the “why” behind overcooked chicken and quickly realized it’s not just about timing—it’s a delicate balance of heat, moisture, and chemistry.
Maybe you’ve been there too, staring at your chicken, uncertain if it’s done or overdone. I mean, it’s such a staple, yet it can be so tricky! This recipe and guide on flavorful chicken cooking science will walk you through what really happens when you overcook chicken and how to avoid it, so you end up with juicy, tender results every time. Let me tell you, once I got these tips down, dinner became less of a gamble and more of a joy.
So, whether you’re a kitchen newbie or someone who’s battled dry chicken more times than you care to admit, stick around. This is the kind of cooking insight that sticks with you—because nobody deserves a bland, tough chicken dinner. Trust me, the journey from overcooked to perfectly cooked chicken is worth every step.
Why You’ll Love This Recipe
After testing this recipe over and over (and yes, sometimes failing spectacularly), I’m confident it’s a keeper for your everyday meals. Here’s why you’re going to want to make flavorful chicken with this method your go-to:
- Quick & Easy: Comes together in under 30 minutes, perfect for busy weeknights or those last-minute dinner plans.
- Simple Ingredients: You probably have everything already—no need for fancy or hard-to-find items.
- Perfect for Any Occasion: Whether it’s a casual family meal or a cozy dinner for two, this chicken fits the bill.
- Crowd-Pleaser: Kids, picky eaters, and adults alike keep asking for seconds because it’s that good.
- Unbelievably Delicious: The balance of seasoning and perfectly cooked texture makes this chicken a comforting classic.
What really sets this apart is the attention to cooking science—understanding exactly what happens inside the chicken helps you avoid that dreaded dryness. For instance, knowing when to stop cooking and letting carryover heat finish the job means juicy meat every time. I’ve even swapped in a brining step that makes a noticeable difference without extra fuss.
This isn’t just another chicken recipe; it’s a way to take a simple ingredient and turn it into something memorable and satisfying. You’ll find yourself closing your eyes after the first bite—yeah, it’s that soul-soothing. And honestly, once you master this, you’ll be able to tackle other recipes like roasted garlic chicken or herb-baked chicken with way more confidence.
What Ingredients You Will Need
This recipe calls for straightforward, wholesome ingredients that work together to bring out the best in your chicken. They’re mostly pantry staples, so no last-minute grocery runs needed. Here’s what you’ll gather:
- Chicken breasts (boneless, skinless): About 1.5 pounds (680 grams), trimmed of excess fat for even cooking.
- Olive oil: 2 tablespoons (30 ml), for a flavorful sear and moisture retention.
- Salt: 1 teaspoon (5 grams), essential for seasoning and enhancing natural flavors.
- Black pepper: ½ teaspoon (1 gram), freshly ground for the best aroma.
- Garlic powder: 1 teaspoon (3 grams), adds subtle depth without overpowering.
- Onion powder: 1 teaspoon (3 grams), complements the garlic with mild sweetness.
- Smoked paprika: 1 teaspoon (3 grams), for a gentle smoky warmth (optional but recommended).
- Lemon juice: 1 tablespoon (15 ml), fresh squeezed to brighten flavors and tenderize.
- Fresh herbs (optional): Such as thyme or rosemary, about 1 tablespoon (5 grams), finely chopped for freshness.
- Water or chicken broth: ¼ cup (60 ml), to keep the meat moist during cooking if needed.
If you want to switch things up, boneless thighs work beautifully here too—they’re a bit more forgiving if you accidentally cook a little longer. For a gluten-free option, everything here is naturally gluten-free, so no worries.
I usually go for extra virgin olive oil from brands like California Olive Ranch because it has a nice balance of flavor and smoke point. When choosing chicken, fresher is always better, but frozen works fine if thawed properly overnight.
Equipment Needed
To nail this flavorful chicken recipe, you don’t need fancy gadgets, but a few tools make the process smoother:
- Heavy-bottomed skillet or sauté pan: Cast iron or stainless steel works best to get that golden sear without sticking.
- Tongs: For easy flipping without piercing the meat and losing juices.
- Meat thermometer: A must-have if you want to avoid overcooking. Instant-read thermometers like the ThermoWorks Thermapen are quick and reliable.
- Cutting board and sharp knife: For trimming and slicing your chicken.
- Mixing bowl: To toss your chicken with oil and seasoning evenly.
If you don’t have a meat thermometer yet, you can still manage by checking texture and juices, but investing in one is a game changer. I remember fumbling through without one and ending up with a dry dinner more than once—lesson learned the hard way! For budget-friendly options, a simple digital thermometer from the kitchen aisle works just fine.
Preparation Method
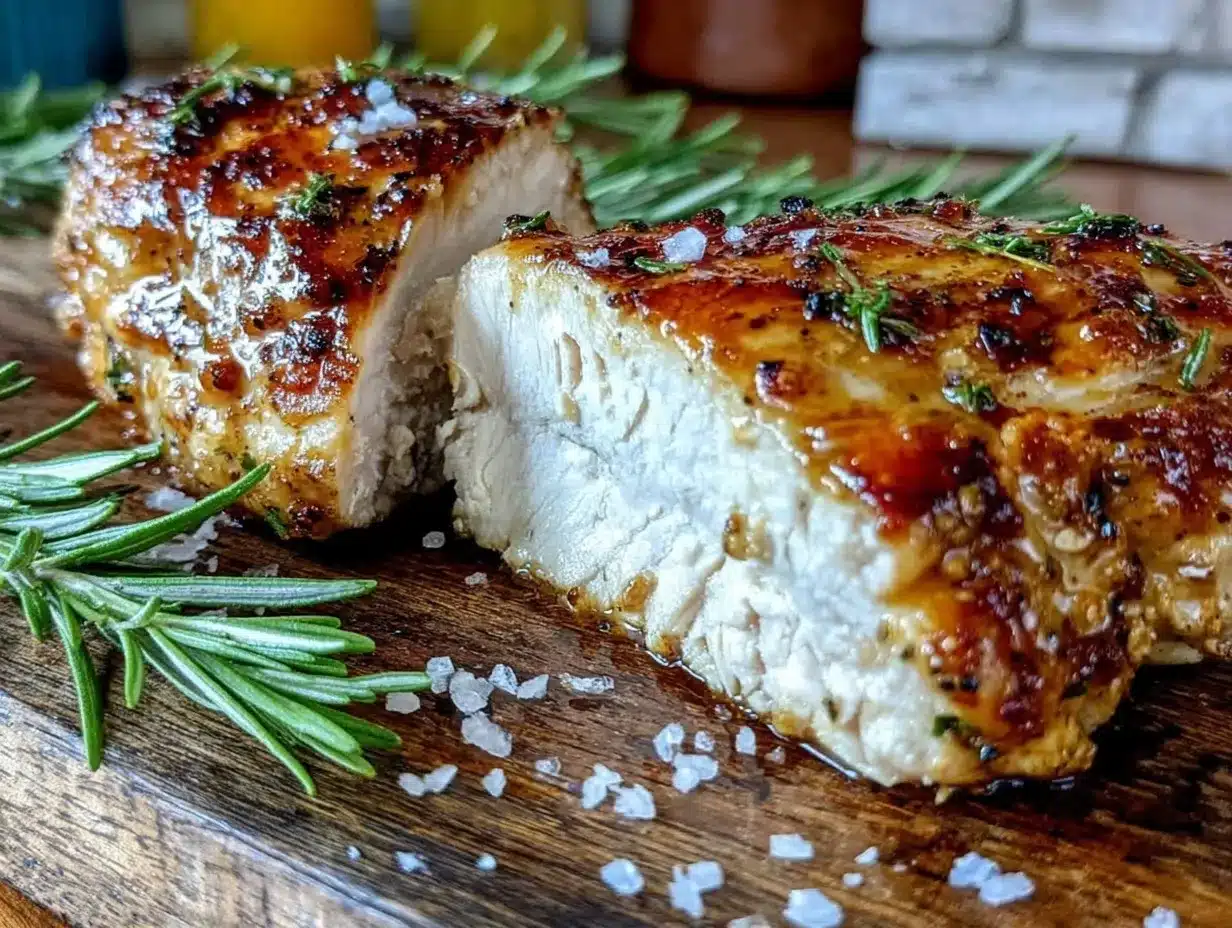
- Trim and prep the chicken (5 minutes): Remove any visible fat or tendons from the chicken breasts. Pat them dry with paper towels to ensure a good sear.
- Season the chicken (5 minutes): In a mixing bowl, toss the chicken with olive oil, salt, pepper, garlic powder, onion powder, smoked paprika, and lemon juice. Make sure each piece is coated evenly. If using fresh herbs, add them here.
- Preheat the pan (3 minutes): Place your skillet over medium-high heat and let it heat up until a drop of water sizzles immediately. This ensures a nice golden crust.
- Sear the chicken (6-8 minutes): Place the chicken breasts in the hot pan without crowding. Cook uncovered for about 3-4 minutes per side. You’re aiming for a golden-brown color and a slight crust. Resist the urge to move them constantly; let the magic happen.
- Check temperature and finish cooking (5 minutes): Use a meat thermometer to check the thickest part of the chicken. Once it hits 155°F (68°C), remove from heat. It will carry over to 160°F (71°C) which is perfect. If you don’t have a thermometer, cut into the thickest part to ensure juices run clear but the meat is still moist.
- Rest the chicken (5 minutes): Transfer to a plate and cover loosely with foil. This resting period allows juices to redistribute, keeping the chicken tender and juicy.
- Serve and enjoy: Slice against the grain to maximize tenderness and plate it with your favorite sides.
Pro tip: If at any point the pan dries out, splash in a bit of chicken broth or water to keep moisture in the pan. This helps avoid drying the meat and keeps the flavors lively.
Cooking Tips & Techniques
Mastering this recipe comes down to a few key science-backed tips I’ve picked up after many kitchen experiments:
- Don’t rush the sear: Give the chicken time to develop that golden crust. It locks in juices better than you think.
- Use a thermometer: This is the single best way to avoid overcooking. Chicken continues to cook after removing from heat, so pull it a few degrees shy of 165°F (74°C).
- Pat dry before seasoning: Moisture on the chicken’s surface prevents browning. Get it as dry as possible without rinsing.
- Rest your meat: This is not optional! Skipping resting means loss of juices when slicing, and nobody wants dry chicken.
- Don’t overcrowd the pan: Too many pieces at once trap steam and make your chicken soggy instead of crispy.
I once tried cranking the heat to speed things up and ended up with a burnt outside and raw inside—lesson learned. Also, multitasking in the kitchen is fine, but keep an eye on your chicken so it doesn’t sneak past the perfect temperature. These little habits make a huge difference.
Variations & Adaptations
Looking to mix things up or accommodate dietary needs? Here are a few ways to tweak this recipe:
- Herb and Citrus Twist: Add fresh oregano and orange zest for a bright Mediterranean flair.
- Spicy Kick: Incorporate cayenne pepper or chili powder into the seasoning mix for heat.
- Low-Carb Option: Serve with cauliflower rice or a fresh green salad instead of traditional sides.
- Dairy-Free Variant: This recipe is naturally dairy-free, but if you want a creamy sauce, try coconut milk-based options.
- Air Fryer Adaptation: Cook the seasoned chicken in an air fryer at 375°F (190°C) for 15 minutes, flipping halfway for a crisp finish.
Personally, I experimented with adding a light honey glaze near the end, which gave a subtle sweetness that balanced the spices nicely. It’s worth a try if you like a touch of sweetness.
Serving & Storage Suggestions
This flavorful chicken is best served warm, straight off the pan or resting plate. Slice it thinly and serve it over fluffy rice, roasted veggies, or tossed into a fresh salad for a light meal.
Leftovers? No problem! Store cooked chicken in an airtight container in the refrigerator for up to 3 days. If freezing, wrap tightly and freeze for up to 2 months.
When reheating, gently warm in a skillet with a splash of water or broth to avoid drying out, or microwave covered with a damp paper towel. Flavors actually deepen after a day or two, so leftovers can be even tastier!
Nutritional Information & Benefits
Per serving (based on 4 servings): approximately 220 calories, 5g fat, 2g carbohydrates, and 40g protein.
This recipe is high in lean protein, which supports muscle repair and keeps you full longer. Olive oil adds heart-healthy monounsaturated fats, and the herbs contribute antioxidants. It’s a naturally gluten-free, low-carb meal option that fits many diets.
From a wellness perspective, cooking chicken correctly means you avoid harmful compounds created by charring, and you preserve moisture and nutrients. Trust me, your body and taste buds will thank you.
Conclusion
Cooking chicken can sometimes feel like walking a tightrope, but with this flavorful chicken cooking science approach, you get the confidence to bring juicy, delicious chicken to your table every time. The blend of seasoning, proper temperature control, and resting makes all the difference—and the best part is it’s easy enough for any home cook.
Feel free to tweak the herbs and spices to match your taste or what’s in your pantry. I love how this recipe feels both familiar and fresh—like a reliable friend who always shows up with something tasty.
Give it a try, and let me know how it goes! Drop a comment sharing your own chicken cooking wins, or if you have a secret tip for avoiding dryness. Cooking is all about learning and sharing, after all. Here’s to perfectly cooked chicken dinners ahead!
Frequently Asked Questions
How can I tell if chicken is overcooked?
Overcooked chicken is typically dry, tough, and stringy. The juices run clear but don’t moisten the meat. Using a meat thermometer to check internal temperature helps avoid this.
Is it safe to eat chicken if it’s slightly pink inside?
Yes, as long as the internal temperature has reached 165°F (74°C) and the juices run clear, slight pinkness can occur, especially near bones. It’s safe and often juicier.
What’s the best way to keep chicken moist while cooking?
Pat the chicken dry before seasoning, don’t overcook it, sear on medium-high heat, and let it rest after cooking. Brining beforehand also helps retain moisture.
Can I use chicken thighs instead of breasts?
Absolutely! Thighs are more forgiving and stay juicy longer. Adjust cooking time slightly, usually a bit longer due to higher fat content.
Why does chicken become rubbery when overcooked?
Overcooking causes proteins in the chicken to tighten excessively, squeezing out moisture and making the texture tough and rubbery.
Pin This Recipe!
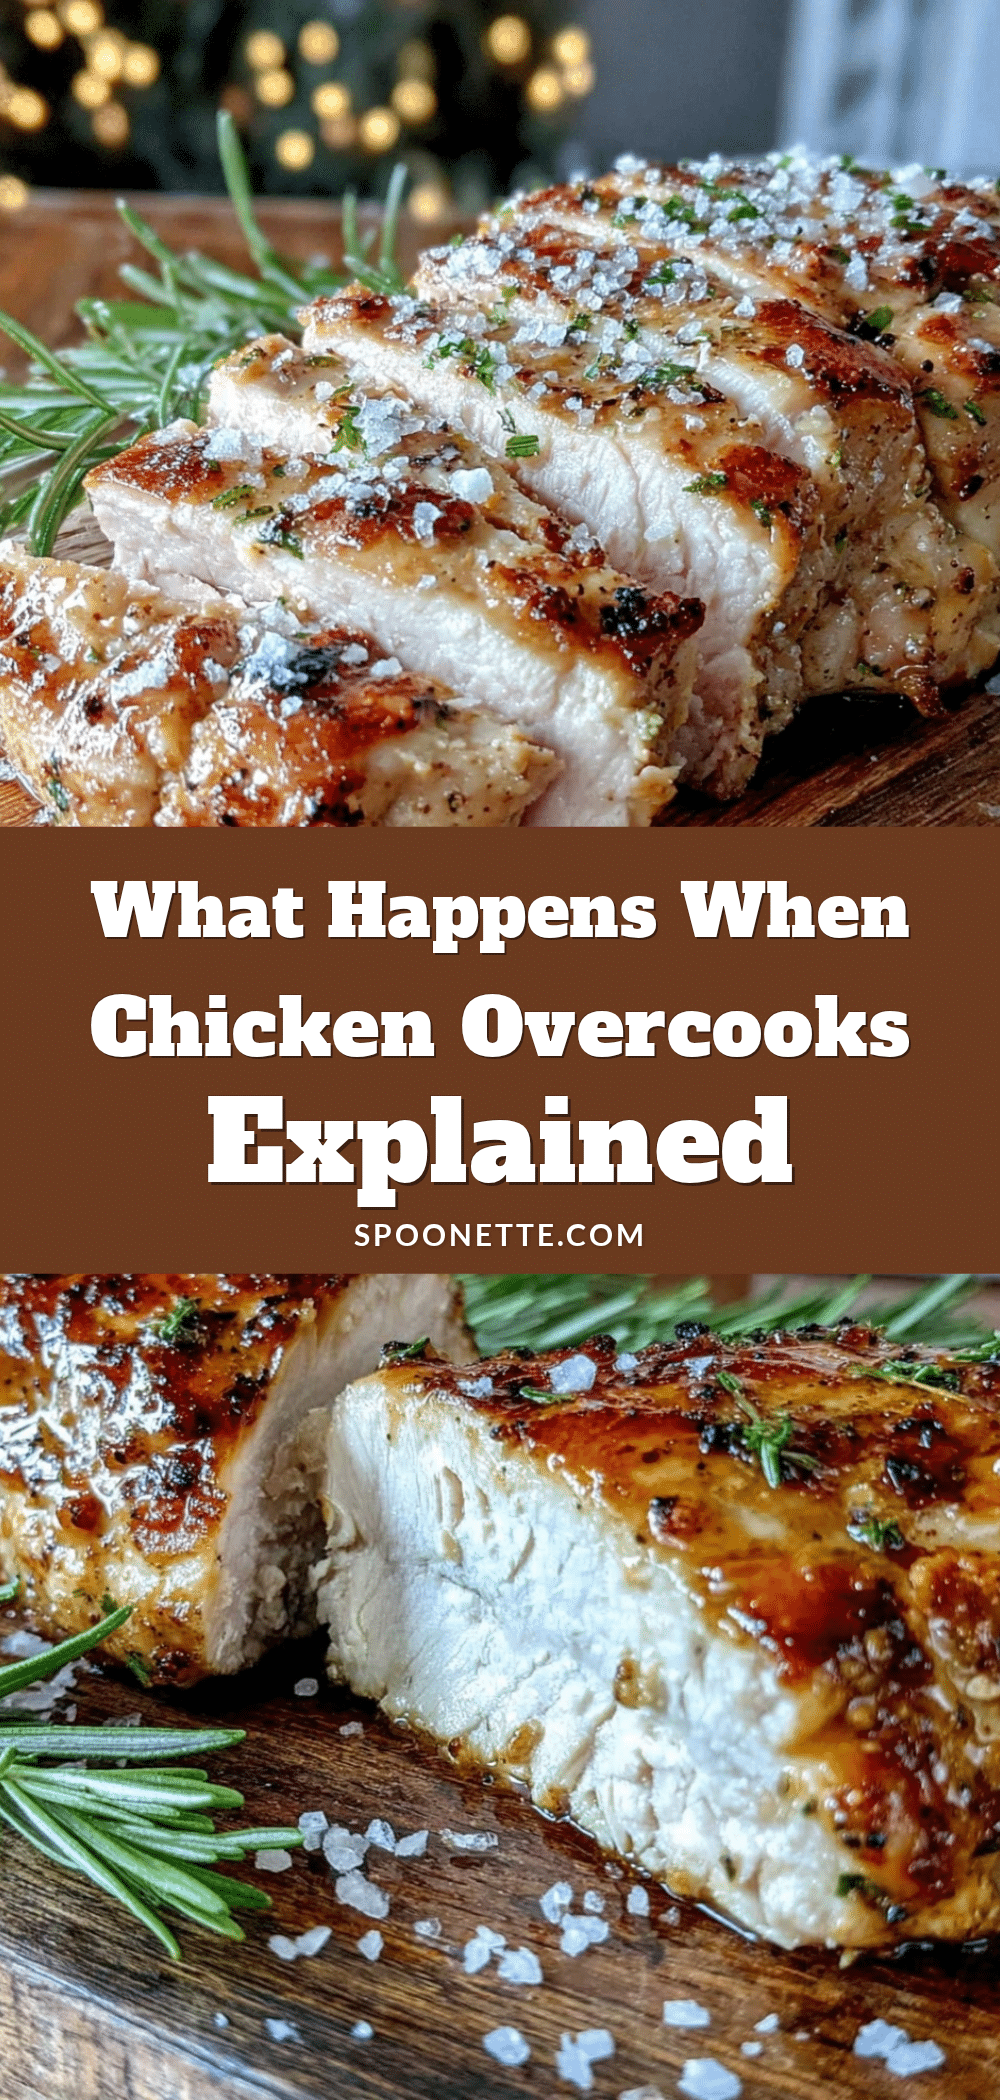
Flavorful Chicken Cooking Science Easy Tips to Avoid Overcooking Chicken Perfect Every Time
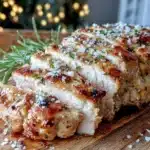
This recipe teaches you the science behind cooking chicken perfectly every time, avoiding dryness and overcooking with simple ingredients and easy steps.
- Prep Time: 10 minutes
- Cook Time: 15 minutes
- Total Time: 25 minutes
- Yield: 4 servings 1x
- Category: Main Course
- Cuisine: American
Ingredients
- 1.5 pounds boneless, skinless chicken breasts, trimmed of excess fat
- 2 tablespoons olive oil
- 1 teaspoon salt
- ½ teaspoon freshly ground black pepper
- 1 teaspoon garlic powder
- 1 teaspoon onion powder
- 1 teaspoon smoked paprika (optional but recommended)
- 1 tablespoon fresh lemon juice
- 1 tablespoon fresh herbs (thyme or rosemary), finely chopped (optional)
- ¼ cup water or chicken broth
Instructions
- Trim and prep the chicken (5 minutes): Remove any visible fat or tendons from the chicken breasts. Pat them dry with paper towels to ensure a good sear.
- Season the chicken (5 minutes): In a mixing bowl, toss the chicken with olive oil, salt, pepper, garlic powder, onion powder, smoked paprika, and lemon juice. Add fresh herbs if using.
- Preheat the pan (3 minutes): Place your skillet over medium-high heat and let it heat up until a drop of water sizzles immediately.
- Sear the chicken (6-8 minutes): Place the chicken breasts in the hot pan without crowding. Cook uncovered for about 3-4 minutes per side until golden-brown with a slight crust.
- Check temperature and finish cooking (5 minutes): Use a meat thermometer to check the thickest part of the chicken. Remove from heat at 155°F (68°C) to allow carryover cooking to 160°F (71°C). If no thermometer, cut to check juices run clear but meat remains moist.
- Rest the chicken (5 minutes): Transfer to a plate and cover loosely with foil to allow juices to redistribute.
- Serve and enjoy: Slice against the grain and serve with your favorite sides.
Notes
If the pan dries out during cooking, splash in a bit of chicken broth or water to keep moisture and flavors lively. Use a meat thermometer to avoid overcooking. Resting the chicken is essential to keep it juicy. Boneless thighs can be used as a substitute with slightly longer cooking time. This recipe is naturally gluten-free and dairy-free.
Nutrition
- Serving Size: 1 chicken breast (ap
- Calories: 220
- Fat: 5
- Carbohydrates: 2
- Protein: 40
Keywords: chicken recipe, flavorful chicken, avoid overcooking chicken, juicy chicken, easy chicken dinner, healthy chicken, quick chicken recipe