Love this? Save it for later!
Share the inspiration with your friends
Introduction
“I remember the night vividly—my smoke alarm was blaring, the kitchen was a mess, and I had just cooked a giant pot of stew that was still bubbling. My roommate shouted from the couch, ‘Are you gonna let that stew cool before putting it in the fridge or just toss it in now?’ Honestly, I was torn. I’d always heard both sides: some say hot food should cool down on the counter, others insist on popping it straight into the fridge. It felt like a culinary dilemma with microbiological consequences!
That night sparked my curiosity about the safest way to handle hot food storage. Maybe you’ve been there too—wondering if you’re risking a food safety faux pas or just prolonging the wait unnecessarily. Let me tell you, it’s not as complicated as it seems once you know a few simple tricks.
After a few kitchen experiments, some late-night Googling, and a couple of accidental fridge fog-ups, I developed a straightforward, safe method for putting hot food in the fridge without risking spoilage or fridge drama. This guide isn’t about rigid rules but practical, easy steps you can trust—whether you’re packing leftovers from a weeknight dinner or prepping meals for the week ahead. So, let’s clear up the confusion and keep your food fresh and safe, shall we?
Why You’ll Love This Recipe
When it comes to handling hot food safely, having a reliable method can save time, prevent waste, and keep everyone healthy. Here’s why this guide stands out:
- Quick & Easy: You can safely cool and store hot food in under 30 minutes—perfect for busy evenings or meal prep days.
- Simple Ingredients: No special tools or fancy gadgets required, just common kitchenware and a bit of know-how.
- Perfect for Any Occasion: Whether it’s a big pot of chili, freshly baked bread pudding, or a homemade soup, these steps work every time.
- Crowd-Pleaser: Keeps your leftovers tasting fresh and safe for everyone, kids and adults alike.
- Unbelievably Practical: This isn’t just food safety mumbo jumbo; it’s a method tested in my hectic kitchen and approved by food safety pros.
What really makes this guide different? It’s built on real kitchen experiences, balancing scientific advice with the chaos of everyday cooking. For example, did you know that dividing your hot food into smaller containers cools it faster and reduces the risk of bacteria growth? Little tricks like this transform a potentially risky step into a breeze.
This approach isn’t just about safety—it’s about peace of mind. You can finally stop stressing over whether your leftovers are still good or if that soup’s safe to eat tomorrow. Honestly, once you get this down, you’ll wonder how you ever lived without it.
What Ingredients You Will Need
Handling hot food safely is less about ingredients and more about using what you already have in your kitchen smartly. Still, certain items help make the process easier and safer. Here’s what you’ll want on hand:
- Heatproof Containers: Glass or BPA-free plastic containers with lids work best. I prefer Pyrex glass containers because they handle heat well and don’t retain odors.
- Shallow Bowls or Containers: Using shallow containers (2 inches deep or less) helps hot food cool faster by increasing surface area.
- Cooling Racks: Optional but handy if you want to let hot pots or pans cool evenly without trapping moisture underneath.
- Pot Holders or Oven Mitts: For safely handling hot dishes, especially when transferring to containers.
- Food Thermometer: Useful to check that food cools down to safe temperatures quickly (below 40°F / 4°C).
- Plastic Wrap or Aluminum Foil: For covering food once cooled or partially cooled, preventing contamination.
- Ice Bath Setup: A large bowl or sink filled with ice and water can help speed up cooling if needed.
All these items are pretty standard in most kitchens. If you don’t have shallow containers, no worries—just divide your food into smaller portions in any containers you do have. Also, for those avoiding plastic, glass is always a safer bet with hot foods.
Equipment Needed
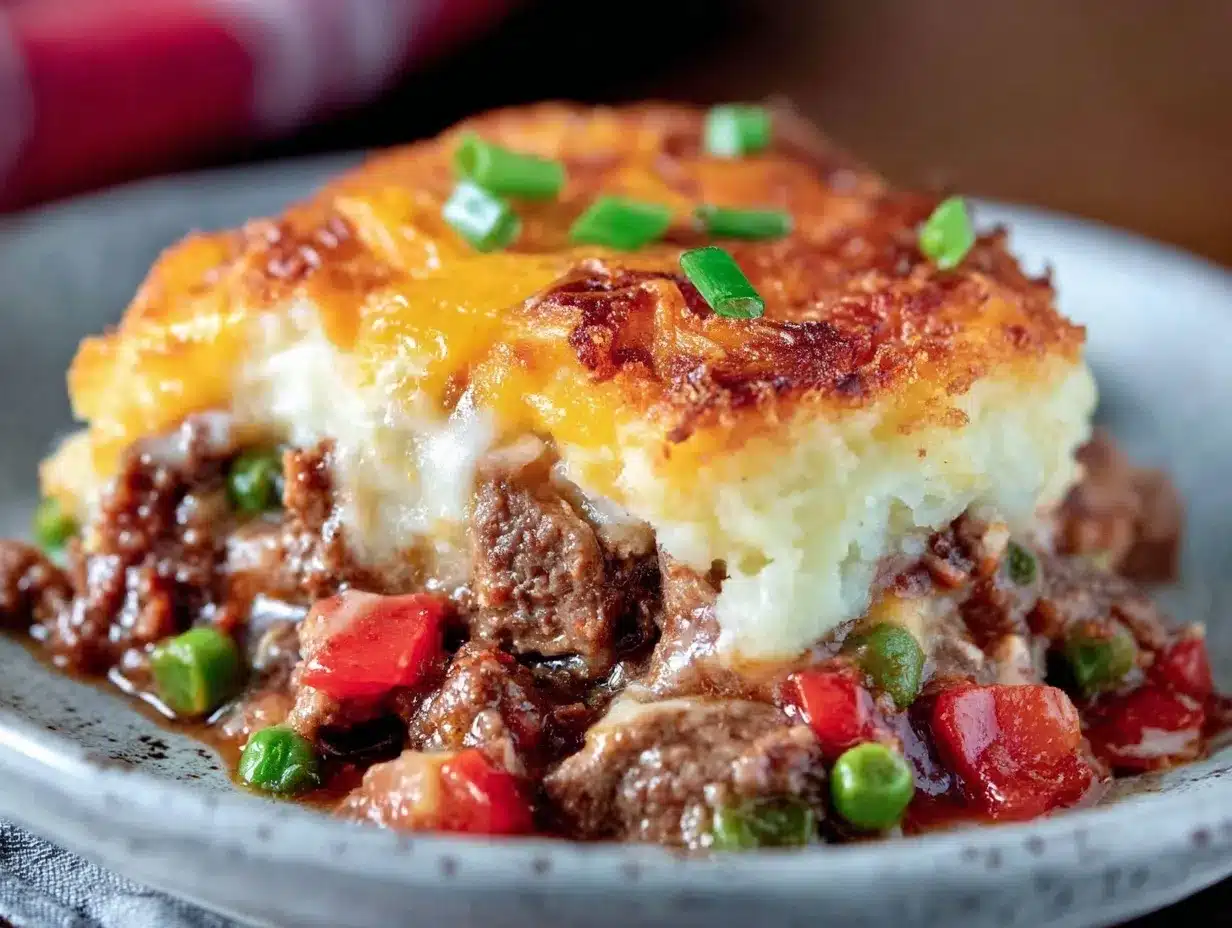
- Refrigerator: Obviously, you’ll need a fridge set to the proper temperature (ideally at or below 40°F / 4°C). Regularly check your fridge thermometer to be sure.
- Stove and/or Oven: For cooking your food initially, but also sometimes helpful for warming containers (warm containers reduce condensation).
- Food Storage Containers: As mentioned, shallow glass or plastic containers with tight-fitting lids are best.
- Cooling Rack: Great for letting hot cookware rest and cool before handling.
- Ice Bath Basin: A large bowl or dishpan that can hold an ice water bath for rapid cooling.
While some fancy kitchens have blast chillers to cool food rapidly, most home cooks don’t need to spend a dime on extra tools. I’ve found a simple ice bath and smaller containers do the trick every time.
One tip: if you want to avoid plastic, invest in a set of glass containers with vented lids; they’re dishwasher-safe and last forever.
Preparation Method
- Cook Your Food Thoroughly: Whether it’s a stew, casserole, or sauce, make sure your food reaches the proper cooking temperature (generally 165°F / 74°C for most dishes) to kill harmful bacteria. This is your baseline for safe storage.
- Remove from Heat Promptly: Once cooking is complete, don’t let your food sit on the stove or counter too long. Ideally, transfer it to a cooler area for initial cooling.
- Divide into Smaller Portions: Transfer your hot food into shallow containers. Aim for containers no more than 2 inches (5 cm) deep. This speeds up cooling by increasing surface area and reducing volume per container.
- Cool Slightly Before Sealing: Let the containers cool uncovered at room temperature for no more than 20 minutes. This allows some heat to escape without trapping moisture inside.
- Use an Ice Bath for Speedier Cooling: If you want to accelerate the process, place your containers in a larger bowl or sink filled with ice water. Stirring the food gently helps release heat. Just be sure no water gets inside your containers.
- Seal and Refrigerate: Once the food is warm but no longer steaming (around 90°F / 32°C or lower), cover the containers with lids or plastic wrap and place them in the fridge immediately.
- Space Out Containers: Don’t overcrowd the fridge. Leave some room around containers to allow cold air to circulate and cool evenly.
- Check Temperatures: If you have a food thermometer, check that the food reaches below 40°F (4°C) within two hours to reduce bacterial growth risk.
- Reheat Safely When Ready: When you’re ready to eat, reheat leftovers to 165°F (74°C) to kill any potential bacteria that formed during storage.
Personal tip: I once made the mistake of sealing a hot soup container immediately and placing it in the fridge—next thing I knew, my fridge was fogged up like a sauna! Leaving it uncovered for a short time really helps avoid that.
Cooking Tips & Techniques
Handling hot food safely can seem tricky, but a few simple techniques make all the difference:
- Avoid the “Danger Zone”: Bacteria multiply quickly between 40°F and 140°F (4°C to 60°C). The goal is to get hot food below this temperature range as quickly as possible.
- Use Smaller Portions: Dividing food into smaller containers isn’t just faster; it also means less chance of uneven cooling, which can harbor bacteria.
- Don’t Let Food Sit Out Too Long: Never leave cooked food out for more than two hours, or one hour if it’s above 90°F (32°C) outside.
- Stir Soups and Stews: Stirring hot liquids while cooling helps disperse heat for faster temperature drops.
- Refrigerator Temperature: Keep your fridge at or below 40°F (4°C). Check your appliance’s thermometer monthly to be sure.
- Use Ice Baths: If in a hurry, an ice bath around your containers can shave cooling time and improve safety.
- Skip the Counter Overnight: Leaving hot food out overnight is a no-go. It might seem convenient but invites bacterial growth.
Honestly, the first time I tried these tips, I was amazed at how quickly my leftovers cooled without shrinking my fridge’s efficiency. It’s all about understanding how heat moves and how bacteria behave—that knowledge turns a scary storage step into a simple habit.
Variations & Adaptations
Depending on what you’re storing or your kitchen setup, here are some ways to adapt this guide:
- Large Roasts or Whole Poultry: Carve or slice meat before refrigerating to help it cool faster and evenly.
- High-Volume Cooking: For big batches (like chili for a party), divide food into multiple shallow containers instead of one giant pot.
- Using Coolers: If your fridge is full, use a cooler with ice packs temporarily to chill food quickly before transferring to the fridge.
- Low Humidity or Dry Climates: Cover food loosely while cooling to avoid drying out, then seal firmly once cooled.
- Allergy Friendly: For those avoiding plastic, glass or stainless steel containers work well and avoid chemical leaching.
- Slow Cooker Meals: Transfer hot slow cooker contents to shallow containers promptly instead of leaving in the pot to cool.
One variation I learned while helping a friend with a big family reunion: chilling soups in ice water baths and stirring regularly cut cooling time in half, which was a lifesaver when the fridge was packed tight.
Serving & Storage Suggestions
Once your hot food is safely in the fridge, here’s how to keep it tasting great:
- Serve Chilled or Reheated: Some foods like pasta salads are great cold, while soups and stews benefit from reheating to steaming hot.
- Keep Containers Sealed: Prevent odors and moisture loss by sealing containers tightly.
- Storage Duration: Most cooked dishes stay fresh 3-4 days refrigerated. Label containers with date to track freshness.
- Freezing Leftovers: For longer storage, freeze food in airtight containers or freezer bags within 2 hours of cooking.
- Reheat Tips: Reheat evenly by stirring halfway through warming. Microwave or stove top works—just avoid partial warming.
- Flavors Develop Over Time: Some dishes like chili taste even better the next day, so don’t hesitate to prep in advance.
One time, I left a container uncovered in the fridge by accident—lesson learned: not only did it dry out, but my fridge ended up smelling like last week’s dinner for days!
Nutritional Information & Benefits
While this guide focuses on food safety rather than nutrition, proper food storage helps preserve nutritional quality. Quick cooling minimizes nutrient loss from heat and bacterial spoilage.
- Keeping leftovers safe reduces waste and maximizes your meal’s value.
- Using glass containers avoids potential toxins from plastic, which some people prefer for health reasons.
- Safe storage ensures you get the full benefit of vitamins and minerals without risking foodborne illness.
- For those on special diets (gluten-free, low sodium), this method works equally well for all recipes.
Personally, I appreciate that this simple process supports both my health goals and my busy schedule—it’s a win-win.
Conclusion
Putting hot food in the fridge doesn’t have to be a guessing game. With these simple, safe steps, you can protect your meals, your health, and your peace of mind. Whether you’re a seasoned cook or just trying to handle leftovers better, this guide offers practical advice that fits right into your routine.
Remember, small habits like dividing food into shallow containers and cooling it promptly make a big difference. I love this method because it takes the stress out of food storage and helps me enjoy my meals without worrying about safety.
If you try these tips, I’d love to hear how they work for you—drop a comment or share any tweaks you’ve made. Now go ahead, put those hot dishes away the smart way and savor every bite!
FAQs
- Can I put hot food directly into the fridge? Yes, but it’s best to divide it into smaller portions and cool it slightly before sealing and refrigerating to avoid raising fridge temperature.
- How long can hot food sit out before refrigerating? No more than 2 hours at room temperature, or 1 hour if it’s above 90°F (32°C).
- What containers are best for cooling hot food? Shallow glass or BPA-free plastic containers with lids are ideal for quick cooling and safe storage.
- Is it safe to reheat leftovers multiple times? It’s best to reheat only the portion you’ll eat and avoid repeated reheating to reduce bacterial risk.
- Can I speed up cooling with an ice bath? Yes, placing containers in an ice water bath while stirring helps cool food faster before refrigerating.
Pin This Recipe!
Safe and Simple Guide to Putting Hot Food in the Fridge Quickly and Safely

A practical guide to safely cooling and storing hot food in the refrigerator to prevent spoilage and bacterial growth, using simple kitchen techniques and common equipment.
- Prep Time: 10 minutes
- Cook Time: Varies depending on recipe
- Total Time: 30 minutes (for cooling and storing process)
- Yield: Varies depending on amount of food cooked
- Category: Food Safety / Storage Guide
- Cuisine: Universal
Ingredients
- Cooked hot food (stew, casserole, soup, etc.)
- Heatproof containers (glass or BPA-free plastic with lids)
- Shallow bowls or containers (2 inches deep or less)
- Cooling racks (optional)
- Pot holders or oven mitts
- Food thermometer
- Plastic wrap or aluminum foil
- Ice bath setup (large bowl or sink filled with ice and water)
Instructions
- Cook your food thoroughly to at least 165°F (74°C) to kill harmful bacteria.
- Remove food from heat promptly and transfer to a cooler area for initial cooling.
- Divide hot food into smaller, shallow containers no more than 2 inches (5 cm) deep to speed cooling.
- Let containers cool uncovered at room temperature for no more than 20 minutes to allow heat to escape.
- Place containers in an ice bath (large bowl or sink filled with ice water) and stir gently to accelerate cooling, ensuring no water enters containers.
- Once food is warm but no longer steaming (around 90°F / 32°C or lower), cover containers with lids or plastic wrap and refrigerate immediately.
- Space out containers in the fridge to allow cold air circulation and even cooling.
- Use a food thermometer to check that food reaches below 40°F (4°C) within two hours to reduce bacterial growth risk.
- When ready to eat, reheat leftovers to 165°F (74°C) to kill any potential bacteria.
Notes
Avoid sealing hot food immediately to prevent condensation and fridge fogging. Divide food into smaller portions to speed cooling and reduce bacterial growth risk. Use an ice bath to accelerate cooling if needed. Never leave cooked food out for more than 2 hours (1 hour if above 90°F/32°C). Keep fridge temperature at or below 40°F (4°C). Reheat leftovers to 165°F (74°C) before eating.
Nutrition
- Serving Size: Varies depending on
Keywords: hot food storage, food safety, cooling hot food, refrigerator tips, leftovers, meal prep, safe food handling