Love this? Save it for later!
Share the inspiration with your friends
Introduction
The other day, I was waiting in line at my local coffee shop, the hum of the espresso machine punctuating the air, when the unmistakable scent of caramel sauce wafted past me — and suddenly I was eight years old, standing barefoot in my aunt’s tiny kitchen, watching her drizzle golden caramel over a bowl of homemade ice cream. It was summer, the kind that sticks to your skin and tastes like long afternoons and laughter. I remember the way the caramel pooled just right, shimmering under the kitchen light, and the cold cream melting slowly on my tongue. That moment, so sensory and vivid, has stuck with me — even though my aunt moved away years ago, and the old kitchen has long since changed. I’ve been chasing that exact creamy, salty-sweet feeling ever since, and honestly, this creamy no-churn salted caramel ice cream recipe is my best shot at holding onto it. Maybe you’ve been there too — trying to capture a fleeting taste of childhood in your own kitchen. If you have a sweet tooth with a soft spot for caramel, I think you’ll find this recipe just as comforting and satisfying as I do, especially on those quiet evenings when you want something special without all the fuss.
Why You’ll Love This Recipe
Let me tell you, I’ve tested a lot of ice cream recipes over the years, and this creamy no-churn salted caramel ice cream recipe stands out for a bunch of reasons. It’s not just about the flavor — though that buttery, salty caramel swirl is honestly next-level. It’s about making something deliciously indulgent without needing an ice cream maker or hours of waiting around. Here’s why this recipe keeps winning:
- Quick & Easy: You’ll have this ready to freeze in under 15 minutes — perfect for those last-minute dessert cravings or when you want to impress without the stress.
- Simple Ingredients: No complicated shopping lists here. Most of what you need is probably already sitting in your pantry or fridge.
- Perfect for Cozy Nights: Whether you’re winding down solo or sharing with friends, this ice cream feels like a warm hug in every bite.
- Crowd-Pleaser: I’ve served this at potlucks and family dinners, and it always disappears fast — even my picky eaters ask for seconds.
- Unbelievably Delicious: The texture is ultra-smooth and creamy, with that perfect balance of sweet and salty that keeps you coming back.
What makes this recipe different? Well, it’s the no-churn method combined with a homemade salted caramel sauce that isn’t too sweet or sticky but just right. I’ve tweaked that caramel sauce over time — cooking it slowly to get that deep amber color and just the right hint of salt. Plus, folding the caramel gently into the whipped cream keeps the ice cream light but still rich. Honestly, it’s the kind of dessert that makes you close your eyes after the first bite, savoring the creamy, salty goodness. If you’re looking for a homemade dessert that feels fancy but won’t keep you in the kitchen all day, this is the one to try.
What Ingredients You Will Need
This creamy no-churn salted caramel ice cream recipe uses simple, wholesome ingredients to deliver that bold flavor and satisfying texture without the fuss. Most of these are pantry staples, and if you’re missing something, I’ve included easy swaps.
- For the Salted Caramel Sauce:
- 1 cup (200g) granulated sugar
- 6 tablespoons (85g) unsalted butter, cut into pieces (adds richness)
- 1/2 cup (120ml) heavy cream, warmed (use dairy-free cream if needed)
- 1 teaspoon sea salt (adjust to taste)
- For the Ice Cream Base:
- 2 cups (480ml) heavy whipping cream, chilled (I prefer organic for creaminess)
- 1 (14 oz/397g) can sweetened condensed milk (look for good quality, like Eagle Brand)
- 1 teaspoon pure vanilla extract
For substitutions, if you want a dairy-free version, try coconut cream instead of heavy cream and a coconut-based condensed milk alternative. For a gluten-free option, you’re good to go since this recipe is naturally free of gluten. The sea salt is key — I recommend flaky Maldon salt for that perfect crunch and flavor burst. If fresh cream isn’t available, a good-quality store-bought heavy cream will do just fine, but fresh always tastes better. The salted caramel sauce is the star, so take your time with it!
Equipment Needed
You won’t need much for this creamy no-churn salted caramel ice cream recipe — that’s part of the charm. Here’s what I use:
- Medium saucepan (for caramel sauce)
- Mixing bowls (one large for whipping cream, one for folding)
- Electric hand mixer or stand mixer (whipping cream by hand is possible but takes forever!)
- Rubber spatula (great for folding in the caramel gently without losing air)
- Freezer-safe container or loaf pan (for freezing the ice cream)
If you don’t have an electric mixer, a sturdy whisk and some elbow grease will work, but just be patient — the cream needs to be whipped to soft peaks. For the saucepan, a heavy-bottomed one helps prevent burning the sugar when making caramel. I once tried this with a thin pan and ended up with a burnt batch — not fun! You don’t need any fancy ice cream machines or gadgets, which makes this recipe perfect for any home cook.
Preparation Method
- Make the Salted Caramel Sauce (about 15 minutes):
In a medium saucepan over medium heat, add the granulated sugar. Stir constantly with a heatproof spatula or wooden spoon as it melts and turns a deep amber color — this can take about 5-8 minutes. Watch carefully — it can go from perfect to burnt in seconds.
- Add Butter:
Once the sugar is fully melted and amber, carefully add the butter pieces. The mixture will bubble up vigorously, so be cautious. Stir until the butter is fully melted and combined.
- Pour in Warmed Cream:
Slowly drizzle in the warmed heavy cream while stirring continuously. The mixture will bubble again. Let it simmer for 1-2 minutes until smooth and slightly thickened. Remove from heat and stir in the sea salt. Let the caramel cool to room temperature — it should be pourable but not hot.
- Whip the Heavy Cream:
In a large bowl, use an electric mixer to whip the chilled heavy cream until soft peaks form. This usually takes about 3-4 minutes on medium-high speed.
- Combine Sweetened Condensed Milk and Vanilla:
In a separate bowl, mix the sweetened condensed milk with the vanilla extract until smooth.
- Fold Ingredients Together:
Gently fold the condensed milk mixture into the whipped cream using a rubber spatula. Be careful not to deflate the cream. Once combined, fold in about 3/4 of the salted caramel sauce, saving the rest for swirling.
- Assemble the Ice Cream:
Transfer half the ice cream base into your freezer-safe container. Drizzle half of the remaining caramel sauce on top. Add the rest of the ice cream base, then swirl the last of the caramel through with a knife or skewer to create ribbons.
- Freeze:
Cover tightly and freeze for at least 6 hours or overnight until firm. For the best texture, let the ice cream sit at room temperature for 5-10 minutes before scooping.
Pro tip: If your caramel thickens too much while cooling, gently warm it back up for a few seconds before folding it into the ice cream base. Also, don’t rush the whipping — soft peaks are crucial for that creamy texture. I remember once rushing the whip and ending up with a dense, icy mess — lesson learned!
Cooking Tips & Techniques
Making a creamy no-churn salted caramel ice cream might seem straightforward, but a few tips can save you from common pitfalls. First, be patient with the caramel. Stirring sugar as it melts requires your full attention; a burnt caramel will ruin the entire batch. If the caramel sauce is too thick or cold when you fold it in, it can harden in the ice cream, making scooping tricky. I like to keep a small bowl of warm water nearby to dip my spoon in when swirling the caramel — it helps create those smooth ribbons.
Whipping the cream properly is another key step. The cream should form soft peaks — not too stiff, or the ice cream will be too dense, and not too loose, or it won’t hold air. I learned this the hard way after rushing and ending up with a watery frozen dessert. Also, folding should be gentle but thorough; you want to keep that airy texture without lumps of condensed milk hiding at the bottom.
Timing-wise, I often prepare the caramel first and let it cool while whipping the cream and assembling the base. Multitasking here saves a lot of time. When freezing, cover the container tightly with plastic wrap before the lid to prevent ice crystals. This little extra step keeps the ice cream velvety smooth.
Variations & Adaptations
This creamy no-churn salted caramel ice cream recipe is pretty versatile, so you can easily tailor it to your taste or dietary needs. Here are some ideas I’ve tried or recommend:
- Chocolate Swirl: Add a ribbon of homemade fudge or melted dark chocolate instead of caramel for a chocolate lover’s dream.
- Vegan Version: Use full-fat coconut cream instead of heavy cream and a sweetened condensed coconut milk alternative. The texture is slightly different, but still deliciously creamy.
- Nutty Twist: Fold in toasted pecans or walnuts for a crunchy contrast to the smooth ice cream and salty caramel. Toasting the nuts really brings out their flavor.
- Seasonal Fruit: During summer, swirl in a berry compote or fresh sliced peaches for a fruity contrast that brightens the rich caramel.
Personally, I once made a batch with a pinch of cinnamon in the caramel sauce — it added a subtle warmth that felt perfect for fall evenings. Feel free to experiment with sea salt types or add a splash of bourbon to the caramel for an adult twist. There’s plenty of room to play here, so don’t hesitate to make this recipe your own.
Serving & Storage Suggestions
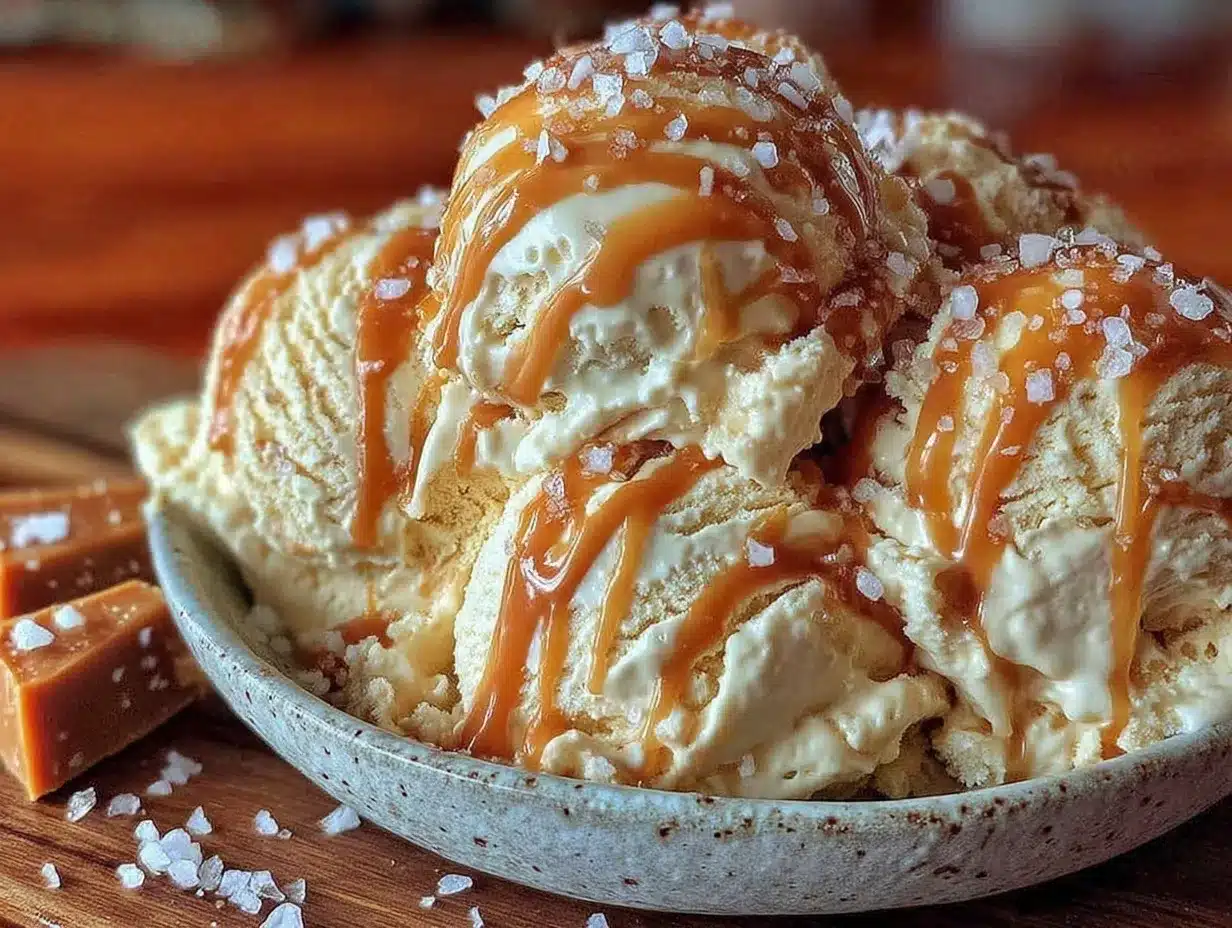
This creamy no-churn salted caramel ice cream is best served slightly softened — let it sit out for 5 to 10 minutes after taking it out of the freezer. That way, it scoops easily and melts perfectly on your tongue. I like to serve it in small bowls with an extra drizzle of warm salted caramel sauce and a sprinkle of flaky sea salt on top for added texture.
It pairs beautifully with warm desserts like apple pie, brownies, or my favorite crispy garlic chicken for an unexpected sweet-and-savory combo. For drinks, a dark roast coffee or a glass of dessert wine complements the caramel notes perfectly.
To store, keep the ice cream tightly covered in the freezer to avoid ice crystals. It will keep well for up to two weeks, though honestly, it rarely lasts that long in my house! When reheating leftovers (if you can call it that), soften at room temperature then stir gently before serving to refresh the texture. Over time, the caramel ribbons meld beautifully, making each scoop a little different.
Nutritional Information & Benefits
While this creamy no-churn salted caramel ice cream is definitely a treat, it offers some nutritional highlights worth noting. Each serving (about 1/2 cup or 125g) contains approximately 250 calories, with 15g of fat, 28g of carbohydrates, and 3g of protein. The heavy cream and butter provide a good dose of calcium and vitamin A, while the sea salt adds electrolytes.
Because this recipe uses simple, real ingredients without artificial additives, it feels like a cleaner indulgence compared to many store-bought ice creams. For those watching sugar intake, you can adjust the caramel amount or try a low-sugar condensed milk alternative. It’s naturally gluten-free and can be adapted for dairy-free diets, making it accessible for many dietary preferences.
From a wellness perspective, I find that making this ice cream at home means control over ingredients, so I’m not consuming unnecessary preservatives or stabilizers. Plus, the satisfaction of making it yourself makes the treat all the sweeter.
Conclusion
This creamy no-churn salted caramel ice cream recipe is a little bit magic in a bowl—simple enough for weeknight cravings, yet rich and satisfying enough to feel special. I hope it becomes one of those recipes you reach for when you want to treat yourself or impress guests without a fuss. Honestly, the best part is how it captures that perfect balance of salty and sweet, creamy and crunchy, familiar yet a little indulgent. Give it a try, tweak it to your liking, and tell me how it turns out — I love hearing about your kitchen wins and adaptations! There’s nothing quite like sharing a homemade dessert that brings a bit of joy and nostalgia in every scoop.
FAQs
Can I make this ice cream without an electric mixer?
Yes, you can whip the cream by hand with a whisk, but it will take longer and require some effort. Aim for soft peaks to get the best texture.
How long can I store this no-churn salted caramel ice cream?
Store it in a tightly sealed container in the freezer for up to two weeks. Beyond that, texture and flavor may start to degrade.
Can I use store-bought caramel sauce instead of making my own?
You can, but homemade caramel has fresher flavor and better control over sweetness and saltiness. If using store-bought, look for a high-quality sauce and adjust the salt to taste.
Is this recipe suitable for a dairy-free diet?
Yes! Substitute heavy cream with coconut cream and use a dairy-free sweetened condensed milk alternative. The texture will be slightly different but still delicious.
Why does the caramel sometimes harden in the ice cream?
If the caramel cools and thickens too much before folding in, it can harden when frozen. Slightly warm the caramel before mixing to keep it pourable and easy to swirl.
Pin This Recipe!
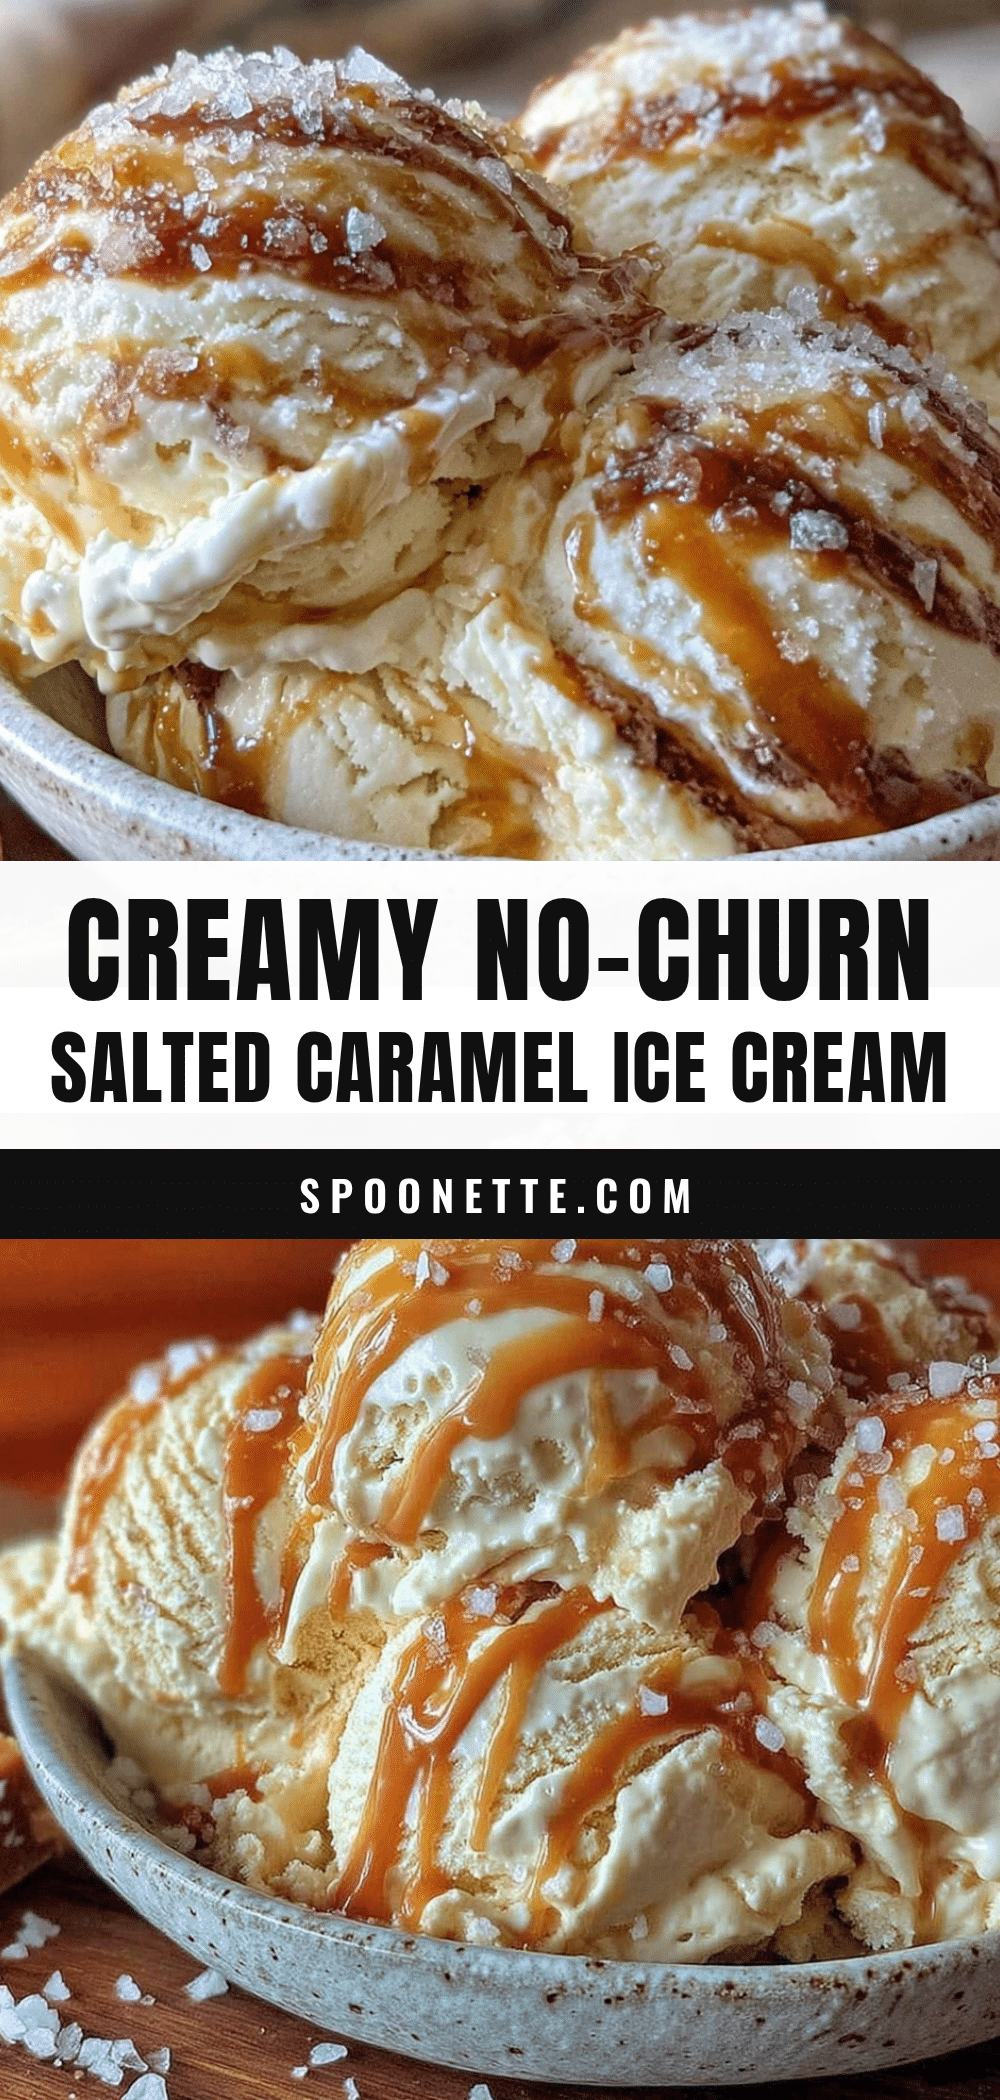
Creamy No-Churn Salted Caramel Ice Cream

A quick and easy homemade no-churn ice cream featuring a rich, buttery salted caramel swirl. Perfect for cozy nights and crowd-pleasing dessert cravings without the need for an ice cream maker.
- Prep Time: 15 minutes
- Cook Time: 6 hours (freezing time)
- Total Time: 6 hours 15 minutes
- Yield: 8 servings 1x
- Category: Dessert
- Cuisine: American
Ingredients
- 1 cup (200g) granulated sugar
- 6 tablespoons (85g) unsalted butter, cut into pieces
- 1/2 cup (120ml) heavy cream, warmed (use dairy-free cream if needed)
- 1 teaspoon sea salt (adjust to taste)
- 2 cups (480ml) heavy whipping cream, chilled
- 1 (14 oz/397g) can sweetened condensed milk
- 1 teaspoon pure vanilla extract
Instructions
- In a medium saucepan over medium heat, add the granulated sugar. Stir constantly with a heatproof spatula or wooden spoon as it melts and turns a deep amber color (about 5-8 minutes).
- Once the sugar is fully melted and amber, carefully add the butter pieces. Stir until the butter is fully melted and combined.
- Slowly drizzle in the warmed heavy cream while stirring continuously. Let it simmer for 1-2 minutes until smooth and slightly thickened. Remove from heat and stir in the sea salt. Let the caramel cool to room temperature.
- In a large bowl, use an electric mixer to whip the chilled heavy cream until soft peaks form (about 3-4 minutes).
- In a separate bowl, mix the sweetened condensed milk with the vanilla extract until smooth.
- Gently fold the condensed milk mixture into the whipped cream using a rubber spatula. Fold in about 3/4 of the salted caramel sauce, saving the rest for swirling.
- Transfer half the ice cream base into a freezer-safe container. Drizzle half of the remaining caramel sauce on top. Add the rest of the ice cream base, then swirl the last of the caramel through with a knife or skewer to create ribbons.
- Cover tightly and freeze for at least 6 hours or overnight until firm. Let sit at room temperature for 5-10 minutes before scooping.
Notes
If caramel thickens too much while cooling, gently warm it before folding into the ice cream base. Whip cream to soft peaks for best texture. Cover container tightly with plastic wrap before lid to prevent ice crystals. For dairy-free version, substitute heavy cream with coconut cream and use dairy-free condensed milk.
Nutrition
- Serving Size: 1/2 cup (125g)
- Calories: 250
- Sugar: 26
- Sodium: 150
- Fat: 15
- Saturated Fat: 9
- Carbohydrates: 28
- Protein: 3
Keywords: no-churn ice cream, salted caramel, homemade dessert, easy ice cream recipe, no ice cream maker, creamy ice cream, caramel swirl