Love this? Save it for later!
Share the inspiration with your friends
There used to be a tiny diner off Highway 99, the kind with cracked vinyl booths and a jukebox that only played songs from 1987. They made this lunchbox quesadilla that my son, Leo, became absolutely obsessed with. When the diner closed suddenly—a “For Lease” sign appeared overnight—Leo asked me every single day for two months if I could make them. After twelve tries—some burnt, some soggy, one that fell apart completely in his lunchbox—I finally got it.
Honestly, I didn’t think a simple quesadilla could be this tricky to get right for a packed lunch. The problem was always the same: by lunchtime, the tortilla would be either a rubbery mess or completely soggy. But these Easy 5-Ingredient Lunchbox Quesadillas? They hold up beautifully. The secret isn’t in fancy ingredients or complicated techniques—it’s in the assembly and a tiny trick I figured out after that sixth sad, limp attempt.
I mean, who knew that a quick cool-down on a wire rack could change everything? Maybe you’ve been there too—standing over a hot pan, wondering why your make-ahead meals never taste as good as they do fresh. Let me tell you, these quesadillas changed our lunch game completely. They’re the kind of recipe that makes you feel like you’ve actually got your life together, even on a Tuesday morning when you’re running late.
Why You’ll Love This Recipe
These aren’t just any quesadillas. After testing this recipe for three different lunchboxes—my son’s, my niece’s, and my own work bag—I can tell you they’re something special. Here’s why they work so well:
- Quick & Easy: From start to finish, you’re looking at about 15 minutes of active prep time. Make a batch on Sunday, and you’ve got lunches sorted for the whole week.
- Simple Ingredients: You only need five ingredients, and I bet you already have most of them in your kitchen right now. No fancy cheese blends or specialty tortillas required.
- Perfect for Meal Prep: These freeze beautifully and reheat like a dream. They’re the ultimate grab-and-go lunch that actually tastes good cold, too.
- Crowd-Pleaser: Kids love them, adults love them, and they’re endlessly customizable. I’ve yet to meet someone who doesn’t go back for seconds.
- Unbelievably Delicious: The texture is what gets me every time. The outside stays slightly crisp, the inside is gooey and warm, and the flavors meld together perfectly after a day in the fridge.
What makes these different from every other quesadilla recipe out there? It’s the method. Most recipes tell you to cook them and pack them hot. That’s where things go wrong. I learned the hard way that letting them cool completely on a wire rack before storing is the game-changer. It keeps the tortilla from steaming itself into a soggy mess. Plus, I use a specific cheese-to-filling ratio that ensures every bite is perfectly balanced, even after reheating.
This recipe is the kind that makes you close your eyes after the first bite. It’s comfort food reimagined—simpler, faster, but with the same soul-soothing satisfaction. Perfect for impressing your kids without stress, or turning a boring lunch into something you actually look forward to.
What Ingredients You Will Need
This recipe uses simple, wholesome ingredients to deliver bold flavor and satisfying texture without the fuss. Each ingredient plays a specific role, and I’ve tested plenty of variations to know what works best.
- Large flour tortillas (8-inch) – I prefer Mission brand for their flexibility and consistent cooking. Look for tortillas that are pliable but not too thin. Corn tortillas work too, but they’re more likely to crack when folded.
- Shredded cheddar cheese (2 cups) – Sharp cheddar gives the best flavor. Pre-shredded works in a pinch, but freshly shredded melts more smoothly. I’ve used Mexican blend cheese with great results too.
- Cooked chicken breast (1.5 cups, shredded or diced) – Rotisserie chicken is my go-to for convenience. Leftover grilled chicken works beautifully. For a vegetarian version, try black beans or refried beans.
- Mild salsa (1/2 cup) – Pace or Herdez are solid choices. Drain off excess liquid before using to prevent soggy quesadillas. You can use chunky or smooth—just make sure it’s not too watery.
- Butter or oil (for cooking) – Butter adds incredible flavor and helps achieve that golden-brown crust. Avocado oil works well for a dairy-free option. I use about 1 tablespoon for the whole batch.
A quick note on ingredient selection: look for tortillas that are soft and flexible, not dry or cracking at the edges. For the cheese, block cheese that you shred yourself will give you the best melt and flavor. And don’t skip draining the salsa—that extra liquid is the enemy of a crisp quesadilla.
For substitutions, you can swap the chicken for turkey, ham, or even canned tuna. Use dairy-free cheese if needed, though the melt won’t be quite as gooey. I’ve also made these with whole wheat tortillas, and they work perfectly—just cook them about 30 seconds longer per side.
Equipment Needed
You don’t need much for this recipe, which is part of its beauty. Here’s what you’ll need:
- Large non-stick skillet or griddle – A 12-inch skillet works best for cooking one quesadilla at a time. A griddle lets you cook multiple at once. I use my old cast iron skillet, but non-stick is easier for beginners.
- Spatula – A wide, thin spatula makes flipping easier. I’ve broken a few flimsy ones trying to flip loaded quesadillas.
- Cutting board and sharp knife – For cutting the quesadillas into wedges. A pizza cutter works even better and gives cleaner edges.
- Wire cooling rack – This is crucial. A wire rack lets air circulate around the quesadillas so they don’t get soggy. If you don’t have one, use a plate lined with paper towels.
- Parchment paper or wax paper – For layering between quesadillas when storing. Keeps them from sticking together.
- Freezer-safe bags or containers – For storing your batch. I use quart-sized freezer bags that lay flat.
If you’re on a budget, skip the griddle and use your largest skillet. A pizza cutter is nice but not essential—a sharp knife works fine. The one thing I’d splurge on is a good wire cooling rack. It makes a real difference in texture.
Preparation Method
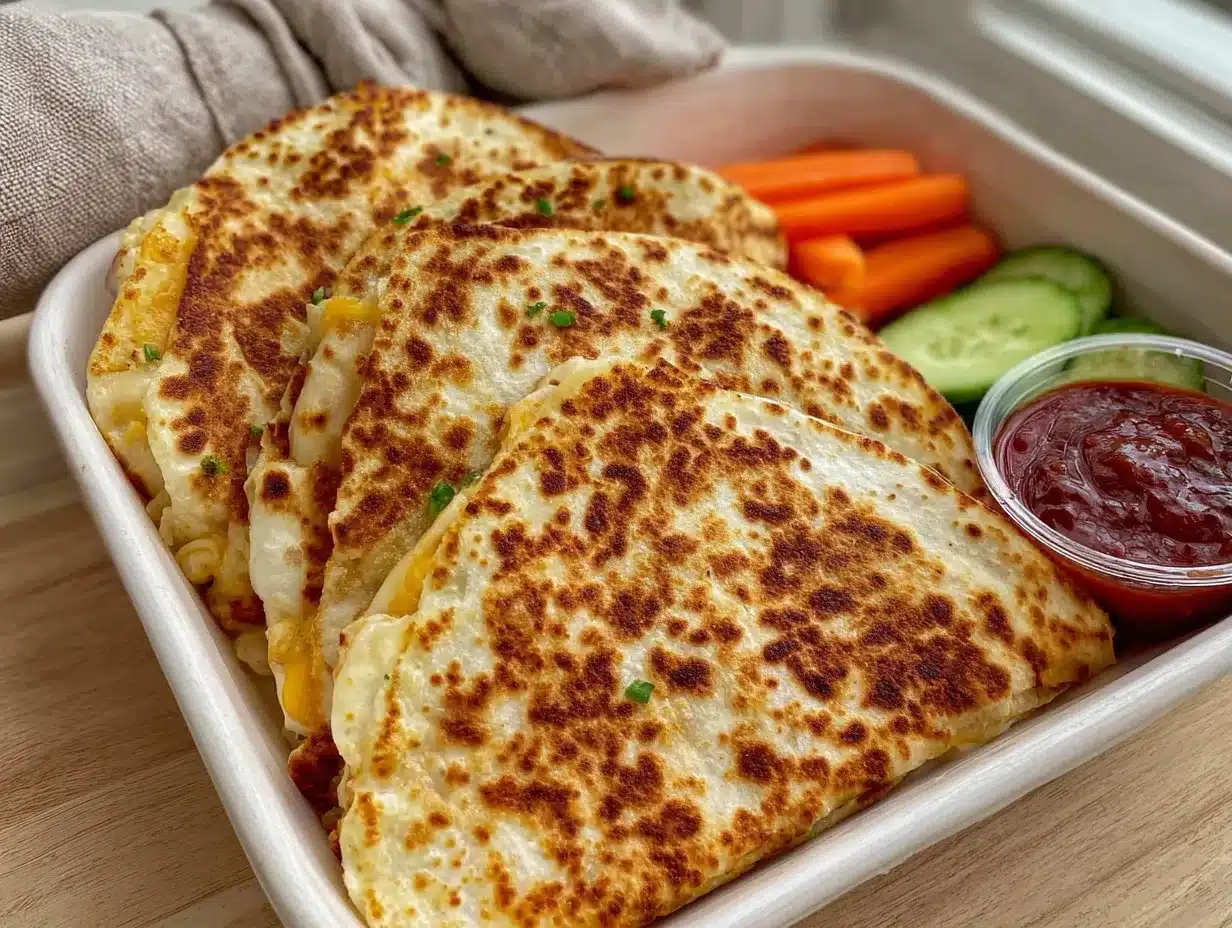
Let me walk you through this step by step. I’ve included all the little details I wish someone had told me when I was first figuring this out.
- Prep your ingredients (5 minutes) – Shred your cheese if using a block. Shred or dice your cooked chicken. Drain any excess liquid from the salsa by letting it sit in a fine-mesh strainer for a minute. Pat the chicken dry with paper towels if it seems moist.
- Assemble the quesadillas (10 minutes) – Lay a tortilla flat on your work surface. Sprinkle about 1/4 cup of cheese evenly over one half of the tortilla, leaving a small border around the edge. Add about 1/4 cup of chicken on top of the cheese. Spoon about 1 tablespoon of drained salsa over the chicken. Top with another 1/4 cup of cheese. Fold the empty half over the filling, pressing gently to seal. The cheese acts like glue, so make sure it’s on both sides of the filling.
- Cook the quesadillas (3-4 minutes per quesadilla) – Heat your skillet over medium heat. Add a small amount of butter or oil—about 1/2 teaspoon per quesadilla. Place the quesadilla in the pan and cook for 2-3 minutes, until the bottom is golden brown and crispy. Carefully flip using your spatula and cook for another 2-3 minutes. The cheese should be fully melted and the tortilla should have dark golden spots. If the pan starts smoking, your heat is too high.
- Cool completely on a wire rack (15-20 minutes) – This is the step that makes or breaks your make-ahead quesadillas. Transfer each cooked quesadilla to a wire rack in a single layer. Don’t stack them! Let them cool completely, about 15-20 minutes. I know it’s tempting to cut into them right away, but patience here pays off. The residual heat continues to crisp the outside while the inside sets.
- Cut and pack for storage (5 minutes) – Once completely cool, cut each quesadilla into 4 wedges using a pizza cutter or sharp knife. If you’re packing for lunch, place wedges in a container with a piece of parchment paper between layers. For freezing, arrange the wedges in a single layer on a baking sheet and freeze for 1 hour, then transfer to a freezer bag. This prevents them from freezing into a solid block.
Your quesadillas should look golden brown with visible cheese bubbling at the edges. When you tap the surface, it should feel firm, not soft. The smell will be incredible—toasty tortilla and melted cheese with a hint of salsa brightness.
A few troubleshooting notes: If your quesadilla is browning too fast on the outside but the cheese isn’t melted, your heat is too high. Turn it down and give the cheese more time. If the tortilla tears when you flip it, you probably overfilled it—use less filling next time. And if the quesadilla feels greasy, you used too much butter or oil.
Cooking Tips & Techniques
After making these quesadillas more times than I can count, here are the tricks that make a real difference:
The double-cheese trick. Always put cheese on both sides of the filling. The cheese on the bottom acts as a barrier that keeps the tortilla from getting soggy from the salsa. The cheese on top helps everything stick together when you flip it. I learned this after my third batch fell apart completely.
Don’t overfill. I know it’s tempting to pile on the fillings, but less really is more here. Too much filling makes the quesadilla hard to flip, and the filling won’t heat through properly. You want about 1/2 cup of filling total per quesadilla. Trust me on this—I’ve made the mistake of overfilling more times than I’d like to admit.
The medium heat rule. Medium heat is your friend. High heat burns the outside before the cheese melts. Low heat makes the tortilla tough and chewy. Medium heat gives you that perfect golden crust with a fully melted interior. If you’re using a cast iron pan, you might need medium-low since cast iron retains heat so well.
Let them rest. After cooking, let the quesadilla rest on the cutting board for 30 seconds before cutting. This lets the cheese set slightly so it doesn’t all ooze out when you cut. I’m impatient too, but those 30 seconds make a noticeable difference.
Batch cooking strategy. If you’re making a big batch, keep cooked quesadillas warm in a 200°F oven on a baking sheet while you finish the rest. But if you’re making them for the freezer, let them cool completely on the wire rack—skip the oven step.
Variations & Adaptations
One of the best things about this recipe is how flexible it is. Here are some variations I’ve tried and loved:
Vegetarian Black Bean Quesadillas. Swap the chicken for 1 can of drained and rinsed black beans. Mash them slightly with a fork before adding. Add a handful of corn kernels for extra sweetness. My vegetarian friend Sarah requests these every time she comes over.
Breakfast Quesadillas. Use scrambled eggs instead of chicken, add some cooked bacon or sausage, and swap the salsa for a spoonful of pico de gallo. These are amazing for a quick breakfast on busy mornings. My husband eats these cold straight from the fridge.
Spicy Southwestern Version. Add 1/4 cup of canned corn, 2 tablespoons of chopped pickled jalapeños, and use pepper jack cheese instead of cheddar. A sprinkle of cumin and chili powder takes it over the top. This is my personal favorite when I want something with a kick.
Dairy-Free Adaptation. Use dairy-free cheese shreds and cook in avocado oil instead of butter. Daiya and Violife both melt reasonably well. The texture won’t be exactly the same, but it’s still delicious. My friend with lactose intolerance gives these a thumbs up.
Gluten-Free Version. Use gluten-free tortillas. I’ve had the best luck with Siete brand almond flour tortillas. They’re smaller, so adjust your filling amounts. Cook them a bit longer on lower heat since they brown faster.
Serving & Storage Suggestions
These quesadillas are incredibly versatile when it comes to serving. Here’s what works best:
Serving temperature. They’re delicious hot, warm, or at room temperature. For lunchboxes, I pack them cold and they’re perfect by lunchtime. If you’re serving them at home, let them rest for 2-3 minutes after cooking for the best texture.
What to serve with them. A side of sour cream or Greek yogurt for dipping is always a hit. Guacamole, extra salsa, or a simple side salad works beautifully. For kids, apple slices and baby carrots make a perfect lunchbox combo. My son loves them with a small container of ranch dressing for dipping.
Storage instructions. In the refrigerator, these keep for up to 5 days. Layer them with parchment paper to prevent sticking. In the freezer, they last for up to 3 months. I freeze them flat in a single layer, then transfer to a freezer bag once solid.
Reheating methods. For best results, reheat in a dry skillet over medium heat for 2-3 minutes per side. The microwave works in a pinch—30 seconds on high—but the tortilla won’t be as crisp. For frozen quesadillas, thaw in the fridge overnight, then reheat in a skillet. Or reheat directly from frozen in a 350°F oven for 10-12 minutes.
How flavors develop. Honestly, these taste even better the next day. The flavors meld together overnight, and the texture somehow improves. Something magical happens when the cheese and salsa have time to get to know each other in the fridge.
Nutritional Information & Benefits
Here’s the approximate nutritional breakdown for one quesadilla (4 wedges):
| Nutrient | Amount |
|---|---|
| Calories | 385 |
| Protein | 28g |
| Carbohydrates | 32g |
| Fat | 16g |
| Fiber | 2g |
| Sodium | 680mg |
These quesadillas are a great source of protein from the chicken and cheese, which helps keep you full through the afternoon. The calcium from the cheese supports bone health, and the salsa adds a serving of vegetables. If you use whole wheat tortillas, you’ll get extra fiber.
For dietary considerations, this recipe is nut-free and egg-free. It contains dairy and gluten, but I’ve included adaptations for both above. The sodium is on the higher side, so if you’re watching your salt intake, use low-sodium cheese and no-salt-added salsa.
From a wellness perspective, I love that these quesadillas feel indulgent but are actually pretty balanced. They’ve got protein, carbs, and fat in reasonable amounts. They’re not a health food, but they’re a real, satisfying meal that I feel good about feeding my family.
Conclusion
These Easy 5-Ingredient Lunchbox Quesadillas have honestly become a staple in our house. They saved us from that post-diner-closing sadness, and they’ve saved me from countless morning lunch-packing stress. The best part is how customizable they are—you can make a batch that works for everyone in your family, from picky eaters to adventurous food lovers.
I’d love to hear how these turn out for you. Did you try a variation I haven’t thought of? Did your kids love them as much as mine does? Drop a comment below and let me know. And if you found this recipe helpful, share it with a friend who’s tired of the same old lunch routine. Trust me, they’ll thank you.
Here’s to lunches that actually taste good, mornings that feel less chaotic, and recipes that make you look like a hero. Happy cooking, friends!
Frequently Asked Questions
Can I use corn tortillas instead of flour?
Yes, but they’re smaller and more fragile. Heat them briefly in a dry pan first to make them pliable. Use less filling to prevent tearing, and cook them on slightly lower heat so they don’t burn.
How do I keep the quesadillas from getting soggy in the lunchbox?
The key is cooling them completely on a wire rack before packing. Also, make sure your salsa is well-drained and your chicken isn’t too moist. Pack them in a container with a paper towel at the bottom to absorb any excess moisture.
Can I make these in the oven instead of on the stove?
Absolutely. Preheat your oven to 400°F. Place assembled quesadillas on a baking sheet and bake for 8-10 minutes, flipping halfway through. They won’t be quite as crispy as stovetop versions, but they’re great for making multiple at once.
What’s the best way to reheat frozen quesadillas?
For the crispiest results, reheat them in a dry skillet over medium heat for 3-4 minutes per side. If you’re in a hurry, microwave for 30-45 seconds, then finish in a toaster oven for 2 minutes. The microwave alone will make them soft.
Can I add vegetables to these quesadillas?
Yes, but be careful with watery vegetables like tomatoes or zucchini. Sauté them first to remove excess moisture, then let them cool before adding to the quesadilla. Bell peppers, onions, and mushrooms work great and don’t make the filling too wet.
Pin This Recipe!
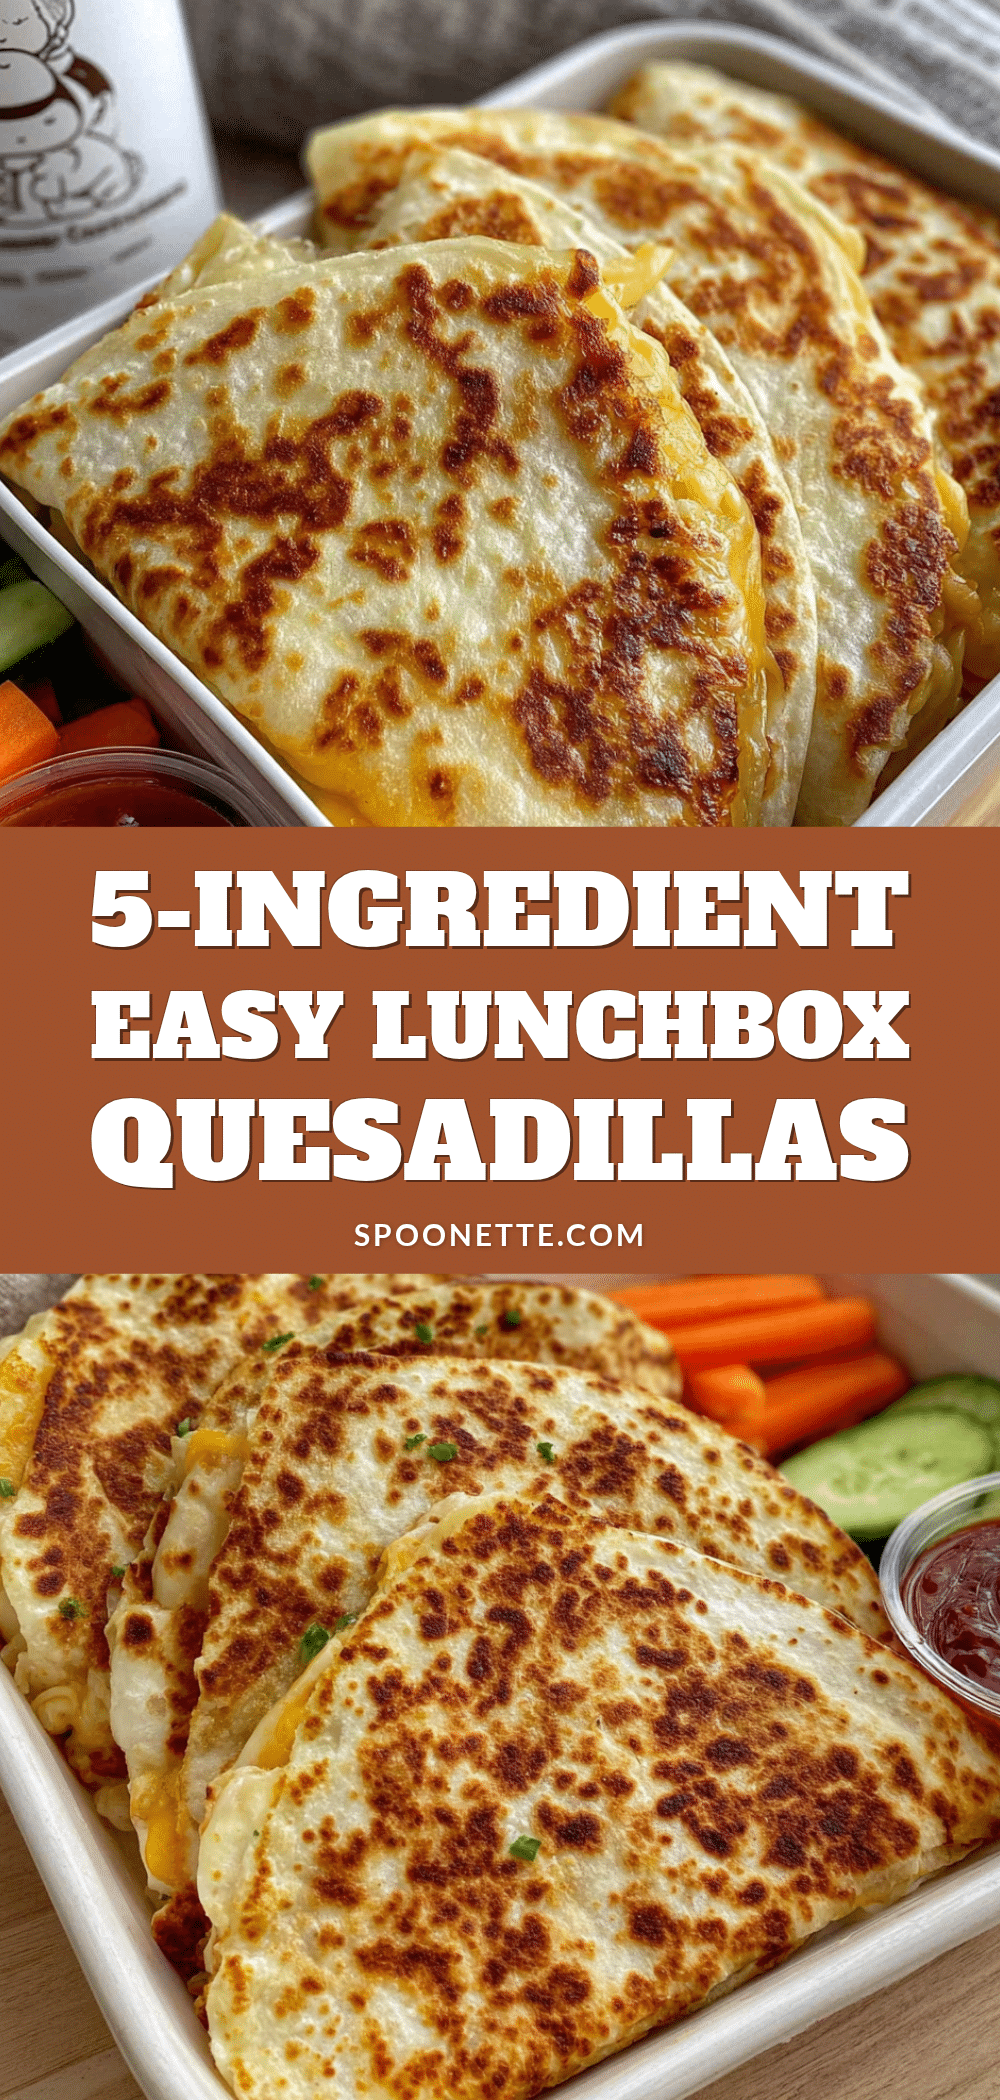
Easy 5-Ingredient Lunchbox Quesadillas: Best Make Ahead Batch

These make-ahead quesadillas are perfect for lunchboxes, with a crispy exterior and gooey interior that holds up beautifully even after reheating. Made with just five simple ingredients, they’re quick to prepare and freeze well for grab-and-go meals.
- Prep Time: 15 minutes
- Cook Time: 12 minutes
- Total Time: 27 minutes
- Yield: 4 servings 1x
- Category: Main Course
- Cuisine: Mexican
Ingredients
- 4 large flour tortillas (8-inch)
- 2 cups shredded cheddar cheese
- 1.5 cups cooked chicken breast, shredded or diced
- 1/2 cup mild salsa, drained
- 1 tablespoon butter or oil (for cooking)
Instructions
- Prep your ingredients: Shred cheese if using a block. Shred or dice cooked chicken. Drain excess liquid from salsa by letting it sit in a fine-mesh strainer for a minute. Pat chicken dry with paper towels if moist.
- Assemble the quesadillas: Lay a tortilla flat. Sprinkle about 1/4 cup of cheese evenly over one half of the tortilla, leaving a small border. Add about 1/4 cup of chicken on top of the cheese. Spoon about 1 tablespoon of drained salsa over the chicken. Top with another 1/4 cup of cheese. Fold the empty half over the filling, pressing gently to seal.
- Cook the quesadillas: Heat a large non-stick skillet over medium heat. Add about 1/2 teaspoon of butter or oil per quesadilla. Place the quesadilla in the pan and cook for 2-3 minutes until the bottom is golden brown and crispy. Carefully flip and cook for another 2-3 minutes until the cheese is fully melted and the tortilla has dark golden spots.
- Cool completely on a wire rack: Transfer each cooked quesadilla to a wire rack in a single layer. Do not stack. Let cool completely, about 15-20 minutes.
- Cut and pack for storage: Once completely cool, cut each quesadilla into 4 wedges using a pizza cutter or sharp knife. For lunch packing, place wedges in a container with parchment paper between layers. For freezing, arrange wedges in a single layer on a baking sheet and freeze for 1 hour, then transfer to a freezer bag.
Notes
The key to preventing soggy quesadillas is cooling them completely on a wire rack before storing. Use the double-cheese trick: put cheese on both sides of the filling to prevent sogginess and help everything stick together. Don’t overfill—about 1/2 cup of filling per quesadilla is ideal. Medium heat is best for cooking; high heat burns the outside before the cheese melts. For best results, reheat in a dry skillet over medium heat for 2-3 minutes per side.
Nutrition
- Serving Size: 1 quesadilla (4 wedg
- Calories: 385
- Sugar: 3
- Sodium: 680
- Fat: 16
- Saturated Fat: 8
- Carbohydrates: 32
- Fiber: 2
- Protein: 28
Keywords: quesadilla, lunchbox, make ahead, meal prep, chicken, 5 ingredients, easy, kid-friendly



