Love this? Save it for later!
Share the inspiration with your friends
My neighbor Jen wasn’t trying to impress me. I’d stopped by to borrow a cup of sugar—how cliché, I know—and this sweet, almost nostalgic smell hit me before I even got past her screen door. It was a Tuesday afternoon, and her kids were running around in mismatched socks, and there she was, pulling a pan of these little brownie bites out of the oven like it was the most ordinary thing in the world. She shrugged when I asked what they were. “Oh, just something quick for the kids’ snack,” she said, sliding them onto a cooling rack.
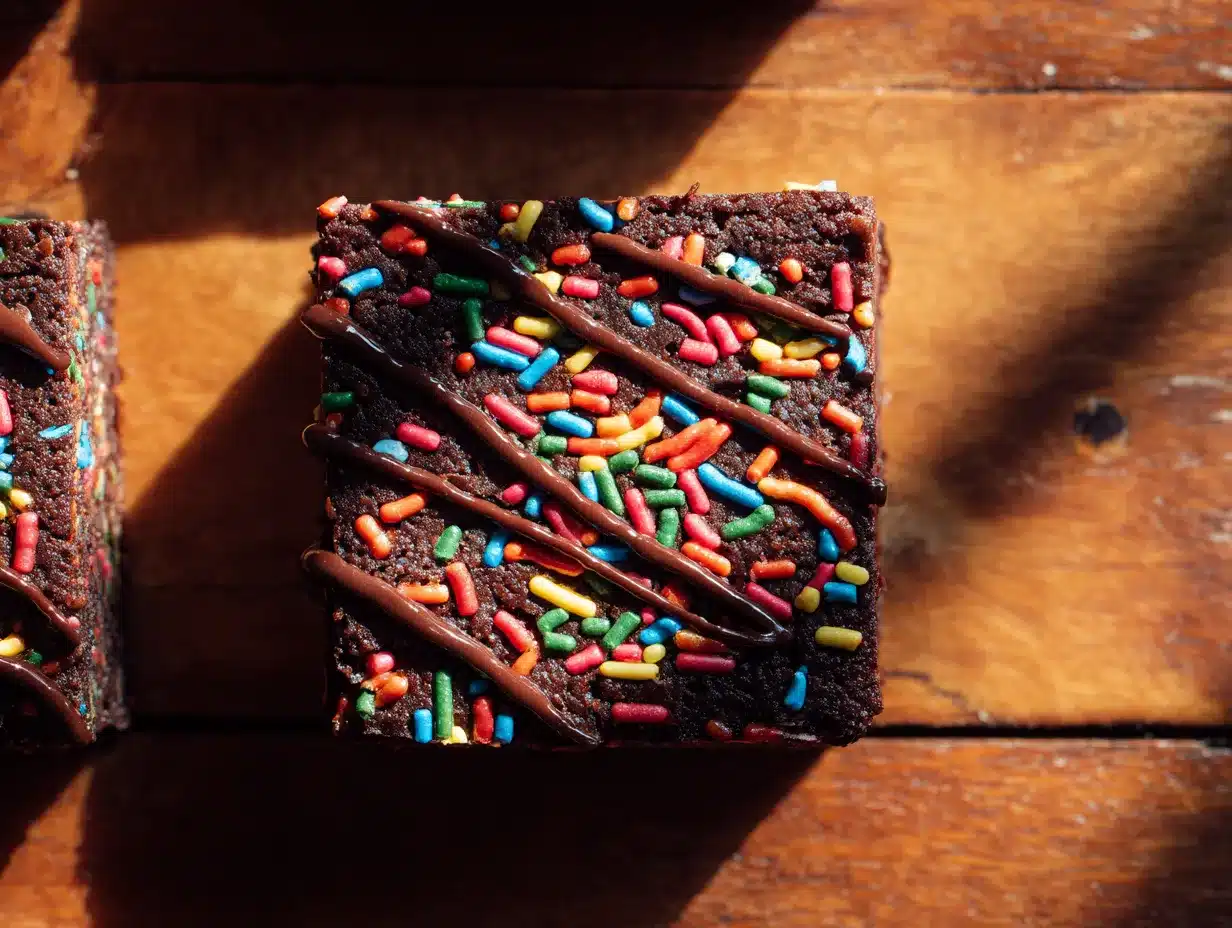
But I couldn’t stop staring at them. They weren’t just brownies. They were these perfect, fudgy little squares with a whole rainbow of sprinkles scattered on top, and they looked like pure joy baked into a pan. Honestly, I think I stood in her kitchen for a solid ten minutes, just watching her casually dust more sprinkles on top while her toddler tried to steal one off the counter. She handed me a warm bite, and I swear, I closed my eyes. It was that good. Maybe you’ve been there—you taste something so simple, so unassuming, and it just clicks.
That Tuesday, I went home with the sugar I needed and a crumpled napkin with her recipe scribbled on it. And now, these Fudgy Rainbow Sprinkle Brownie Bites have become my go-to for everything. They’re the kind of treat that makes you feel like a kid again, but they’re sophisticated enough in texture—dense, rich, and perfectly fudgy—that you don’t feel silly serving them to grown-ups. I’ve tweaked her method a bit over the years, but the heart of it is still that casual Tuesday afternoon. Let me tell you, these little bites have gotten me through bad days, birthday parties, and more “just because” moments than I can count.
Why You’ll Love This Recipe
These Fudgy Rainbow Sprinkle Brownie Bites aren’t just another brownie recipe. I’ve tested this one about a dozen times to get the texture just right—fudgy in the middle, slightly crackly on top, and packed with that nostalgic sprinkle crunch. Here’s why they’ve become a staple in my kitchen:
- Quick & Easy: From mixing bowl to your mouth in under 30 minutes. No stand mixer needed, no complicated steps. Perfect for those last-minute cravings or surprise guests.
- Simple Ingredients: You probably have most of these in your pantry right now. Butter, sugar, eggs, cocoa powder, flour, and a jar of rainbow sprinkles. That’s it.
- Perfect for Celebrations: Whether it’s a birthday party, a bake sale, or just a Tuesday that needs brightening, these bites bring the party. The sprinkles make them feel festive without any fancy decorating skills.
- Crowd-Pleaser: I’ve brought these to potlucks, playdates, and office parties. Kids go wild for the sprinkles, and adults can’t stop at just one. They disappear fast.
- Unbelievably Fudgy: The secret is in the technique—melting the butter with the sugar before adding the eggs. It gives you that dense, almost truffle-like texture that boxed mixes just can’t replicate.
What makes this recipe different from the rest? It’s the balance. So many sprinkle brownies turn out cakey or dry. This one stays fudgy and rich, with the sprinkles adding a pop of color and a tiny bit of crunch without bleeding their color into the batter. I’ve spent time testing different cocoa powders and butter ratios to get it just right. This isn’t just another version—it’s my best version, and I’m pretty proud of it.
Honestly, these brownie bites are the kind of treat that makes you close your eyes after the first bite. They’re comfort food reimagined—faster, simpler, but with the same soul-soothing satisfaction. Perfect for impressing guests without any stress, or turning a simple afternoon into something memorable.
What Ingredients You Will Need
This recipe uses simple, everyday ingredients to deliver that fudgy texture and festive look. No fancy shopping trips required—you likely have everything in your kitchen already.
For the Brownie Bites
- Unsalted butter (½ cup, 1 stick) — adds richness and helps create that fudgy texture. I prefer using Kerrygold for its creaminess, but any good quality butter works.
- Granulated sugar (1 cup) — provides sweetness and helps create that crackly top when beaten with the eggs.
- Large eggs (2, room temperature) — room temperature eggs incorporate better into the batter, giving you a smoother, more even texture.
- Vanilla extract (1 teaspoon) — enhances the chocolate flavor. Use pure vanilla extract if you have it; it makes a difference.
- Unsweetened cocoa powder (⅓ cup) — I recommend Ghirardelli or Hershey’s Special Dark for a deep, rich chocolate flavor. Dutch-process cocoa will give you a milder taste.
- All-purpose flour (½ cup) — just enough to give structure without making the brownies cakey. Spoon and level your flour for accuracy.
- Salt (¼ teaspoon) — balances the sweetness and enhances the chocolate flavor.
- Baking powder (¼ teaspoon) — a tiny bit helps them rise just slightly, keeping them fudgy but not flat.
- Rainbow sprinkles (½ cup, plus more for topping) — use the classic round or jimmies style sprinkles. Avoid nonpareils (the tiny ball-shaped ones) as they tend to bleed color into the batter.
Ingredient Tips: For the best texture, make sure your eggs are at room temperature. If you forget, place them in a bowl of warm water for 5 minutes. For the cocoa powder, sifting it before adding it to the batter helps prevent lumps. And when it comes to sprinkles, I’ve found that the longer, rod-shaped jimmies hold their color best during baking. Store your sprinkles in a cool, dry place to keep them from clumping.
Substitution Guidance: You can substitute the all-purpose flour with a gluten-free 1:1 baking blend if needed. For a dairy-free version, use a plant-based butter stick (like Miyoko’s or Earth Balance) and ensure your sprinkles are vegan-friendly. If you’re out of vanilla extract, you can skip it—the chocolate flavor will still shine through.
Equipment Needed
You don’t need a lot of fancy tools for these brownie bites, which is part of their charm. Here’s what you’ll need:
- 8×8-inch baking pan — this is the perfect size for fudgy brownie bites. If you use a 9×9 pan, your brownies will be thinner and bake a few minutes faster.
- Parchment paper — a lifesaver for easy removal. I always leave an overhang on two sides so I can lift the whole block out cleanly.
- Mixing bowls — one medium microwave-safe bowl for melting butter, and one large bowl for mixing the batter.
- Whisk — for combining the dry ingredients and for beating the eggs and sugar.
- Rubber spatula — for folding in the sprinkles without overmixing.
- Measuring cups and spoons — accuracy matters in baking, so use proper measuring tools.
- Cooling rack — allows air to circulate around the pan, preventing the bottom from getting soggy.
Alternative Options: Don’t have an 8×8 pan? You can use a 9-inch round cake pan or even a mini muffin tin for individual bite-sized brownies (just reduce the baking time to about 10-12 minutes). No parchment paper? Grease the pan well with butter and dust it with cocoa powder instead of flour to avoid white spots on your brownies.
I’ve made these in a glass pan and a metal pan, and honestly, metal gives you a slightly better edge—crispier sides with a soft center. But glass works fine too; just keep an eye on the baking time as glass retains heat longer.
Preparation Method
These Fudgy Rainbow Sprinkle Brownie Bites come together in one bowl and under 30 minutes. Here’s how to do it:
- Preheat your oven to 350°F (175°C). Line your 8×8-inch baking pan with parchment paper, leaving an overhang on two opposite sides. This will make lifting the brownies out so much easier later.
- Melt the butter. Place the ½ cup (1 stick) of unsalted butter in a microwave-safe bowl. Microwave in 30-second intervals until fully melted. Stir in the 1 cup of granulated sugar while the butter is still warm. The warmth helps the sugar dissolve slightly, which gives you that shiny, crackly top. Let it cool for about 2 minutes—you don’t want it hot when you add the eggs.
- Add the eggs and vanilla. Crack in the 2 room-temperature eggs and add the 1 teaspoon of vanilla extract. Whisk vigorously for about 1 minute until the mixture is smooth, glossy, and slightly thickened. This step is important—it creates that beautiful crackly top crust. The mixture should look like thick caramel.
- Combine the dry ingredients. In a separate small bowl, whisk together the ⅓ cup of unsweetened cocoa powder, ½ cup of all-purpose flour, ¼ teaspoon of salt, and ¼ teaspoon of baking powder. Sifting the cocoa powder here prevents lumps.
- Fold in the dry ingredients. Add the dry mixture to the wet ingredients. Use a rubber spatula to fold gently until just combined. Do not overmix—stop as soon as you no longer see streaks of flour. Overmixing will develop the gluten and make your brownies cakey instead of fudgy.
- Fold in the sprinkles. Gently fold in ½ cup of rainbow sprinkles with just a few strokes. Be careful not to overmix here, or the sprinkles might start to bleed their color. The batter will be thick and glossy.
- Transfer to the pan. Scrape the batter into your prepared pan and spread it evenly with the spatula. It will be thick, so take your time. Sprinkle an extra 2-3 tablespoons of rainbow sprinkles on top for that pretty, festive look.
- Bake. Place the pan in the preheated oven and bake for 18-22 minutes. The brownies are done when the edges look set and a toothpick inserted into the center comes out with a few moist crumbs attached—not wet batter. For fudgy brownies, it’s better to underbake slightly than overbake. Start checking at 18 minutes.
- Cool completely. Place the pan on a cooling rack and let the brownies cool completely in the pan. This takes about 30-40 minutes. Do not try to cut them while they’re warm, or they will crumble. Once cool, use the parchment overhang to lift the entire block out onto a cutting board.
- Cut into bites. Use a sharp knife to cut into 16 squares (4 rows by 4 rows). For clean cuts, wipe the knife clean between each slice. If you want even smaller bites, cut into 25 squares (5 by 5).
Sensory Cues: When the butter and sugar mixture is ready, it should look glossy and smell sweet and buttery. When you fold in the dry ingredients, the batter should be thick and fudgy, not runny. The brownies are done when the kitchen smells deeply of chocolate and the top has a few tiny cracks. The edges will look slightly darker and more set than the center.
Troubleshooting Tip: If your brownies turned out cakey, you likely overmixed the batter or used too much flour. If they’re too greasy, your butter was too hot when you added the eggs, causing the mixture to separate slightly. Don’t worry—they’ll still taste delicious!
Cooking Tips & Techniques
Over the years, I’ve learned a few things the hard way so you don’t have to. Here are my best tips for perfect Fudgy Rainbow Sprinkle Brownie Bites every time:
Don’t overmix the batter. This is the number one mistake I see. Once you add the flour, mix only until it disappears. Overmixing develops gluten, which gives you a tough, cakey brownie instead of a fudgy one. I learned this after a particularly disappointing batch that turned out more like chocolate bread.
Use a light hand with the sprinkles. I once got overzealous and dumped in almost a full cup of sprinkles. The brownies still tasted good, but the sprinkles bled into the batter, turning everything a muddy gray-brown. Stick to the ½ cup in the batter and save the rest for the top. Also, use jimmies (the rod-shaped sprinkles) rather than nonpareils (the tiny round ones). Nonpareils tend to dissolve and lose their color during baking.
Let them cool completely. I know it’s tempting to cut into them while they’re still warm—the smell is intoxicating. But warm brownies are fragile and will fall apart. Patience pays off here. If you absolutely must have a warm brownie, let the pan cool for at least 20 minutes before cutting, and use a very sharp knife.
For the crackly top, beat the eggs and sugar well. That beautiful, shiny crust comes from dissolving the sugar into the eggs. Whisk vigorously for a full minute until the mixture is pale and thick. This step is worth the arm workout.
Timing is everything. Start checking your brownies at the 18-minute mark. Every oven runs differently, and even one extra minute can be the difference between fudgy and dry. When the toothpick comes out with a few moist crumbs, pull them out. They’ll continue to set as they cool.
Multitasking tip: While the brownies are baking, clean up your dishes. The batter bowl and whisk can soak in warm soapy water, making cleanup a breeze. By the time the brownies are cool, your kitchen will be spotless.
Variations & Adaptations
One of the best things about this recipe is how easy it is to change up. Here are some of my favorite variations:
Chocolate Lover’s Dream
Fold in ½ cup of semi-sweet or dark chocolate chips along with the sprinkles. The extra pockets of melted chocolate take these brownie bites to another level. I did this for a friend’s birthday, and she texted me the next day asking for the recipe.
Peppermint Holiday Bites
Swap the rainbow sprinkles for ½ cup of crushed candy canes or peppermint candies, and add ½ teaspoon of peppermint extract along with the vanilla. Top with more crushed candy canes before baking. These are perfect for Christmas cookie exchanges.
Gluten-Free Version
Substitute the all-purpose flour with a 1:1 gluten-free baking blend that contains xanthan gum. I’ve tested this with King Arthur Measure for Measure and Bob’s Red Mill, and both work beautifully. The texture is slightly more delicate, but still wonderfully fudgy.
Birthday Cake Brownie Bites
Add 2 tablespoons of funfetti cake mix (dry) to the flour mixture for an extra hit of that birthday cake flavor. Use white chocolate chips instead of dark chocolate, and double the sprinkles. These are my go-to for kids’ birthday parties.
Vegan Adaptation
Use a plant-based butter stick and replace the eggs with 2 flax eggs (2 tablespoons ground flaxseed mixed with 6 tablespoons water, let sit for 5 minutes). The texture will be slightly less fudgy but still delicious. Make sure your sprinkles are vegan-friendly—some contain beeswax or confectioner’s glaze.
Personal Variation: My favorite twist is adding a tablespoon of instant espresso powder to the dry ingredients. It doesn’t make the brownies taste like coffee—it just deepens the chocolate flavor and makes it more complex. I discovered this by accident when I ran out of cocoa powder and tried to stretch it with espresso powder. Best accident ever.
Serving & Storage Suggestions
These Fudgy Rainbow Sprinkle Brownie Bites are incredibly versatile when it comes to serving. Here’s how I like to enjoy them:
Serving Temperature: They’re perfect at room temperature, but if you want a treat, warm them in the microwave for about 10 seconds. The chocolate becomes slightly melty, and the texture gets even more fudgy. For a fancy presentation, dust them with a little powdered sugar or drizzle with melted white chocolate.
Presentation Ideas: Arrange them on a colorful plate or a wooden board for a fun, casual look. For parties, I like to stack them in a small mason jar or a decorative tin—they make great homemade gifts. You can also cut them into smaller squares and serve them on a platter with fresh berries for a pop of color.
Complementary Dishes: These brownie bites pair beautifully with a tall glass of cold milk (classic!), a scoop of vanilla ice cream, or a cup of hot coffee. For an indulgent dessert, serve them warm with a drizzle of caramel sauce and a sprinkle of sea salt. They’re also fantastic crumbled over ice cream sundaes or yogurt parfaits.
Storage Instructions: Store the brownies in an airtight container at room temperature for up to 4 days. Place a piece of parchment paper or a paper towel at the bottom of the container to absorb any excess moisture. If you stack them, separate layers with parchment paper to prevent sticking.
Freezer Instructions: These brownie bites freeze beautifully. Once completely cool, place them in a single layer on a baking sheet and freeze for 1 hour. Transfer the frozen bites to a freezer-safe bag or container, separating layers with parchment paper. They’ll keep for up to 3 months. To thaw, leave them at room temperature for about 30 minutes, or microwave for 15-20 seconds.
Reheating Tips: For that just-baked taste, reheat individual brownie bites in the microwave for 10-15 seconds. If you’re reheating a whole batch, place them in a 300°F oven for about 5 minutes. The flavors actually deepen and meld together after a day or two, so day-old brownies are often even better than fresh ones!
Flavor Development: I’ve noticed that these brownies taste even better the next day. The cocoa flavor becomes more pronounced, and the texture gets even fudgier as the moisture redistributes. So don’t be afraid to make them a day ahead—your future self will thank you.
Nutritional Information & Benefits
While these are definitely a treat, here’s the nutritional breakdown for one brownie bite (based on 16 servings):
| Nutrient | Amount per Serving |
|---|---|
| Calories | 185 |
| Total Fat | 9g |
| Saturated Fat | 5g |
| Cholesterol | 45mg |
| Sodium | 85mg |
| Total Carbohydrates | 25g |
| Dietary Fiber | 1g |
| Sugars | 18g |
| Protein | 2g |
Health Benefits of Key Ingredients: Cocoa powder is rich in antioxidants called flavonoids, which can help reduce inflammation and improve heart health. It also contains magnesium, which supports muscle and nerve function. Eggs provide high-quality protein and essential vitamins like B12 and D. While these brownie bites are an indulgence, they do offer some nutritional value beyond just empty calories.
Dietary Considerations: This recipe is naturally vegetarian. For a gluten-free option, simply use a 1:1 gluten-free flour blend. For a dairy-free version, substitute the butter with a plant-based alternative. Note that traditional rainbow sprinkles may contain artificial colors and corn syrup, so look for natural sprinkles if you prefer cleaner ingredients.
Potential Allergens: This recipe contains dairy (butter) and eggs. It also contains gluten if using all-purpose flour. The sprinkles may contain soy or corn derivatives, so check the label if you have sensitivities.
Personal Wellness Perspective: I believe in balance. These brownie bites are a celebration food—something to enjoy on special occasions or when you need a little joy. I don’t stress about the sugar content when I’m making them for a birthday party or a holiday gathering. Life is too short not to enjoy a fudgy brownie with sprinkles now and then!
Conclusion
These Fudgy Rainbow Sprinkle Brownie Bites are more than just a recipe—they’re a little slice of joy. They remind me of that Tuesday afternoon at Jen’s house, of the smell that pulled me in, and of the simple pleasure of sharing something delicious with the people you love. They’re quick enough for a last-minute treat, special enough for a celebration, and forgiving enough for beginner bakers.
I encourage you to make this recipe your own. Add chocolate chips if you’re feeling indulgent. Swap the sprinkles for seasonal colors. Make them gluten-free for a friend. The beauty of this recipe is its flexibility—it works with you, not against you. And honestly, even if you mess up a little, they’ll still be delicious. I’ve never met a brownie I didn’t like, and these are the best of the bunch.
So go ahead, preheat that oven, and bring a little rainbow into your kitchen. When you make them—and I hope you do—come back and let me know how they turned out. Did you try a variation? Did your kids help with the sprinkles? Did you have to hide them from yourself to keep from eating the whole pan? I’d love to hear your stories in the comments below. And if you share them on social media, tag me so I can see your beautiful creations. Happy baking, friends!
Frequently Asked Questions
Can I use a different type of sprinkles?
Yes, but I recommend using jimmies (the rod-shaped sprinkles) for the best results. They hold their shape and color better during baking. Nonpareils (tiny round sprinkles) tend to bleed and dissolve, creating a muddy color. Sanding sugar or sparkling sugar work great for topping but don’t add the same texture inside the batter.
Why did my brownies turn out cakey instead of fudgy?
This usually happens for one of two reasons: you overmixed the batter after adding the flour, or you baked them too long. Mix only until the flour disappears, and start checking for doneness at 18 minutes. Remember, it’s better to underbake slightly—the brownies will continue to set as they cool.
Can I make these brownie bites in a mini muffin pan?
Absolutely! Grease the mini muffin pan well or use paper liners. Fill each cup about ⅔ full and bake for 10-12 minutes at 350°F. Check them early—they bake much faster than the full pan. You’ll get about 24-30 mini brownie bites. They’re perfect for parties or lunchbox treats.
How do I get clean cuts without the brownies crumbling?
Patience is key. Let the brownies cool completely in the pan—at least 30-40 minutes. Then lift them out using the parchment overhang. Use a sharp chef’s knife and wipe it clean with a damp paper towel between each cut. For the cleanest cuts, you can even refrigerate the brownies for 15 minutes before slicing.
Can I double this recipe for a 9×13 pan?
Yes, you can easily double the recipe for a 9×13-inch pan. Use the same baking temperature (350°F) but increase the baking time to about 25-30 minutes. Start checking at 25 minutes. The brownies will be slightly thicker, so they may need a few extra minutes. Use the same toothpick test—a few moist crumbs mean they’re done.
Pin This Recipe!
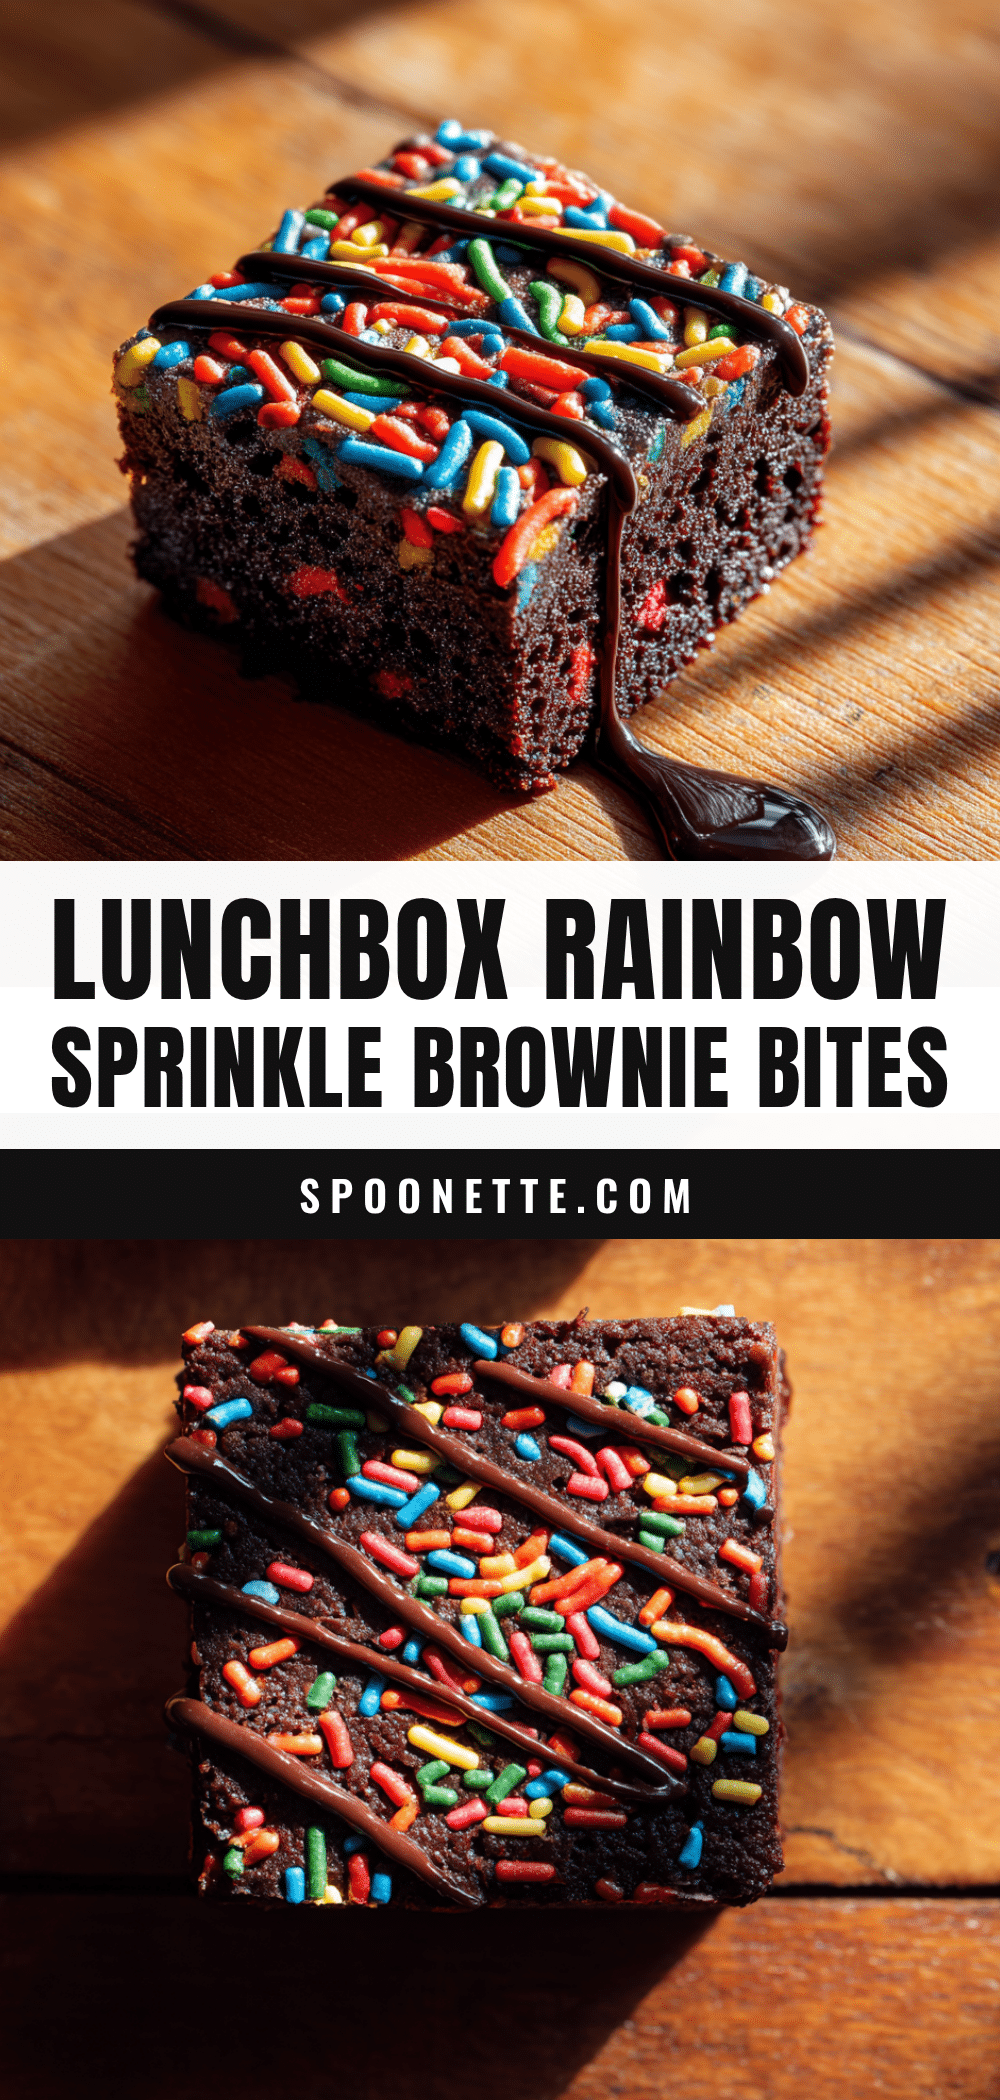
Fudgy Rainbow Sprinkle Brownie Bites
These fudgy, rich brownie bites are studded with rainbow sprinkles for a pop of color and crunch. Quick and easy to make, they’re perfect for celebrations or a simple treat.
- Prep Time: 10 minutes
- Cook Time: 20 minutes
- Total Time: 30 minutes
- Yield: 16 servings 1x
- Category: Dessert
- Cuisine: American
Ingredients
- ½ cup (1 stick) unsalted butter
- 1 cup granulated sugar
- 2 large eggs, room temperature
- 1 teaspoon vanilla extract
- ⅓ cup unsweetened cocoa powder
- ½ cup all-purpose flour
- ¼ teaspoon salt
- ¼ teaspoon baking powder
- ½ cup rainbow sprinkles (jimmies), plus more for topping
Instructions
- Preheat oven to 350°F (175°C). Line an 8×8-inch baking pan with parchment paper, leaving an overhang on two opposite sides.
- Melt the butter in a microwave-safe bowl. Stir in the sugar while the butter is still warm. Let cool for 2 minutes.
- Add the eggs and vanilla extract. Whisk vigorously for about 1 minute until the mixture is smooth, glossy, and slightly thickened.
- In a separate bowl, whisk together the cocoa powder, flour, salt, and baking powder.
- Fold the dry ingredients into the wet mixture using a rubber spatula until just combined. Do not overmix.
- Gently fold in ½ cup of rainbow sprinkles.
- Scrape the batter into the prepared pan and spread evenly. Sprinkle extra sprinkles on top.
- Bake for 18-22 minutes, until edges are set and a toothpick inserted in the center comes out with a few moist crumbs.
- Cool completely in the pan on a cooling rack (about 30-40 minutes).
- Lift the brownies out using the parchment overhang, cut into 16 squares, and serve.
Notes
For the best fudgy texture, do not overmix the batter and underbake slightly. Use jimmies-style sprinkles to prevent color bleeding. Let brownies cool completely before cutting for clean slices.
Nutrition
- Serving Size: 1 brownie bite
- Calories: 185
- Sugar: 18
- Sodium: 85
- Fat: 9
- Saturated Fat: 5
- Carbohydrates: 25
- Fiber: 1
- Protein: 2
Keywords: brownie bites, fudgy brownies, rainbow sprinkle brownies, easy brownie recipe, kid-friendly dessert



