Love this? Save it for later!
Share the inspiration with your friends
My neighbor, a retired nurse named Carol who grows zucchini like it’s her second job, asked me why I couldn’t just use the squash itself as the noodle. I started to explain why that wouldn’t work — something about structural integrity and moisture content and the science of a good lasagna. Then I stopped. She was holding a basket of the most beautiful green-and-yellow zucchinis I’d ever seen, and I realized I didn’t actually have a good answer. I just had assumptions.
So I tried it. Honestly, the first batch was a bit of a watery disaster — I hadn’t salted the zucchini strips enough, and my roll-ups slid apart like a bad magic trick. But Carol brought over another basket the next day (she’s relentless like that), and I got back in the kitchen. The second time, I let the zucchini strips rest on paper towels for a full thirty minutes, squeezed them gently, and built the roll-ups with a little more confidence.
You know that feeling when a recipe finally clicks? When you take that first bite and everything makes sense? That was this dish. The zucchini noodles held their shape, the ricotta filling was creamy and rich, and the marinara sauce tied it all together in a way that made me forget I was eating vegetables pretending to be pasta. I mean, honestly, I’ve made traditional lasagna for years, and this version might actually be better. Less heavy. More bright. And you don’t need a nap afterward.
These Healthy Zucchini Noodle Lasagna Roll-Ups have become my go-to for weeknights when I want something that feels indulgent but isn’t going to undo all my good habits. They’re the recipe that taught me to stop being so sure of myself in the kitchen — and that’s a lesson worth learning again and again.
Why You’ll Love This Recipe
Let me tell you why these zucchini noodle roll-ups have earned a permanent spot in my weekly rotation. I’ve tested this recipe more times than I care to admit, tweaking everything from the thickness of the zucchini slices to the exact ratio of ricotta to mozzarella. What I landed on is a version that even my lasagna-purist cousin approved of — and that’s saying something.
- Quick & Easy: From start to table in about 45 minutes. The prep is straightforward, and the assembly takes less time than wrestling with traditional lasagna noodles.
- Simple Ingredients: You probably have most of these in your kitchen right now. No hunting down obscure ingredients or specialty items.
- Perfect for Meal Prep: These roll-ups hold up beautifully in the fridge for days, and they freeze like a dream. Make a double batch and thank yourself later.
- Crowd-Pleaser: I’ve served these to carb-lovers, keto friends, picky kids, and skeptical relatives. Every single person went back for seconds.
- Unbelievably Delicious: The texture is what gets people. The zucchini softens just enough to mimic pasta, but there’s still a slight bite that makes each roll-up interesting.
What makes this recipe different from the dozens of other zucchini lasagna recipes out there? It’s the technique. Most versions end up swimming in watery pools of sadness. My method — salting and pressing the zucchini, using a slightly thickened ricotta mixture, and baking just until bubbly — gives you roll-ups that actually hold their shape and don’t turn your plate into a soup. It’s not just another healthy alternative. It’s the version I’d serve to anyone, anytime, without apology.
There’s something about rolling up these little bundles of goodness that feels almost meditative. And when you pull that baking dish out of the oven, all bubbly and golden on top? That’s the moment you realize healthy eating doesn’t have to be a compromise. It can be a celebration.
What Ingredients You Will Need
This recipe uses simple, wholesome ingredients to deliver that classic lasagna comfort without the heavy feeling afterward. Most of these are pantry and fridge staples, which makes this dish perfect for those nights when you want something special but don’t want to make a special trip to the store.
For the Zucchini Noodles
- 4 medium zucchini (about 8 inches long each) — look for firm, straight zucchini without blemishes. The straighter they are, the easier they’ll be to roll.
- 1 teaspoon salt (for drawing out moisture from the zucchini)
For the Ricotta Filling
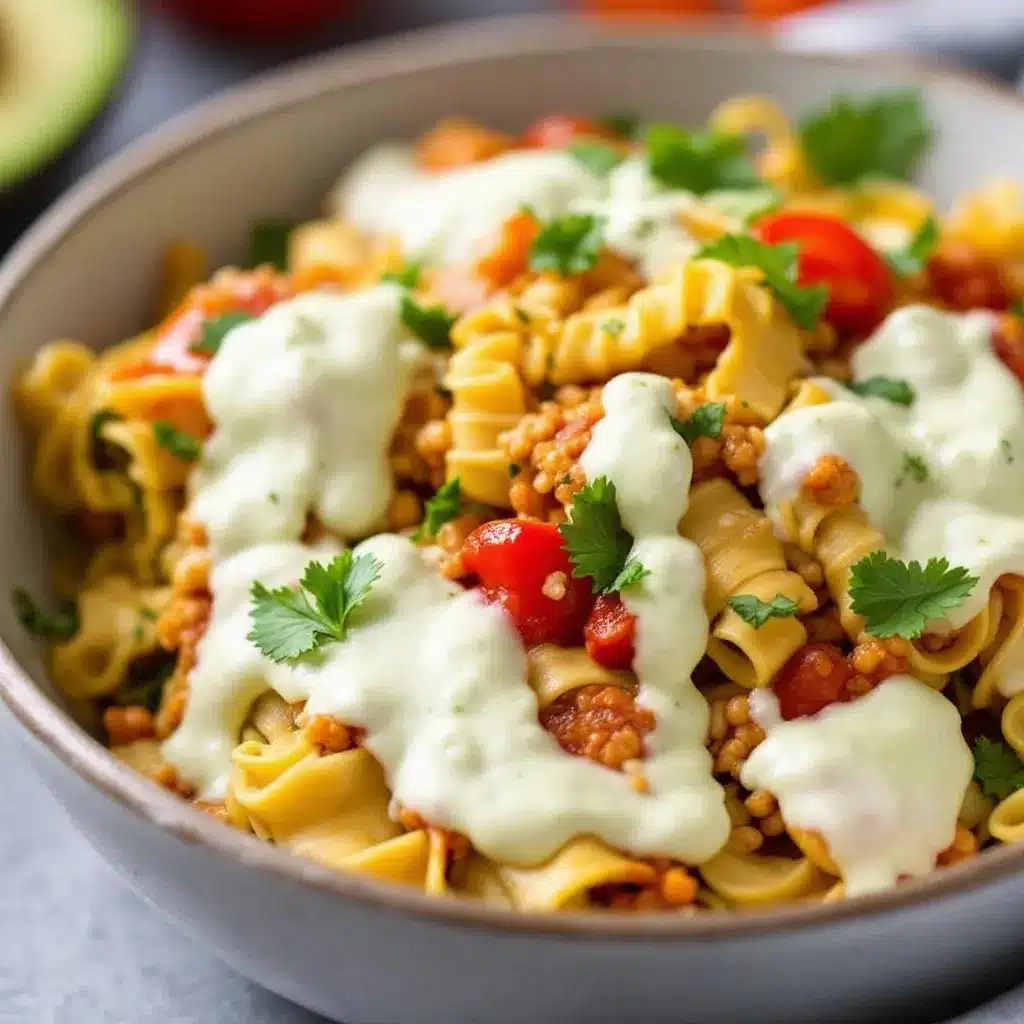
- 15 ounces whole milk ricotta cheese (I prefer Galbani or Calabro for the creamiest texture; low-fat works but the filling won’t be as luxurious)
- 1 large egg (room temperature helps it incorporate smoothly)
- 1/2 cup grated Parmesan cheese (freshly grated is worth it here — the pre-shredded stuff has anti-caking agents that affect texture)
- 2 cups fresh spinach, roughly chopped (about 3 ounces; frozen works if thawed and squeezed absolutely dry)
- 2 cloves garlic, minced (or 1 teaspoon garlic powder in a pinch)
- 1/4 teaspoon black pepper
- 1/4 teaspoon red pepper flakes (optional, but I love the tiny kick)
- 1/4 cup fresh basil, chopped (plus more for garnish)
For Assembly and Topping
- 2 cups marinara sauce (use your favorite jarred brand or homemade; I like Rao’s for its clean ingredient list and rich flavor)
- 1 1/2 cups shredded mozzarella cheese (part-skim works great and melts beautifully)
- 2 tablespoons fresh parsley, chopped (for garnish)
A quick note on substitutions: If you’re dairy-free, there are excellent plant-based ricotta options available now — Kite Hill makes a good one. For the mozzarella, Violife’s shreds melt surprisingly well. And if you want to add some protein, cooked Italian sausage or ground turkey mixed into the marinara sauce makes this a heartier meal.
The beauty of this ingredient list is its flexibility. You can swap the spinach for kale (just massage it first with a little olive oil), use oregano instead of basil, or add mushrooms to the filling. Play around with what you have — that’s half the fun of cooking.
Equipment Needed
You don’t need a fancy kitchen to make these roll-ups, but a few specific tools will make your life much easier. Here’s what I use:
- Vegetable peeler or mandoline slicer: A Y-shaped peeler works beautifully for getting thin, even zucchini strips. If you have a mandoline, set it to about 1/8-inch thickness. I’ve used both, and honestly, the peeler is less intimidating and easier to clean.
- Baking dish: A 9×13-inch dish is perfect. Glass or ceramic works best because they distribute heat evenly. My grandmother’s old Pyrex dish has seen more lasagnas than I can count.
- Paper towels or clean kitchen towels: For pressing the moisture out of the zucchini. This step is non-negotiable — trust me.
- Mixing bowls: One medium bowl for the ricotta filling, one small bowl for any extras.
- Chef’s knife and cutting board: For chopping spinach, herbs, and garlic.
- Measuring cups and spoons: Precision helps, especially with the salt.
- Spatula or offset spatula: For spreading the filling evenly on the zucchini strips.
If you don’t have a mandoline, don’t stress. A sharp knife and a steady hand will get you there — just aim for even thickness. And if you’re new to using a vegetable peeler for making strips, practice on a few zucchini ends first. You’ll get the hang of it after the first one or two.
Preparation Method
Alright, let’s get cooking. I’ve broken this down into clear steps with all the little details that make the difference between good roll-ups and great ones.
- Preheat your oven to 375°F (190°C). While it’s heating, spread about 1/2 cup of marinara sauce on the bottom of your 9×13 baking dish. This prevents the roll-ups from sticking and adds flavor from the bottom up.
- Prepare the zucchini strips. Wash and dry your zucchini, then trim off the ends. Using a vegetable peeler or mandoline, slice each zucchini lengthwise into strips about 1/8-inch thick. You should get about 8-10 strips per zucchini. The first strip (the one with the dark green skin) and the last strip (mostly seeds) can be set aside — they’re harder to roll. Aim for the middle strips, which are more uniform.
- Salt and press the zucchini. Lay the zucchini strips in a single layer on paper towels. Sprinkle both sides lightly with salt — about 1 teaspoon total. Let them sit for 15-20 minutes. You’ll see beads of moisture form on the surface. Pat them dry with another paper towel, pressing gently. This step is what keeps your roll-ups from turning watery. I learned this the hard way after my first soggy batch.
- Make the ricotta filling. In a medium bowl, combine the ricotta, egg, Parmesan, chopped spinach, minced garlic, black pepper, red pepper flakes (if using), and fresh basil. Mix until everything is well combined. The mixture should be thick and slightly chunky from the spinach. Taste it — adjust salt and pepper if needed. Set aside.
- Assemble the roll-ups. Take one zucchini strip and pat it dry one more time. Place about 2 tablespoons of the ricotta mixture at one end of the strip, spreading it into a thin, even layer. Leave about 1/2 inch at the other end uncovered. Starting from the filled end, roll the zucchini strip gently but firmly. Place it seam-side down in the prepared baking dish. Repeat with the remaining strips. You’ll get about 16-20 roll-ups depending on the size of your zucchini.
- Add the sauce and cheese. Pour the remaining 1 1/2 cups of marinara sauce over the roll-ups, spreading it evenly to cover them. Sprinkle the shredded mozzarella over the top, making sure to get some in the crevices between the roll-ups.
- Bake. Place the dish in the preheated oven and bake for 25-30 minutes, until the sauce is bubbly and the cheese is melted and lightly golden. If you want a deeper golden top, switch to broil for the last 2 minutes — but watch it carefully so it doesn’t burn.
- Rest and serve. Remove the dish from the oven and let it rest for 5-10 minutes. This resting time allows the roll-ups to set, making them easier to serve. Garnish with fresh parsley and extra basil before serving.
A few sensory cues to watch for: The zucchini should be tender but not mushy when pierced with a fork. The cheese should be bubbly around the edges and golden on top. The sauce should have thickened slightly during baking. If you see liquid pooling around the edges, that’s normal — just spoon some sauce over the roll-ups before serving.
Cooking Tips & Techniques
After making these roll-ups more times than I can count (and a few spectacular failures), here’s what I’ve learned that makes all the difference.
Don’t skip the salting step. I know it adds time, and I know you’re hungry. But zucchini is basically a sponge for water, and if you don’t draw that moisture out before baking, your roll-ups will release it all during cooking. You’ll end up with a watery mess. Trust me — I’ve been there. That extra 20 minutes of resting time is the difference between disappointment and dinner worth bragging about.
Patience pays off with the rolling. If your zucchini strip cracks a little while you’re rolling it, don’t panic. Just press it back together — the cheese and sauce will seal it during baking. And if a strip is too short to roll properly, overlap two strips slightly to make a longer one. Nobody’s judging your roll-ups except you.
Watch your baking time. Every oven runs a little differently. Start checking at 20 minutes. You want the cheese melted and the sauce bubbly, but you don’t want the zucchini to turn to mush. The perfect texture is tender but with a slight resistance when you cut into it.
Let them rest. I know it’s tempting to dig in right away, but those 5-10 minutes of resting are crucial. The roll-ups firm up as they cool slightly, making them much easier to serve without falling apart. Use that time to set the table or pour yourself a glass of wine.
Make extra sauce. These roll-ups love a generous coating of marinara. If you’re unsure, err on the side of more sauce rather than less. The zucchini absorbs some of it during baking, and you want each bite to be saucy and satisfying.
Variations & Adaptations
One of the best things about this recipe is how adaptable it is. Here are some variations I’ve tried and loved:
Meat Lover’s Version: Brown 1/2 pound of Italian sausage or ground turkey with some garlic and onion, then mix it into the marinara sauce before pouring it over the roll-ups. The meat adds depth and makes this a heartier meal that even the most committed carnivores will love.
Vegan Adaptation: Use a plant-based ricotta (Kite Hill works great) and dairy-free mozzarella shreds. Omit the egg or use a flax egg (1 tablespoon ground flaxseed mixed with 3 tablespoons water). The texture will be slightly different, but it’s still delicious and satisfying.
Seasonal Spinach Swap: In summer, use fresh basil and arugula instead of spinach. In fall, try finely chopped kale (massage it with a little olive oil first). The filling is flexible — use whatever greens you have on hand.
Spicy Kick: Add 1/2 teaspoon of red pepper flakes to the ricotta filling and another 1/2 teaspoon to the marinara sauce. Top with some fresh jalapeño slices before baking if you’re feeling adventurous.
Cheese Explosion: For extra cheesiness, add 1/2 cup of shredded provolone or fontina to the ricotta mixture. You can also sprinkle some pecorino romano on top along with the mozzarella for a sharper flavor.
I once tried a version with roasted red peppers blended into the ricotta filling — it was fantastic. The sweetness of the peppers balanced the tanginess of the cheese perfectly. Don’t be afraid to experiment.
Serving & Storage Suggestions
These roll-ups are best served warm, right out of the oven, when the cheese is still stretchy and the sauce is bubbling. But they’re pretty amazing at room temperature too — I’ve been known to eat leftovers straight from the fridge.
Serving suggestions: A simple green salad with lemon vinaigrette is the perfect side dish — the acidity cuts through the richness of the cheese. Garlic bread is always welcome if you’re not strictly low-carb. And a glass of Pinot Noir or a light Chianti pairs beautifully with the tomato sauce.
Storage: Leftover roll-ups keep well in an airtight container in the refrigerator for up to 4 days. The flavors actually meld together and improve overnight, so don’t be surprised if they taste even better the next day.
Reheating: The best way to reheat is in the oven at 350°F for about 10-15 minutes, covered with foil to prevent drying out. The microwave works in a pinch — just heat in 30-second intervals and be prepared for slightly softer zucchini. If you’re meal prepping, portion them out into individual containers with extra sauce.
Freezing: These roll-ups freeze beautifully. Assemble them completely in a freezer-safe baking dish, but don’t bake. Cover tightly with plastic wrap and then foil. Freeze for up to 3 months. To bake from frozen, add about 15-20 minutes to the baking time, covering with foil for the first half to prevent over-browning.
Nutritional Information & Benefits
Here’s the nutritional breakdown for one serving (about 3-4 roll-ups, depending on size):
| Nutrient | Amount Per Serving |
|---|---|
| Calories | 285 |
| Protein | 22g |
| Fat | 14g |
| Saturated Fat | 8g |
| Carbohydrates | 12g |
| Fiber | 4g |
| Sugar | 8g |
| Sodium | 680mg |
What I love about this dish from a nutritional standpoint is how it sneaks in vegetables without making you feel like you’re eating a salad. Zucchini is rich in vitamin C, vitamin A, and antioxidants like lutein and zeaxanthin that support eye health. The ricotta provides calcium and protein, while the spinach adds iron and vitamin K.
This recipe is naturally low-carb and gluten-free, making it suitable for keto and paleo diets with minor adjustments. It’s also vegetarian as written. If you’re watching your sodium, use low-sodium marinara sauce and go easy on the added salt during the zucchini pressing step.
I’m not a nutritionist, but I’ve found that meals like this — where vegetables take center stage and cheese plays a supporting role — help me feel satisfied without feeling weighed down. It’s comfort food that works with your body, not against it.
Conclusion
These Healthy Zucchini Noodle Lasagna Roll-Ups have become one of those recipes I turn to again and again. They’re the answer to “What’s for dinner?” on busy weeknights, the dish I bring to potlucks that disappears first, and the meal I make when I want something that feels indulgent but keeps me feeling good.
What I love most about this recipe is how it proves that healthy eating doesn’t have to be boring or complicated. With a few simple techniques and fresh ingredients, you can create something that satisfies every craving — the creamy, the cheesy, the saucy — without the heavy feeling that often follows traditional comfort food.
I’d love to hear how these turn out for you. Did you try a variation? Did your family go back for seconds? Drop a comment below and let me know. And if you’re looking for more low-carb comfort food, you might enjoy our creamy garlic parmesan zucchini noodles or this one pan cheesy chicken and broccoli rice casserole for another satisfying weeknight dinner.
Happy cooking, friends. May your roll-ups hold their shape and your cheese be perfectly golden.
Frequently Asked Questions
Can I make these zucchini roll-ups ahead of time?
Absolutely! You can assemble them completely up to 24 hours in advance. Just cover the dish and refrigerate. When you’re ready to bake, add about 5-10 minutes to the baking time since you’re starting from cold.
Why are my zucchini roll-ups watery?
This usually happens when the zucchini isn’t salted and pressed long enough. Make sure you let the strips rest for at least 15-20 minutes after salting, and pat them dry thoroughly before rolling. Also, avoid overcrowding the baking dish — give them a little space so steam can escape.
Can I use a different type of cheese?
Yes! Cottage cheese blended smooth in a food processor works as a substitute for ricotta. You can also use a mix of cream cheese and mozzarella for a different texture. For the topping, provolone or fontina melt beautifully.
How do I prevent the roll-ups from falling apart?
Make sure you roll them tightly but gently, and place them seam-side down in the dish. The resting time after baking is also crucial — it allows the structure to set. If they’re still falling apart, try using slightly thicker zucchini strips next time.
Can I freeze these zucchini lasagna roll-ups?
Yes, they freeze wonderfully. Assemble them in a freezer-safe dish, cover tightly, and freeze for up to 3 months. Bake from frozen, adding about 15-20 minutes to the cooking time. Cover with foil for the first half to prevent the cheese from burning.
Pin This Recipe!
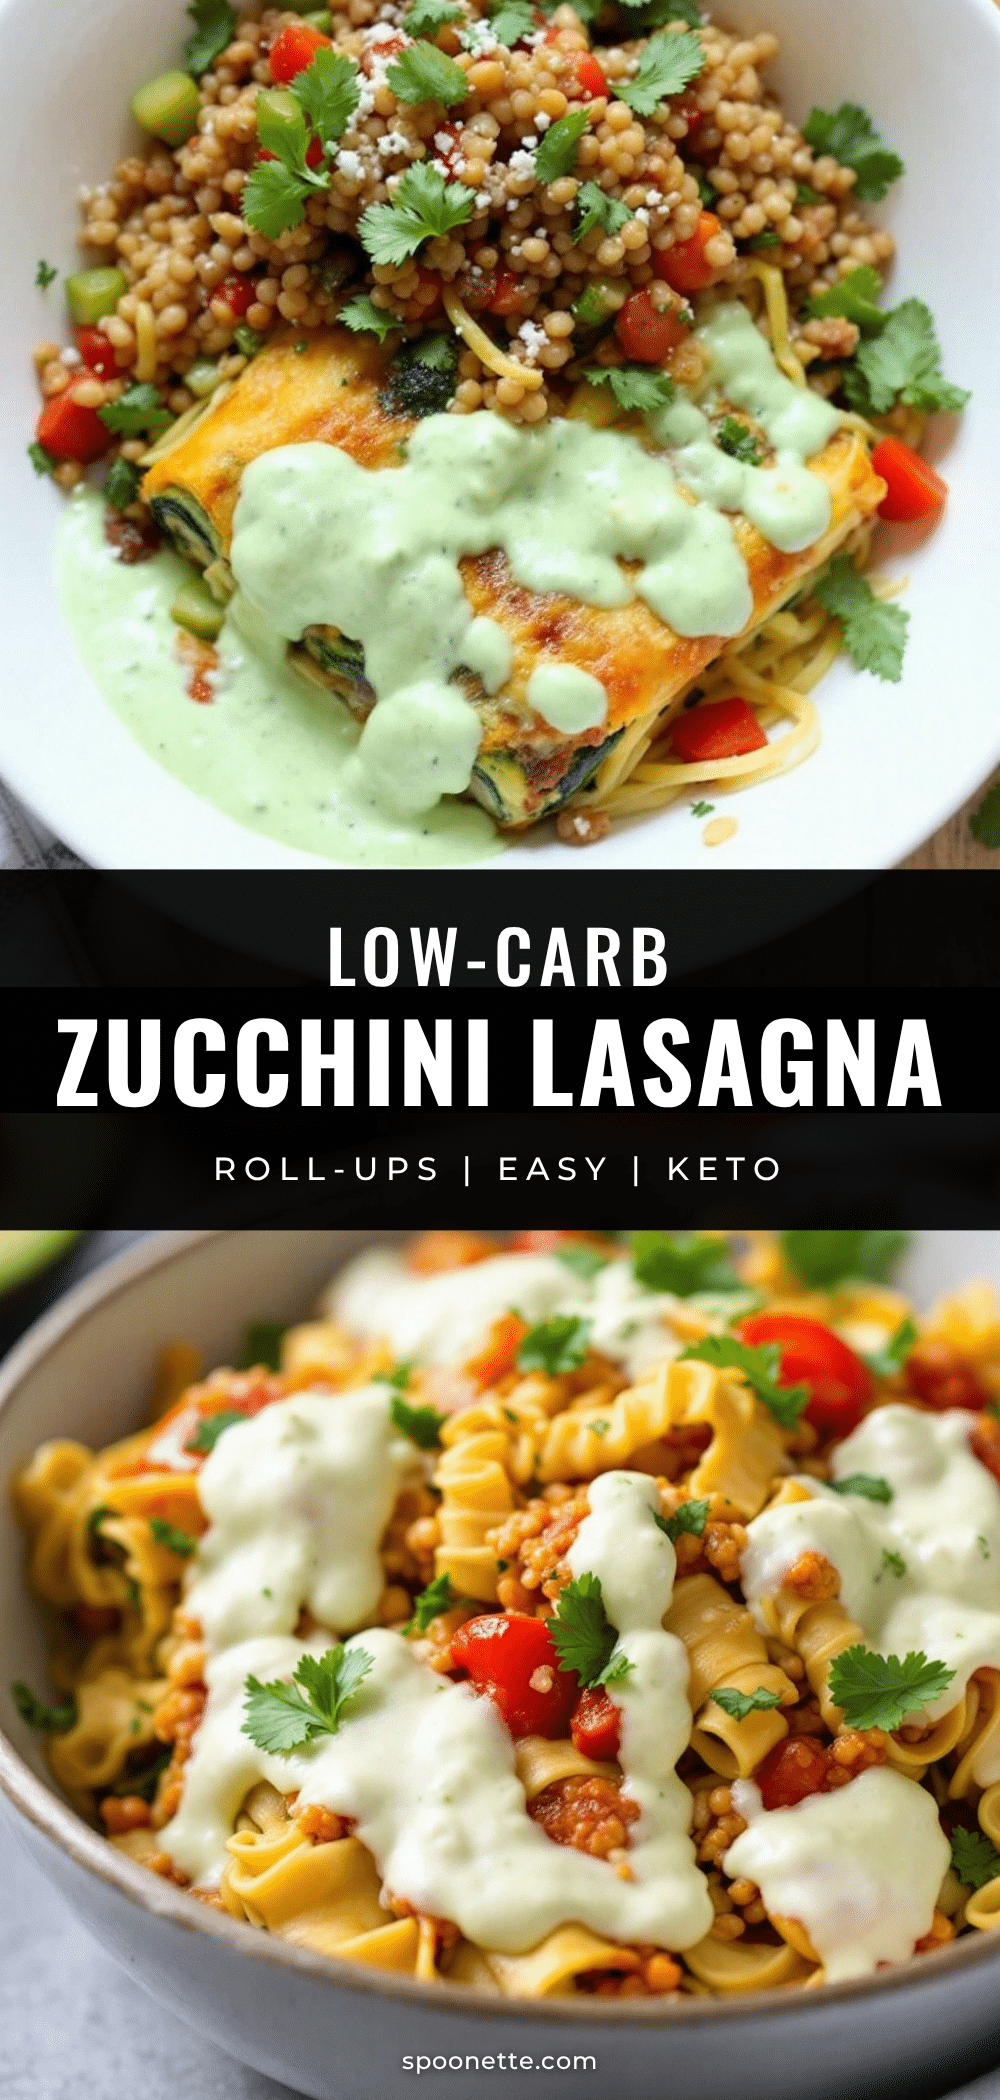
Healthy Zucchini Noodle Lasagna Roll-Ups: Easy Low-Carb Dinner

These Healthy Zucchini Noodle Lasagna Roll-Ups are a low-carb, gluten-free twist on classic lasagna. Thin zucchini strips are rolled with a creamy ricotta and spinach filling, topped with marinara and mozzarella, then baked to bubbly perfection. A quick and easy weeknight dinner that feels indulgent but keeps you feeling good.
- Prep Time: 20 minutes
- Cook Time: 30 minutes
- Total Time: 50 minutes
- Yield: 4 servings 1x
- Category: Main Course
- Cuisine: Italian-American
Ingredients
- 4 medium zucchini (about 8 inches long each)
- 1 teaspoon salt
- 15 ounces whole milk ricotta cheese
- 1 large egg, room temperature
- 1/2 cup grated Parmesan cheese, freshly grated
- 2 cups fresh spinach, roughly chopped (about 3 ounces)
- 2 cloves garlic, minced
- 1/4 teaspoon black pepper
- 1/4 teaspoon red pepper flakes (optional)
- 1/4 cup fresh basil, chopped
- 2 cups marinara sauce
- 1 1/2 cups shredded mozzarella cheese, part-skim
- 2 tablespoons fresh parsley, chopped (for garnish)
Instructions
- Preheat your oven to 375°F (190°C). Spread about 1/2 cup of marinara sauce on the bottom of a 9×13 baking dish.
- Wash and dry the zucchini, trim off the ends. Using a vegetable peeler or mandoline, slice each zucchini lengthwise into strips about 1/8-inch thick. You should get about 8-10 strips per zucchini. Set aside the first and last strips (they are harder to roll).
- Lay the zucchini strips in a single layer on paper towels. Sprinkle both sides lightly with salt (about 1 teaspoon total). Let them sit for 15-20 minutes. Pat them dry with another paper towel, pressing gently.
- In a medium bowl, combine the ricotta, egg, Parmesan, chopped spinach, minced garlic, black pepper, red pepper flakes (if using), and fresh basil. Mix until well combined. Taste and adjust salt and pepper if needed.
- Take one zucchini strip and pat it dry one more time. Place about 2 tablespoons of the ricotta mixture at one end of the strip, spreading it into a thin, even layer. Leave about 1/2 inch at the other end uncovered. Starting from the filled end, roll the zucchini strip gently but firmly. Place it seam-side down in the prepared baking dish. Repeat with the remaining strips (about 16-20 roll-ups).
- Pour the remaining 1 1/2 cups of marinara sauce over the roll-ups, spreading it evenly. Sprinkle the shredded mozzarella over the top.
- Bake for 25-30 minutes, until the sauce is bubbly and the cheese is melted and lightly golden. For a deeper golden top, switch to broil for the last 2 minutes, watching carefully.
- Remove from the oven and let rest for 5-10 minutes. Garnish with fresh parsley and extra basil before serving.
Notes
Don’t skip the salting step—it prevents watery roll-ups. If a zucchini strip cracks while rolling, press it back together; the cheese and sauce will seal it during baking. Let the roll-ups rest after baking to firm up for easier serving. For a heartier meal, add cooked Italian sausage or ground turkey to the marinara sauce.
Nutrition
- Serving Size: 3-4 roll-ups
- Calories: 285
- Sugar: 8
- Sodium: 680
- Fat: 14
- Saturated Fat: 8
- Carbohydrates: 12
- Fiber: 4
- Protein: 22
Keywords: zucchini lasagna roll-ups, low-carb lasagna, healthy zucchini noodles, gluten-free lasagna, keto dinner, easy weeknight dinner, vegetarian lasagna



