Love this? Save it for later!
Share the inspiration with your friends
I wasn’t expecting lunch-packing advice from my plumber, but there I was, standing in my kitchen with a dripping pipe, listening to Frank explain exactly how to assemble a ham and cheese bento box that his kids actually eat. He had me at “no reheating required.” Frank is a man of few words when it comes to pipes, but get him talking about weekday lunches, and he turns into a culinary philosopher. He told me the secret isn’t the fancy ingredients—it’s the geometry of the box. How you arrange things so every bite feels like a little discovery. I scribbled his method on the back of a receipt while he tightened a valve, and honestly, it changed my entire approach to packed lunches.
That conversation happened two years ago, and this Easy Ham and Cheese Bento Box Lunch has been a weekly staple ever since. It’s not just about throwing ham and cheese in a container—it’s about balance, texture, and making something that feels special even when you’re short on time. Maybe you’ve been there, staring at the clock, wondering how to pack a lunch that won’t get soggy or sad by noon. Frank’s method solves that. It’s the kind of recipe that makes you feel like you’ve hacked the system. I mean, who knew a plumber would teach me more about bento boxes than any cookbook ever did? That’s why I keep coming back to this method—it works, it’s fast, and it makes lunch feel like a tiny celebration.
Why You’ll Love This Recipe
This Easy Ham and Cheese Bento Box Lunch isn’t just another lunch idea—it’s a game-changer for busy mornings. I’ve tested this method with my own kids, picky neighbors, and even my husband who claims he “doesn’t do cold lunches.” It passed every test with flying colors. Here’s why this recipe stands out from the rest:
- Quick & Easy: Comes together in under 10 minutes, perfect for chaotic mornings or last-minute lunch packing.
- Simple Ingredients: No fancy grocery trips needed; you likely already have ham, cheese, crackers, and a few fresh veggies in your kitchen.
- Perfect for Meal Prep: Great for school lunches, office meals, picnics, or even a quick snack board at home.
- Crowd-Pleaser: Always gets rave reviews from kids and adults alike—even the pickiest eaters love the variety.
- Unbelievably Delicious: The combination of salty ham, creamy cheese, crunchy crackers, and fresh produce is next-level comfort food in a box.
What makes this recipe different is the assembly technique I learned from Frank—layering ingredients to prevent sogginess while maximizing flavor in every bite. It’s not just another version; it’s your best version. This lunch isn’t just good—it’s the kind that makes you look forward to noon. It’s convenience food reimagined—fresher, faster, but with the same soul-soothing satisfaction. Perfect for impressing lunch buddies without stress, or turning a simple midday meal into something memorable.
What Ingredients You Will Need
This recipe uses simple, wholesome ingredients to deliver bold flavor and satisfying texture without the fuss. Most of these are pantry staples you probably already have on hand. Here’s what you’ll need:
For the Main Components
- Ham: 4-6 slices of deli ham (about 100g). I prefer Black Forest ham for its smoky flavor, but honey ham or turkey ham work beautifully too. Look for thick-cut slices if you want more chew.
- Cheese: 4-6 slices of your favorite cheese (about 100g). Swiss, cheddar, provolone, or gouda are excellent choices. I recommend Tillamook or Boar’s Head for consistent quality.
- Crackers: 10-12 crackers. Butter crackers, whole wheat, or gluten-free options all work. I love using rosemary and olive oil crackers for extra flavor.
- Fresh Vegetables: 1/2 cup cherry tomatoes (halved), 1/2 cup cucumber slices, and 1/4 cup baby carrots. These add crunch and freshness to balance the richness.
- Fruit: 1/2 cup grapes or apple slices. The sweetness cuts through the savory elements perfectly.
- Pickles or Olives: 2-3 pickle spears or 1/4 cup olives. Adds a tangy, briny pop that wakes up your taste buds.
For the Dips and Extras
- Mustard or Mayo: 1-2 tablespoons of Dijon mustard or a small container of mayonnaise. Great for dipping ham and cheese rolls.
- Nuts or Seeds: 2 tablespoons almonds or sunflower seeds for added crunch and healthy fats.
- Optional Treat: 1-2 squares of dark chocolate or a small cookie for a sweet finish.
For ingredient selection, always choose ham that’s freshly sliced from the deli counter—it has better texture and flavor than pre-packaged. If you’re using pre-sliced cheese, make sure it’s not too thin or it will break when rolling. For a dairy-free option, swap cheese with vegan slices and use hummus instead of mustard. In summer, swap grapes for fresh berries or melon cubes for a seasonal twist.
Equipment Needed
You don’t need fancy gear to make this Easy Ham and Cheese Bento Box Lunch. Here’s what you’ll need:
- Bento Box or Lunch Container: A divided container works best to keep ingredients separate. I use a Yumbox or a simple three-compartment glass container. If you don’t have a bento box, use a regular lunchbox with silicone muffin cups to separate items.
- Cutting Board: A medium-sized board for slicing ham, cheese, and vegetables. I prefer bamboo boards—they’re gentle on knives and easy to clean.
- Sharp Knife: A chef’s knife or utility knife for clean cuts. A serrated knife works well for tomatoes.
- Small Bowls or Cups: For dips like mustard or mayo. Reusable silicone cups are perfect and eco-friendly.
- Parchment Paper or Silicone Liners: To prevent sticking and make cleanup easier. I love using reusable silicone liners—they’re budget-friendly and reduce waste.
- Optional: Cookie Cutters: Fun shapes for cheese or ham slices if you’re packing for kids. Star and heart shapes make lunch extra special.
For maintenance, wash your bento box by hand with mild soap to prevent staining. Avoid putting silicone liners in the dishwasher too often—they last longer with gentle washing. Budget-friendly tip: a simple three-compartment meal prep container from the grocery store works just as well as a fancy bento box.
Preparation Method
Follow these steps to assemble your Easy Ham and Cheese Bento Box Lunch in under 10 minutes. I’ve included time estimates and sensory cues so you know exactly what to look for at each stage.
Step 1: Prep the Ham and Cheese (2 minutes)
Lay 4-6 slices of ham flat on your cutting board. If your ham slices are large, cut them in half. Place a slice of cheese on top of each ham slice. Roll them up tightly from one end to the other. You should have neat little rolls—think of them as tiny pinwheels. If the cheese peeks out at the ends, that’s perfect; it looks rustic and appetizing. For a variation, fold the ham and cheese into quarters instead of rolling—it’s faster and works just as well.
Step 2: Slice Vegetables and Fruit (3 minutes)
Halve 1/2 cup cherry tomatoes with a sharp knife. Slice 1/2 cup cucumber into rounds about 1/4-inch thick. If using baby carrots, leave them whole or cut into sticks. For fruit, rinse 1/2 cup grapes and pat them dry. If using an apple, slice it into wedges and toss with a squeeze of lemon juice to prevent browning. The tomatoes should be bright red and firm, the cucumbers crisp and cool to the touch. This freshness is key to balancing the savory ham and cheese.
Step 3: Assemble the Bento Box (3 minutes)
Start with your clean bento box or container. Place the ham and cheese rolls in one compartment—arrange them in a single layer so they don’t squish. In a second compartment, add the crackers. I like to stand them upright in a row for a neat look. In the third compartment, add the cherry tomatoes, cucumber slices, and baby carrots. Tuck the grapes or apple slices into any empty spaces. Place pickles or olives in a small silicone cup if you have one. For the dip, spoon 1-2 tablespoons of mustard or mayo into a small container and nestle it in a corner.
Step 4: Add Finishing Touches (2 minutes)
Sprinkle 2 tablespoons of almonds or sunflower seeds over the fruit or vegetable compartment for extra crunch. If you’re including a treat, add 1-2 squares of dark chocolate or a small cookie to a separate spot. Close the lid and give the box a gentle shake to settle everything. Your bento box should look colorful and inviting—like a mini charcuterie board made just for lunch. If you’re packing it the night before, leave out the crackers and add them in the morning to keep them crunchy.
Step 5: Store or Pack (0 minutes)
If eating within a few hours, store the bento box in the refrigerator until ready to go. For longer storage, keep the box chilled and add an ice pack to your lunch bag. The ham and cheese rolls will stay fresh for up to 2 days in the fridge, but the crackers and fresh vegetables are best enjoyed within 24 hours. When you’re ready to eat, simply open the box and enjoy—no reheating needed!
Cooking Tips & Techniques
After making this Easy Ham and Cheese Bento Box Lunch dozens of times, I’ve learned a few tricks that make a big difference. Here are my top tips for success:
- Prevent Sogginess: Keep wet ingredients separate from dry ones. Place cherry tomatoes and cucumber slices in their own compartment, away from crackers. If using sliced apples, pat them dry with a paper towel before adding to the box.
- Rolling Technique: For tighter ham and cheese rolls, start rolling from the shorter end of the slice. Use a toothpick to secure the roll if needed—just remind the eater to remove it before biting.
- Temperature Matters: Ham and cheese taste best when they’ve had about 10 minutes at room temperature. If you’re packing lunch in the morning, take the bento box out of the fridge 10 minutes before eating to let the flavors bloom.
- Timing Strategy: Assemble the entire box in one go—don’t prep ingredients separately. This saves time and ensures everything stays fresh. I’ve made the mistake of prepping ham and cheese the night before, only to find them dry by lunchtime. Fresh assembly is key.
- Consistency Tip: Use the same bento box every time. Once you know exactly how much fits in each compartment, you’ll be able to pack lunch in under 5 minutes without measuring anything.
One common mistake I made early on was overfilling the box. It looks tempting to stuff every corner, but a crowded bento box leads to squished ingredients. Leave a little breathing room—your lunch will look more appetizing and stay intact. Another lesson I learned the hard way: always dry your lettuce or greens thoroughly before adding them. Wet greens make everything soggy within an hour.
Variations & Adaptations
This Easy Ham and Cheese Bento Box Lunch is endlessly customizable. Here are some of my favorite variations:
- Vegetarian Version: Swap ham with roasted bell pepper strips, grilled zucchini slices, or marinated tofu. Use hummus or guacamole as the dip instead of mustard.
- Low-Carb or Keto-Friendly: Replace crackers with cheese crisps or cucumber rounds. Add extra nuts, seeds, and avocado slices for healthy fats. Omit the fruit and treat.
- Kid-Friendly Twist: Use cookie cutters to cut ham and cheese into fun shapes like stars or dinosaurs. Add a small container of ranch dressing for dipping veggies. Include a fun fruit skewer with grapes and melon balls.
- Global Flair: Try Italian-style with prosciutto, mozzarella, and sun-dried tomatoes. Or go Mediterranean with turkey, feta, olives, and tzatziki dip. For a Japanese-inspired version, use teriyaki chicken, cream cheese, and cucumber with soy sauce for dipping.
- Seasonal Adaptation: In fall, swap grapes for apple slices and add a small handful of dried cranberries. In winter, include roasted sweet potato cubes and pomegranate seeds. Spring calls for fresh strawberries and sugar snap peas.
I once tried a Mediterranean variation for a work potluck, and it was a huge hit. The combination of salty feta and briny olives with the ham was unexpectedly perfect. Don’t be afraid to experiment—the beauty of a bento box is that every compartment is its own little adventure.
Serving & Storage Suggestions
This Easy Ham and Cheese Bento Box Lunch is designed to be enjoyed cold or at room temperature. Here’s how to serve and store it for the best experience:
- Serving Temperature: Enjoy straight from the fridge or let it sit at room temperature for 10 minutes before eating. The ham and cheese flavors are more pronounced when not ice-cold.
- Presentation: Arrange ingredients with color contrast in mind. Red tomatoes next to green cucumbers next to golden cheese rolls creates a visually appealing box. If you’re packing for a special occasion, add a small paper pick or flag for a festive touch.
- Complementary Dishes: Serve alongside a small cup of soup, a simple side salad, or a fruit smoothie for a more filling meal. This bento box pairs beautifully with a thermos of tomato soup or a cold glass of iced tea.
- Storage Instructions: Store in the refrigerator for up to 2 days. Keep crackers and fresh vegetables in separate compartments to maintain crunch. For longer storage, freeze the ham and cheese rolls separately (without vegetables) for up to 1 month. Thaw overnight in the fridge before assembling.
- Reheating Tips: This recipe is designed to be eaten cold, so no reheating is needed. However, if you prefer warm ham and cheese, microwave the rolls for 15-20 seconds before adding them to the box—just make sure to cool them slightly before packing with other ingredients.
Over time, the flavors in this bento box meld beautifully. The ham absorbs a hint of mustard, and the cheese softens slightly against the crackers. I actually prefer the taste after an hour or two in the fridge—it’s like the ingredients have gotten to know each other. For best results, pack the night before and let the flavors develop overnight.
Nutritional Information & Benefits
This Easy Ham and Cheese Bento Box Lunch is not just delicious—it’s also packed with nutrients to keep you energized throughout the day. Here’s an estimated breakdown per serving (based on one bento box):
- Calories: Approximately 450-550 calories, depending on the specific ingredients and portions.
- Protein: 25-30 grams from ham, cheese, and nuts—great for muscle repair and satiety.
- Healthy Fats: 20-25 grams from cheese, nuts, and optional avocado—supports brain function and keeps you full.
- Carbohydrates: 35-40 grams from crackers, fruit, and vegetables—provides steady energy.
- Fiber: 5-7 grams from fresh vegetables and fruit—aids digestion and promotes gut health.
Key ingredients offer specific health benefits. Ham is a good source of B vitamins and iron, which support energy production. Cheese provides calcium for strong bones and teeth. Fresh vegetables and fruit deliver antioxidants and vitamins A and C, which boost immunity. Nuts add healthy fats and vitamin E for skin health.
This recipe is naturally gluten-free if you use gluten-free crackers. It’s also nut-free if you omit almonds and sunflower seeds. For lower sodium, choose low-sodium ham and cheese, and skip the pickles. I love that this bento box feels indulgent but is actually a balanced meal—it’s a win for both your taste buds and your body.
Conclusion
This Easy Ham and Cheese Bento Box Lunch is more than just a meal—it’s a little act of self-care that takes only 10 minutes. Whether you’re packing for yourself, your kids, or a loved one, this recipe delivers on every front: speed, flavor, nutrition, and joy. It’s the kind of lunch that makes you pause and appreciate the simple pleasures—a crisp cracker, a creamy cheese roll, a burst of sweet grape.
I encourage you to make this recipe your own. Swap in your favorite meats, cheeses, and produce. Add a surprise treat or a new dip. The beauty of the bento box is that it adapts to you, not the other way around. Honestly, I still think of Frank the plumber every time I pack one of these lunches. His simple wisdom—that good food doesn’t need to be complicated—has stuck with me.
I’d love to hear how your bento box turns out! Leave a comment below with your favorite variations or tag me in your lunch photos. Share this recipe with a friend who needs a lunchtime upgrade. Happy packing, and remember: the best lunches are the ones made with a little love and a lot of crunch.
Frequently Asked Questions
Can I make this bento box lunch ahead of time?
Absolutely! You can assemble the entire bento box the night before and store it in the refrigerator. Just add crackers and any crispy elements in the morning to keep them from getting soggy. The ham and cheese rolls actually taste better after a few hours as the flavors meld together.
What’s the best way to keep crackers from getting soft?
Keep crackers in a separate compartment from moist ingredients like tomatoes, cucumbers, and fruit. If your bento box doesn’t have dividers, use silicone muffin cups or small reusable containers to create barriers. You can also pack crackers in a small zip-top bag and add them to the box just before eating.
Can I use different types of meat instead of ham?
Yes, this recipe is very flexible! Turkey, roast beef, salami, or even grilled chicken strips work beautifully. For a vegetarian option, try roasted bell peppers, grilled tofu, or marinated artichoke hearts. Just make sure the protein is sliced thinly so it rolls easily.
How do I prevent apple slices from turning brown?
Toss apple slices in a little lemon juice or pineapple juice before adding them to the bento box. You can also use a squeeze of orange juice for a sweeter flavor. Another trick is to pack apple slices with a small piece of plastic wrap pressed directly against the cut surface to minimize air exposure.
Is this bento box lunch suitable for school lunches?
Yes, it’s perfect for school lunches! Just make sure to check your school’s allergy policies regarding nuts. You can easily swap almonds for sunflower seeds or pumpkin seeds. Use a bento box that’s easy for little hands to open, and include a reusable ice pack to keep everything fresh until lunchtime.
Pin This Recipe!
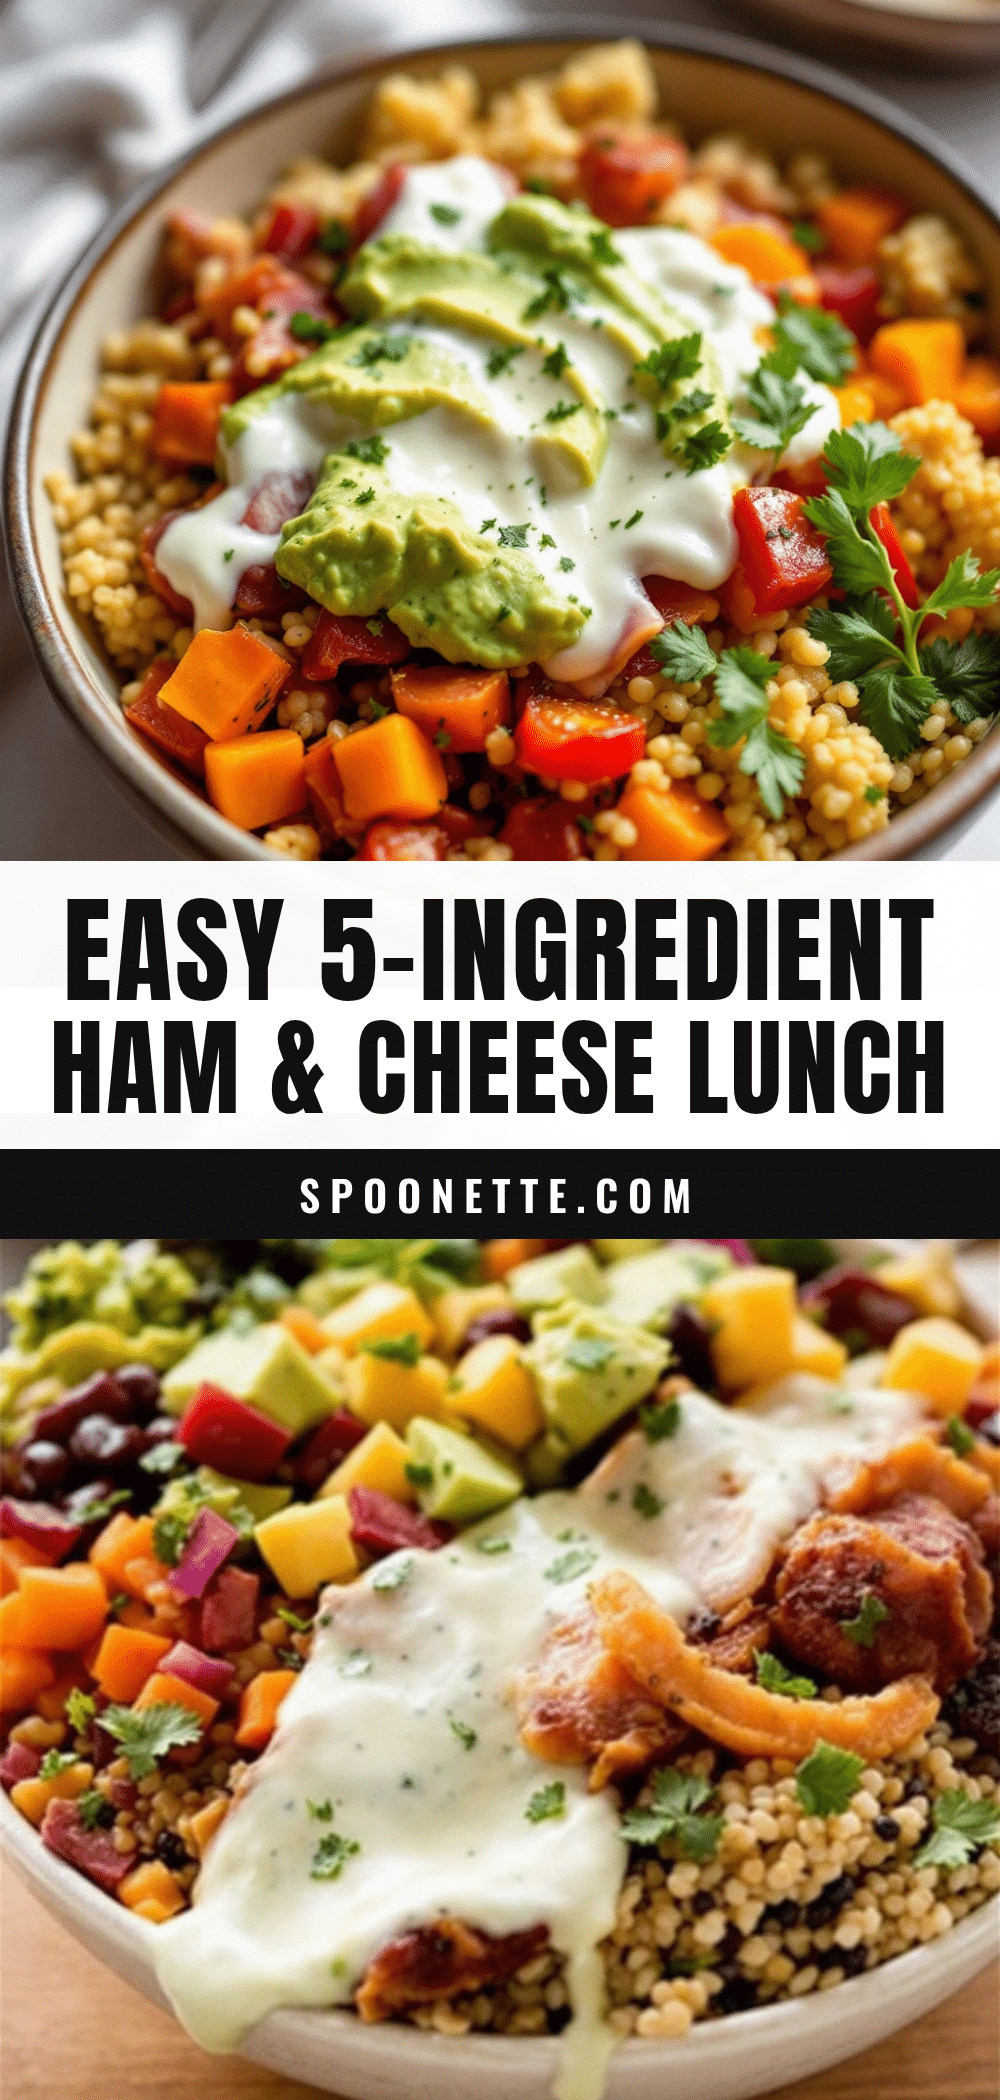
Easy Ham and Cheese Bento Box Lunch: Best 10-Minute Recipe

This Easy Ham and Cheese Bento Box Lunch is a game-changer for busy mornings, coming together in under 10 minutes with simple ingredients like ham, cheese, crackers, and fresh veggies. It’s a balanced, no-reheat meal that feels like a tiny celebration, perfect for school lunches, office meals, or picnics.
- Prep Time: 10 minutes
- Cook Time: 0 minutes
- Total Time: 10 minutes
- Yield: 1 serving 1x
- Category: Lunch
- Cuisine: American
Ingredients
- 4–6 slices deli ham (about 100g), preferably Black Forest ham
- 4–6 slices cheese (about 100g), such as Swiss, cheddar, provolone, or gouda
- 10–12 crackers (butter crackers, whole wheat, or gluten-free)
- 1/2 cup cherry tomatoes, halved
- 1/2 cup cucumber slices
- 1/4 cup baby carrots
- 1/2 cup grapes or apple slices
- 2–3 pickle spears or 1/4 cup olives
- 1–2 tablespoons Dijon mustard or mayonnaise
- 2 tablespoons almonds or sunflower seeds
- 1–2 squares dark chocolate or a small cookie (optional)
Instructions
- Prep the Ham and Cheese (2 minutes): Lay 4-6 slices of ham flat on a cutting board. If large, cut in half. Place a slice of cheese on each ham slice and roll tightly from one end to the other to form neat rolls.
- Slice Vegetables and Fruit (3 minutes): Halve cherry tomatoes, slice cucumber into 1/4-inch rounds, and leave baby carrots whole or cut into sticks. Rinse grapes and pat dry. If using apple, slice into wedges and toss with lemon juice to prevent browning.
- Assemble the Bento Box (3 minutes): Place ham and cheese rolls in one compartment. Add crackers to a second compartment. In the third compartment, add cherry tomatoes, cucumber slices, and baby carrots. Tuck grapes or apple slices into empty spaces. Place pickles or olives in a small silicone cup. Spoon mustard or mayo into a small container and nestle in a corner.
- Add Finishing Touches (2 minutes): Sprinkle almonds or sunflower seeds over the fruit or vegetable compartment. Add dark chocolate or a cookie to a separate spot if using. Close the lid and gently shake to settle everything.
- Store or Pack (0 minutes): Refrigerate if eating within a few hours. For longer storage, keep chilled with an ice pack. Ham and cheese rolls stay fresh up to 2 days; crackers and fresh vegetables are best within 24 hours. Enjoy cold or at room temperature—no reheating needed.
Notes
To prevent sogginess, keep wet ingredients separate from dry ones. For tighter ham and cheese rolls, start rolling from the shorter end and use a toothpick to secure if needed. Let the bento box sit at room temperature for 10 minutes before eating to enhance flavors. Assemble fresh for best texture; avoid prepping ham and cheese the night before as they may dry out. For kid-friendly versions, use cookie cutters to cut ham and cheese into fun shapes.
Nutrition
- Serving Size: 1 bento box
- Calories: 450550
- Sugar: 1520
- Sodium: 8001000
- Fat: 2025
- Saturated Fat: 810
- Carbohydrates: 3540
- Fiber: 57
- Protein: 2530
Keywords: ham and cheese bento box, easy lunch recipe, 10-minute lunch, no-cook lunch, packed lunch, school lunch, office lunch, bento box ideas