Love this? Save it for later!
Share the inspiration with your friends
I was standing in the Target checkout line last May, clutching a stack of thank-you cards and a stress ball that said “World’s Best Teacher,” when I saw a mom ahead of me with a cart full of tiny mason jars, cheese cubes, and salami. She was building charcuterie cups right there in the checkout lane—no joke—and I watched her layer prosciutto and grapes like it was the most natural thing in the world. That’s when it hit me: teachers don’t want another mug or candle. They want lunch. Something they can actually eat between grading papers and mediating playground disputes. Honestly, I’d been overthinking teacher gifts for years. But in that moment, staring at a stranger’s DIY snack cups, I knew I had to make my own version. And let me tell you—these Easy Teacher Appreciation Charcuterie Lunch Cups have become my absolute go-to for every end-of-year celebration, birthday, or “just because” moment.
The best part? They take about fifteen minutes to assemble. Fifteen minutes for something that looks like you spent an hour at a fancy deli. You know that feeling when you want to show appreciation but you’re also running on coffee and sheer willpower? That’s exactly who this recipe is for. These little cups are portable, customizable, and honestly—they make people smile in a way that a store-bought gift basket just can’t. I’ve made them for my son’s kindergarten teacher, my daughter’s math tutor, and even my own coworkers during Teacher Appreciation Week. Every single time, someone asks for the recipe.
And here’s the thing—I’ve messed up plenty of versions. I once forgot the crackers entirely (dry salami is not a good look). Another time I used grapes that were way too big and they rolled out of the cup like they were trying to escape. But each mistake taught me something, and now I’ve got a system that works every single time. So whether you’re a seasoned charcuterie pro or someone who’s never stacked a cracker in your life, these cups are for you. Let’s make something that says “thank you” in the most delicious way possible.
Why You’ll Love These Easy Teacher Appreciation Charcuterie Lunch Cups
Let me be real with you—I’ve tested at least six different versions of these cups before landing on this one. And I’m not saying that to brag. I’m saying it because I want you to trust that this recipe works. It’s been through the wringer. My neighbor Karen tried it and said her daughter’s teacher cried happy tears. My sister-in-law made them for a school bake sale and sold out in twenty minutes. So when I tell you these are the best teacher appreciation charcuterie lunch cups, I mean it.
- Quick & Easy : You can assemble a dozen cups in under fifteen minutes. No cooking, no baking, no stress. Perfect for those mornings when you realize Teacher Appreciation Week starts today (we’ve all been there).
- Simple Ingredients : Everything comes from your regular grocery store. No specialty cheese shops or fancy online orders. You probably already have half of these items in your fridge.
- Perfect for Gifting : These cups are portable, individual, and mess-free. Teachers can eat them during lunch, snack time, or even while walking to carpool duty. No plates or utensils needed.
- Crowd-Pleaser : I’ve yet to meet a teacher who doesn’t love a good charcuterie moment. It feels fancy without being fussy. Kids love them too, by the way—perfect for classroom celebrations.
- Unbelievably Delicious : The combination of salty meats, creamy cheese, sweet fruit, and crunchy crackers is basically perfection in a cup. Every bite is different, and that’s what makes it so satisfying.
What makes these cups different from every other charcuterie board out there? It’s the layering technique. Most people just toss ingredients in a cup and hope for the best. But I’ve figured out the exact order that keeps everything fresh, prevents sogginess, and makes the cup look like a work of art. Plus, I’ve tested the perfect ratio of meat to cheese to fruit—because nobody wants a cup that’s mostly crackers with a sad little piece of cheese hiding at the bottom.
These cups aren’t just good—they’re the kind of gift that makes someone feel truly seen. It says “I thought about what you’d actually enjoy eating” instead of “I grabbed this from the drugstore on my way to school.” And honestly, isn’t that what teacher appreciation is all about?
What Ingredients You Will Need
This recipe uses simple, everyday ingredients that come together to create something that feels special and thoughtful. Most of these items are pantry staples or easy to find at any grocery store. I’ve included notes on substitutions and my personal brand preferences where it matters.
For the Base Layer
- Mini pretzel twists or small crackers (I prefer Snyder’s of Hanover mini pretzels for their salty crunch that holds up well)
- Assorted crackers (choose 2-3 varieties like buttery rounds, whole wheat, or rosemary olive oil—avoid thin crackers that break easily)
- Fresh grapes (red or green, washed and dried thoroughly—moisture is the enemy of crispy crackers)
For the Protein Layer

- Salami slices (I recommend Genoa salami from the deli counter—it’s softer and easier to fold than pre-packaged slices)
- Prosciutto (ask for thin slices at the deli—it adds a delicate, salty flavor that pairs beautifully with cheese)
- Pepperoni (optional, but kids love it and it adds a nice spicy kick)
For the Cheese Layer
- Cheddar cheese cubes (sharp cheddar works best—I buy a block and cut it into 1/2-inch cubes for consistent size)
- Colby Jack or Monterey Jack cubes (milder flavor balances the salty meats)
- Mini fresh mozzarella balls (ciliegine size—drain them well and pat dry to avoid watery cups)
For the Sweet & Crunchy Layer
- Dried apricots or dried cranberries (adds a chewy sweetness that contrasts with the savory elements)
- Almonds or cashews (I use roasted and salted almonds for extra crunch—raw nuts work too but lack flavor)
- Dark chocolate chips or mini chocolate squares (a little surprise at the bottom always makes teachers smile)
Optional Add-Ins
- Olives (pitted kalamata or green olives—adds a briny pop of flavor)
- Pickle spears or cornichons (tangy and refreshing, but use sparingly so they don’t overpower)
- Fresh berries (strawberries, blueberries, or raspberries—add these right before serving to prevent sogginess)
- Small cheese spread or honey packet (a single-serving packet adds a gourmet touch)
A quick note on ingredient selection: I always buy my cheese from the block and cut it myself. Pre-shredded or pre-cubed cheese often has anti-caking agents that affect texture and flavor. Same goes for meat—sliced fresh from the deli counter tastes significantly better than pre-packaged options. Trust me on this one. I learned the hard way after making a batch with pre-packaged salami that was dry and tough. Never again.
If you’re making these for someone with dietary restrictions, here are some easy swaps: use gluten-free crackers and pretzels for gluten sensitivity, choose dairy-free cheese alternatives for lactose intolerance, or skip the nuts and use seeds instead for nut allergies. The beauty of these cups is how flexible they are.
Equipment Needed
You don’t need fancy tools to make these charcuterie lunch cups. In fact, you probably already have everything you need in your kitchen. Here’s what I use and a few alternatives that work just as well.
- 12-ounce clear plastic cups or small mason jars (I prefer the plastic cups with lids from the party supply section—they’re lightweight and you can see the beautiful layers. Mason jars work too but are heavier for teachers to carry around.)
- Cutting board and sharp knife (a good chef’s knife makes cubing cheese and slicing fruit a breeze. I use my Wusthof classic—it’s been with me for ten years and still feels like butter.)
- Small cookie scoop or melon baller (not essential, but it makes portioning fruit and nuts so much faster. I found mine at a thrift store for two dollars.)
- Paper towels or clean kitchen towel (for drying grapes and mozzarella—this step is crucial for preventing soggy cups)
- Disposable gloves (optional but helpful when handling multiple ingredients—keeps everything clean and speeds up assembly)
- Large tray or sheet pan (for assembling all the cups at once—keeps things organized and prevents spills)
If you don’t have clear cups, you can use small paper cups or even Chinese takeout containers. The visual appeal won’t be as strong, but the taste is still there. I’ve also used small glass yogurt jars (the ones I saved from breakfast) and they worked perfectly. Just make sure whatever container you use has a secure lid so the contents don’t spill during transport.
One tip I learned from experience: avoid using cups that are too wide. The ingredients settle and look sparse. Taller, narrower cups create a more impressive visual with less food. It’s a little trick I picked up from a catering friend, and it works every time.
Preparation Method
Here’s the step-by-step process for assembling the perfect teacher appreciation charcuterie lunch cups. I’ve broken it down into clear steps with timing estimates and sensory cues so you know exactly what you’re looking for at each stage.
- Prep your ingredients (5 minutes): Wash and thoroughly dry the grapes. Cut the cheddar and Colby Jack into 1/2-inch cubes. Drain the mozzarella balls and pat them dry with paper towels. Slice the salami into thin rounds if it isn’t pre-sliced. Fold the prosciutto slices into loose ribbons or rosettes. Measure out the nuts and dried fruit. You should have everything ready before you start layering—trust me, it makes the process so much smoother.
- Layer the crunchy base (2 minutes per cup): Place a small handful of mini pretzels or crackers at the bottom of each cup. This creates a stable foundation and prevents the heavier ingredients from sinking. You want about 1/4 cup of crackers per cup—enough to cover the bottom completely. Press them down gently so they form an even layer. Pro tip: use a mix of pretzels and crackers for different textures.
- Add the fruit layer (1 minute per cup): Drop 3-4 grapes into each cup, placing them around the edges so they’re visible through the clear cup. If you’re using berries, add them now. This layer adds color and freshness. The grapes should sit just above the crackers, not buried underneath them. Take a moment to arrange them nicely—you’ll thank yourself later when you see the finished cups.
- Layer the meats (2 minutes per cup): Fold or roll 2-3 slices of salami and place them on one side of the cup. Add 1-2 ribbons of prosciutto on the opposite side. If using pepperoni, tuck 3-4 slices between the other meats. The goal is to create visual height and variety. Don’t just throw them in—arrange them so they peek out from different angles. This is where the cup starts looking like a professional charcuterie board.
- Add the cheese cubes (2 minutes per cup): Place 3-4 cubes of cheddar and 3-4 cubes of Colby Jack around the meats. Add 2-3 mini mozzarella balls. The cheese should be visible from the outside of the cup, so avoid burying it. Alternate colors—yellow cheddar next to white mozzarella next to orange Colby Jack—for maximum visual appeal. I like to tuck the cheese slightly behind the meat so it creates depth.
- Fill the gaps with nuts and dried fruit (1 minute per cup): Sprinkle a small handful of almonds or cashews into any empty spaces. Add 2-3 dried apricots or a tablespoon of dried cranberries. These small items fill the gaps and add texture. Don’t overfill—you want the cup to look abundant but not overflowing. Think “organized abundance” rather than “stuffed to the brim.”
- Top with a sweet surprise (30 seconds per cup): Drop a small handful of dark chocolate chips or a mini chocolate square right on top. This is the finishing touch that makes the cup feel extra special. It’s also the first thing teachers see when they open the lid—a little moment of delight.
- Secure the lid and refrigerate (5 minutes total): Place the lid on each cup and press down firmly. Refrigerate for at least 30 minutes before serving to let the flavors meld. The cups can be made up to 24 hours in advance—just add any fresh berries right before serving to prevent sogginess. When you’re ready to gift them, simply pull them from the fridge, add a personalized tag or ribbon, and you’re done.
A few troubleshooting notes: If your crackers get soggy, you probably didn’t dry the grapes and mozzarella thoroughly enough. Pat them dry with paper towels until no moisture remains. If the cups look sparse, you might be using too wide a container. Switch to narrower cups or add more ingredients. And if the meat is sliding down, try folding it into tighter rolls or rosettes that hold their shape better.
I remember one time I made these for a last-minute teacher appreciation event and realized I had forgotten to buy cups. I used small paper lunch bags instead—not ideal, but it worked in a pinch. The teachers loved them anyway, and one even said the paper bag added a “rustic charm.” So don’t stress if you don’t have the perfect container. The effort and thoughtfulness are what matter most.
Cooking Tips & Techniques
Over the years, I’ve learned a few tricks that make these cups consistently beautiful and delicious. Some came from trial and error, others from watching professional caterers work their magic. Here are my best tips for perfect charcuterie lunch cups every time.
Master the fold: The way you fold your meats makes a huge difference in appearance. For salami, fold each slice in half, then in half again to create a quarter-circle shape. For prosciutto, lay the slice flat, then loosely roll it into a rose-like spiral. This creates height and texture that flat slices just can’t achieve. I practiced this technique on a lazy Sunday afternoon while watching cooking shows—it’s surprisingly meditative.
Balance the flavors: A great charcuterie cup has salty, sweet, tangy, and creamy elements. If your meat is very salty (like prosciutto), balance it with sweet grapes or dried apricots. If your cheese is mild (like mozzarella), add a sharp cheddar for contrast. Taste everything before assembling so you know what you’re working with. I once made a batch with extra-salty salami and forgot to add any sweet elements—the cups were overwhelmingly savory and not as enjoyable.
Think about color contrast: This isn’t just about looks—color contrast actually affects how we perceive flavor. A cup with red grapes, yellow cheese, green mozzarella, and brown nuts is more appealing than one with all similar colors. Arrange ingredients so complementary colors sit next to each other. I always place red grapes next to white cheese and green grapes next to orange cheddar. It’s a small detail that makes a big difference.
Watch the moisture: Soggy crackers are the number one complaint I hear about pre-assembled charcuterie cups. The solution is simple: dry everything thoroughly. After washing grapes, spread them on a paper towel-lined plate and pat them dry. After draining mozzarella, roll each ball in a paper towel. If you’re using pickles or olives, drain them well and blot with a paper towel. This extra step takes two minutes and prevents disappointment.
Assemble in an assembly line: When making multiple cups, don’t build them one at a time. Set up an assembly line with all your ingredients in bowls. Line up your cups and add the same ingredient to each cup before moving to the next ingredient. This is faster and ensures consistency across all cups. I learned this from my years of working in a restaurant kitchen—efficiency is everything when you’re making twelve cups at once.
One mistake I’ll never forget: I once made these cups the night before and stored them in the refrigerator without lids. The next morning, the crackers were stale, the grapes were shriveled, and the cheese had developed a weird texture. Always use airtight lids. If your cups don’t come with lids, cover them tightly with plastic wrap. Your future self will thank you.
Variations & Adaptations
One of the best things about these charcuterie lunch cups is how customizable they are. I’ve made dozens of variations over the years, and each one has its own charm. Here are some of my favorites to inspire your own creations.
The Breakfast Cup
Swap the salami and prosciutto for breakfast sausage links (cut into bite-sized pieces) or bacon strips (cooked and crumbled). Use mini pancakes or waffle pieces instead of crackers. Add fresh berries and a small container of maple syrup or honey on the side. I made these for a teacher breakfast event and they were gone in ten minutes. The sweet and savory combination is absolutely irresistible.
The Mediterranean Cup
Use feta cheese cubes instead of cheddar, add kalamata olives and roasted red peppers, and swap the crackers for pita chips. Include cucumber slices and cherry tomatoes for freshness. This version is lighter and brighter, perfect for spring or summer teacher appreciation events. I like to add a small packet of tzatziki sauce for dipping—it takes the flavor to another level.
The Kid-Friendly Cup
Skip the prosciutto and use only mild salami or ham. Use mild cheddar or American cheese cubes. Add goldfish crackers, pretzel sticks, and apple slices. Include a small treat like a mini chocolate bar or fruit snack at the bottom. This version is perfect for classroom parties or when you’re making cups for both teachers and students. My own kids love helping me assemble these—they call it “snack art.”
The Low-Carb/Keto Cup
Replace crackers with cheese crisps, pork rinds, or cucumber rounds. Focus on high-fat ingredients like pepperoni, hard cheeses, and nuts. Add olives and pickles for extra flavor without carbs. This version is just as delicious and satisfying as the original, and it’s a thoughtful option for teachers who follow a low-carb lifestyle. I made these for my Pilates instructor and she was thrilled.
The Vegan Cup
Use vegan cheese cubes (I recommend Violife or Miyoko’s), plant-based deli slices (like Tofurky or Field Roast), and plenty of fresh fruit and vegetables. Add roasted chickpeas or spiced nuts for protein. Include dark chocolate that’s certified vegan. This version requires a bit more effort to source ingredients, but it’s absolutely worth it for vegan teachers who often feel left out of food gifts.
When adapting these cups for dietary restrictions, always double-check ingredient labels. Some crackers contain milk powder, some dried fruits have added sugar, and some nuts are processed in facilities that handle allergens. When in doubt, ask the recipient about their specific needs. I’ve learned that teachers appreciate the effort more than the perfection.
Serving & Storage Suggestions
These charcuterie lunch cups are designed to be served cold or at room temperature. The ideal serving temperature is around 45-50°F—cold enough that the cheese stays firm, but not so cold that the flavors are muted. If you’re serving them straight from the refrigerator, let them sit at room temperature for 10-15 minutes before serving. This allows the cheese to soften slightly and the flavors to open up.
For presentation, I like to arrange the cups on a large tray or platter, grouped by color or ingredient theme. Add a small sign or tag with the teacher’s name or a thank-you message. A simple “Thank you for shaping our future!” or “You’re the best!” note tied with a ribbon adds a personal touch that teachers truly appreciate. I’ve also seen people attach a small wooden pick or fork to each cup for easy eating.
These cups pair beautifully with a variety of beverages. For a teacher appreciation breakfast, serve them with coffee, tea, or fresh orange juice. For a lunch event, they go well with sparkling water, lemonade, or iced tea. If you’re making them for an after-school gathering, a glass of crisp white wine or a light beer complements the savory flavors perfectly.
Storage instructions: Keep the cups refrigerated in an airtight container (or with their lids on) for up to 24 hours. After that, the crackers may start to soften and the fruit may lose its freshness. I don’t recommend freezing these cups—the texture of the cheese and meat will suffer significantly upon thawing. If you need to prepare them further in advance, assemble everything except the crackers and add those just before serving.
One thing I’ve noticed is that the flavors actually improve after a few hours in the refrigerator. The meats and cheeses meld together, and the dried fruit absorbs a bit of moisture, becoming plumper and more flavorful. So don’t worry if you make them the night before—they’ll taste even better the next day. Just add any fresh berries or delicate herbs right before serving to keep them at their best.
Leftover cups can be repurposed in creative ways. The meat and cheese can be chopped and added to salads or omelets. The crackers can be crushed and used as a topping for casseroles or soups. And the fruit can be blended into smoothies or eaten as a snack. I’ve never had leftovers, though—these cups disappear fast!
Nutritional Information & Benefits
While these charcuterie lunch cups are more of a treat than a health food, they do offer some surprising nutritional benefits. Here’s a rough estimate for one standard cup (based on the ingredients listed in this recipe):
| Nutrient | Amount Per Cup |
|---|---|
| Calories | 350-400 |
| Protein | 18-22g |
| Fat | 22-28g |
| Carbohydrates | 20-25g |
| Fiber | 3-4g |
| Sugar | 10-14g (mostly from fruit) |
| Sodium | 600-800mg |
These values will vary based on your specific ingredient choices and portion sizes. The protein from the meats and cheese makes these cups surprisingly filling—they’re a complete snack that can double as a light lunch. The nuts provide healthy fats and vitamin E, while the grapes and dried fruit offer antioxidants and natural sweetness.
From a dietary perspective, these cups can be adapted to fit many lifestyles. They’re naturally gluten-free if you choose gluten-free crackers. They can be made low-carb by omitting crackers and dried fruit. And they’re easy to make dairy-free with vegan cheese alternatives. The only common allergen to watch for is nuts—if you’re making these for a classroom, check if there are any nut allergies before adding almonds or cashews.
I personally appreciate that these cups offer a balanced mix of macronutrients. The protein and fat keep you satisfied, while the carbohydrates provide quick energy. It’s the kind of snack that sustains you through a long afternoon of teaching—or, in my case, through a long afternoon of recipe testing. Plus, the variety of textures and flavors makes eating feel like an experience rather than just fuel.
Conclusion
These Easy Teacher Appreciation Charcuterie Lunch Cups have become my secret weapon for showing gratitude in the most delicious way possible. They take fifteen minutes to assemble, use ingredients you can find at any grocery store, and deliver a “wow” factor that store-bought gifts just can’t match. Every time I make them, I’m reminded of that mom in the Target checkout line who inspired this whole journey. She probably has no idea she changed my gift-giving game forever.
What I love most about these cups is how personal they feel. You can customize them for each teacher’s tastes, dietary needs, or favorite flavors. Add extra chocolate for the teacher with a sweet tooth. Load up on olives and pickles for the savory lover. Make a mini version for the teacher who appreciates portion control. The possibilities are endless, and that’s what makes this recipe so special.
I’d love to hear how your cups turn out! Drop a comment below and let me know what ingredients you used, which variation you tried, and how the teachers reacted. Did they cry? Did they ask for the recipe? Did they eat the entire cup in one sitting? I want to hear it all. And if you have your own favorite teacher appreciation gift idea, please share it—I’m always looking for new inspiration.
Remember, it’s not about perfection. It’s about showing someone you care. So grab your ingredients, put on your favorite playlist, and make some snack cups that are guaranteed to bring smiles. You’ve got this. And your teachers are going to love you for it.
Frequently Asked Questions
Can I make these charcuterie lunch cups the night before?
Absolutely! In fact, I recommend it. The flavors meld together beautifully after a few hours in the refrigerator. Just add any fresh berries or delicate herbs right before serving to keep them at their best. Make sure the cups have airtight lids to keep everything fresh.
How many cups does this recipe make?
This recipe makes approximately 8-10 standard cups, depending on the size of your containers and how generously you fill them. If you’re making them for a larger group, simply double or triple the ingredients. The assembly line method makes scaling up easy.
What if I don’t have clear plastic cups?
No problem! You can use small mason jars, paper cups, Chinese takeout containers, or even small glass yogurt jars. The visual appeal won’t be as strong without clear cups, but the taste is still there. Just make sure whatever container you use has a secure lid.
Can I add hot or spicy ingredients?
Definitely! Spicy salami, jalapeño cheese cubes, or a drizzle of hot honey can add a nice kick. Just be mindful of the teacher’s spice tolerance. I like to make a few “spicy” cups labeled with a small sticker so adventurous eaters know which ones to grab.
How do I keep the crackers from getting soggy?
The key is to dry all your ingredients thoroughly before assembling. Pat grapes and mozzarella with paper towels until no moisture remains. Drain olives and pickles well. And consider adding a small piece of parchment paper between the cracker layer and the fruit layer for extra protection.
Pin This Recipe!
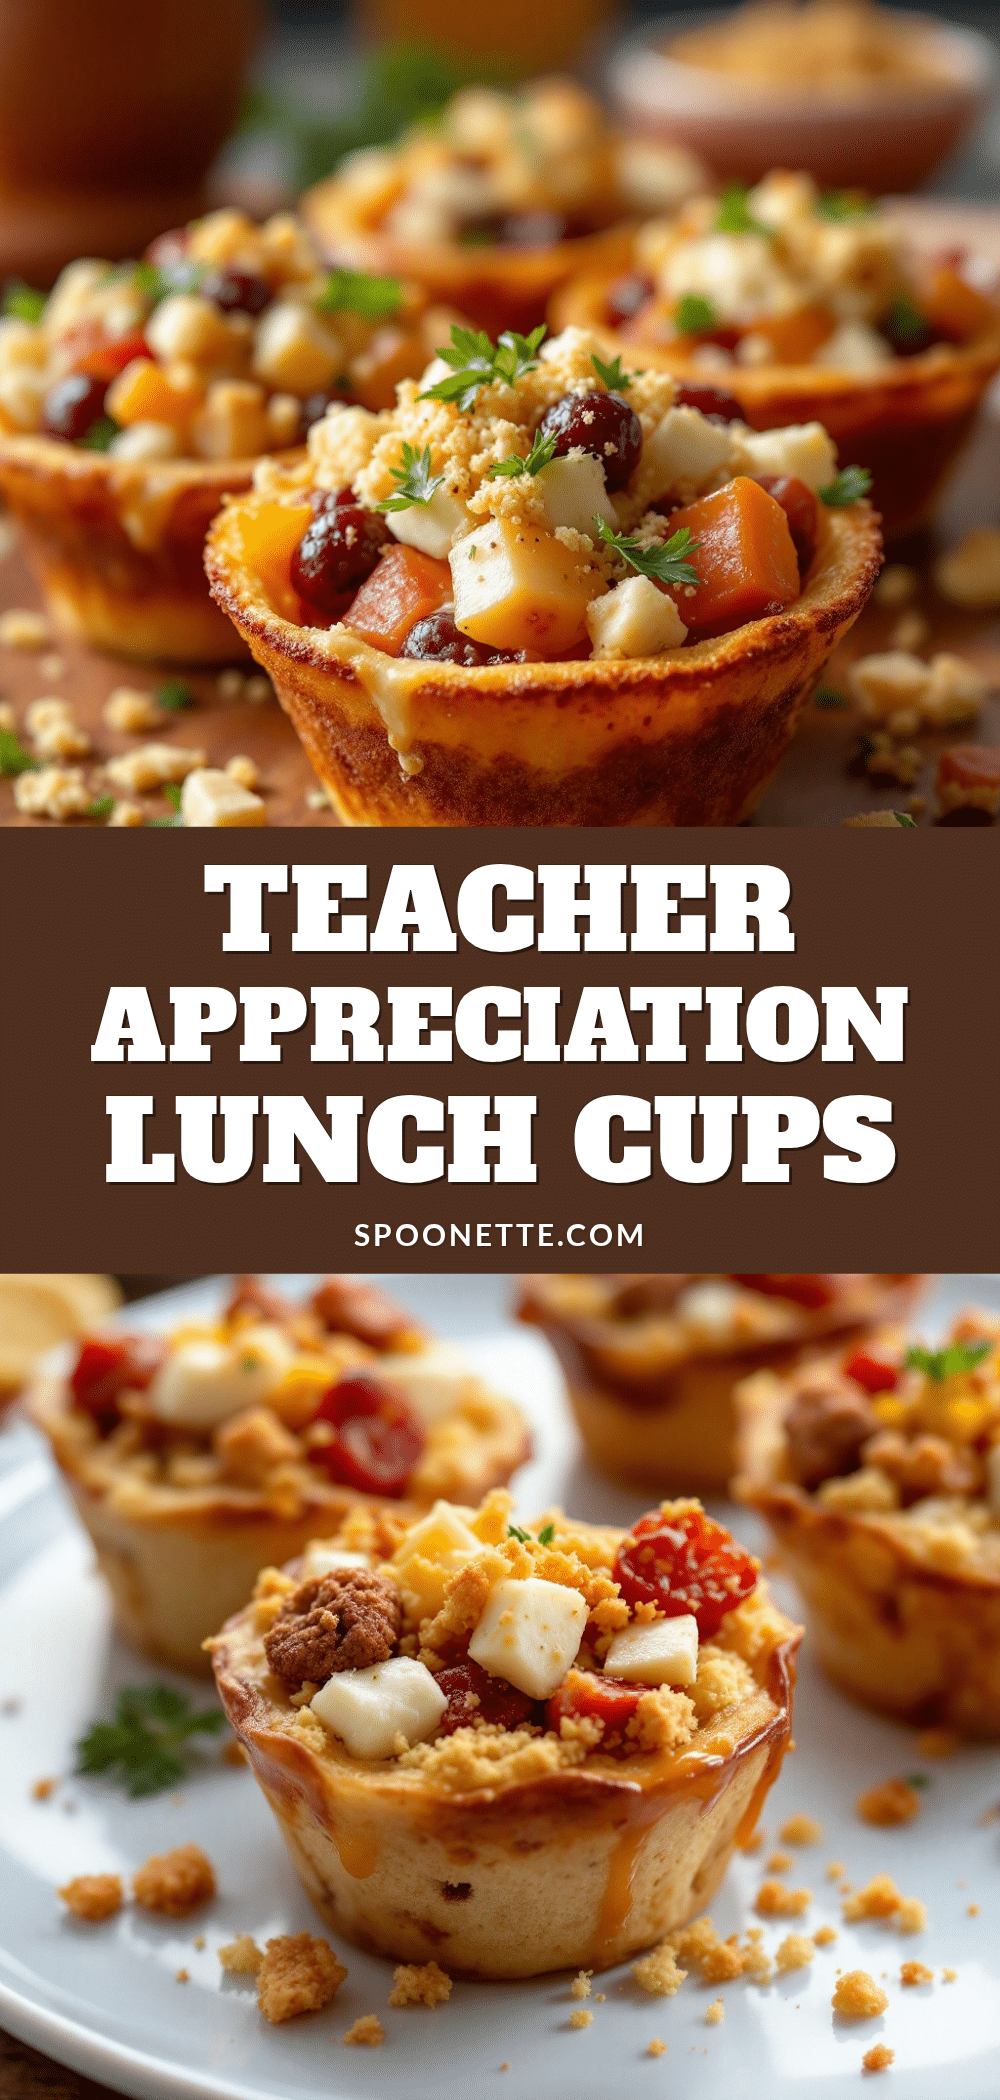
Easy Teacher Appreciation Charcuterie Lunch Cups – Best Homemade Gift

These portable, customizable charcuterie cups are the perfect teacher appreciation gift. They take just 15 minutes to assemble and feature layers of salty meats, creamy cheese, sweet fruit, and crunchy crackers.
- Prep Time: 15 minutes
- Cook Time: 0 minutes
- Total Time: 15 minutes
- Yield: 8-10 servings
- Category: Appetizer
- Cuisine: American
Ingredients
- Mini pretzel twists or small crackers (e.g., Snyder’s of Hanover mini pretzels)
- Assorted crackers (2-3 varieties like buttery rounds, whole wheat, or rosemary olive oil)
- Fresh grapes (red or green, washed and dried)
- Salami slices (Genoa salami from deli counter)
- Prosciutto (thin slices from deli)
- Pepperoni (optional)
- Cheddar cheese cubes (sharp cheddar, cut into 1/2-inch cubes)
- Colby Jack or Monterey Jack cubes (cut into 1/2-inch cubes)
- Mini fresh mozzarella balls (ciliegine size, drained and patted dry)
- Dried apricots or dried cranberries
- Almonds or cashews (roasted and salted)
- Dark chocolate chips or mini chocolate squares
- Olives (pitted kalamata or green, optional)
- Pickle spears or cornichons (optional)
- Fresh berries (strawberries, blueberries, or raspberries, optional)
- Small cheese spread or honey packet (optional)
Instructions
- Prep your ingredients: Wash and thoroughly dry the grapes. Cut the cheddar and Colby Jack into 1/2-inch cubes. Drain the mozzarella balls and pat them dry with paper towels. Slice the salami into thin rounds if not pre-sliced. Fold the prosciutto slices into loose ribbons or rosettes. Measure out the nuts and dried fruit.
- Layer the crunchy base: Place a small handful of mini pretzels or crackers at the bottom of each cup (about 1/4 cup per cup). Press them down gently to form an even layer.
- Add the fruit layer: Drop 3-4 grapes into each cup, placing them around the edges so they are visible through the clear cup. If using berries, add them now.
- Layer the meats: Fold or roll 2-3 slices of salami and place them on one side of the cup. Add 1-2 ribbons of prosciutto on the opposite side. If using pepperoni, tuck 3-4 slices between the other meats.
- Add the cheese cubes: Place 3-4 cubes of cheddar and 3-4 cubes of Colby Jack around the meats. Add 2-3 mini mozzarella balls. Alternate colors for visual appeal.
- Fill the gaps with nuts and dried fruit: Sprinkle a small handful of almonds or cashews into any empty spaces. Add 2-3 dried apricots or a tablespoon of dried cranberries.
- Top with a sweet surprise: Drop a small handful of dark chocolate chips or a mini chocolate square on top.
- Secure the lid and refrigerate: Place the lid on each cup and press down firmly. Refrigerate for at least 30 minutes before serving. The cups can be made up to 24 hours in advance—add any fresh berries right before serving.
Notes
Dry all ingredients thoroughly to prevent soggy crackers. Use an assembly line for multiple cups. The flavors improve after a few hours in the refrigerator. Add fresh berries just before serving.
Nutrition
- Serving Size: 1 cup
- Calories: 350400
- Sugar: 1014
- Sodium: 600800
- Fat: 2228
- Saturated Fat: 810
- Carbohydrates: 2025
- Fiber: 34
- Protein: 1822
Keywords: teacher appreciation, charcuterie cups, lunch cups, easy gift, portable snack, no-cook, back to school