Love this? Save it for later!
Share the inspiration with your friends
Introduction
The other afternoon, I was standing in the cereal aisle, trying to grab a box while balancing a wobbly pile of groceries, when the faint, sharp scent of cheddar cheese hit me — and suddenly I was six years old again, sitting cross-legged on the scratched linoleum floor of Mrs. Patterson’s kitchen. She wasn’t there anymore, but I could almost hear her humming, the clink of plastic snack containers, and the gentle rustle of wax paper as she assembled my favorite little tray of snacks. It wasn’t just about the food; it was that quiet, perfect moment of little bites all lined up, ready to be savored one by one.
Honestly, that memory has haunted me a bit — not in a sad way, but more like a quiet itch to recreate something simple, something quick, and something that feels like a small gift to myself. Maybe you know that feeling when you want something easy but wholesome, something that isn’t just a thrown-together snack but a little lunch adventure you can carry anywhere.
That’s how the idea for these Easy DIY Lunchable Style Snack Trays came about. Not the boxed, processed kind you find at the store, but something fresh, customizable, and healthy. I remember trying to juggle work calls and kitchen chaos last Tuesday when I threw together a few crackers, some sliced turkey, cherry tomatoes, and a handful of almonds on a plate — and suddenly, the day got a little lighter. It’s not just about convenience; it’s about capturing that simple joy of nibbling on thoughtfully paired bites. For me, this recipe isn’t just food — it’s a little moment of calm and care in a hectic day.
Why You’ll Love This Recipe
If you’re anything like me, you’re always hunting for snack ideas that don’t feel like a compromise between quick and healthy. These Easy DIY Lunchable Style Snack Trays fit the bill perfectly, and here’s why:
- Quick & Easy: Ready in under 10 minutes, perfect for those days when time is a luxury you don’t have.
- Simple Ingredients: No need to dash to specialty stores; everything is pantry-friendly or from your local market.
- Perfect for Any Occasion: Whether it’s a midday pick-me-up, a kids’ after-school snack, or a light lunch on-the-go, these trays have your back.
- Crowd-Pleaser: The variety of textures and flavors means everyone finds something to love — from the salty crunch to the sweet bursts of fruit.
- Unbelievably Delicious: It’s not just convenience food; it’s thoughtfully assembled bites that feel satisfying and fresh.
What makes this recipe stand out? The freedom to personalize each tray while still keeping it balanced and nutritious. I always blend crunchy, creamy, sweet, and savory elements, so each bite is interesting. Plus, swapping out ingredients based on what’s in season or what you have on hand keeps it fresh. Honestly, it’s the kind of snack that makes you close your eyes and appreciate the little moments — like a mini celebration of flavors without the fuss.
What Ingredients You Will Need
This recipe uses simple, wholesome ingredients to deliver bold flavor and satisfying texture without the fuss. You’ll find most of these are pantry staples or easy-to-find fresh items. Feel free to adapt based on your tastes or what’s in season.
- For the Protein:
- Sliced turkey breast or chicken breast (about 4 oz / 115g) – I prefer hormone-free, deli-sliced for convenience
- Cheddar cheese, sliced or cubed (2 oz / 60g) – sharp or mild depending on preference
- Hard-boiled eggs, halved (optional) – great for extra protein boost
- For the Carbs:
- Whole grain crackers (about 10-12 pieces) – I like Mary’s Gone Crackers for texture
- Mini rice cakes or pita chips (optional) – alternative crunch
- For the Fresh Elements:
- Cherry tomatoes (handful) – juicy bursts that balance richer flavors
- Cucumber slices (about ½ cup / 75g) – crisp and refreshing
- Baby carrots or snap peas (½ cup / 75g) – adds a naturally sweet crunch
- For the Sweet Touch:
- Fresh grapes or apple slices (½ cup / 75g) – choose crisp, sweet varieties
- Dried cranberries or raisins (1-2 tbsp) – optional but nice for contrast
- Extras & Dips:
- Hummus or Greek yogurt dip (2-3 tbsp) – creamy and tangy, perfect for dipping veggies
- Almonds or walnuts (a small handful) – for healthy fats and crunch
If you want to swap ingredients, almond flour crackers can make it gluten-free, and dairy-free cheese options work well too. In the summer, fresh berries can replace grapes for a seasonal twist. I’ve tried swapping turkey with smoked salmon for a fancier spin, and it’s delicious! Just remember, balance is key — a mix of protein, carbs, and fresh produce keeps the tray satisfying.
Equipment Needed
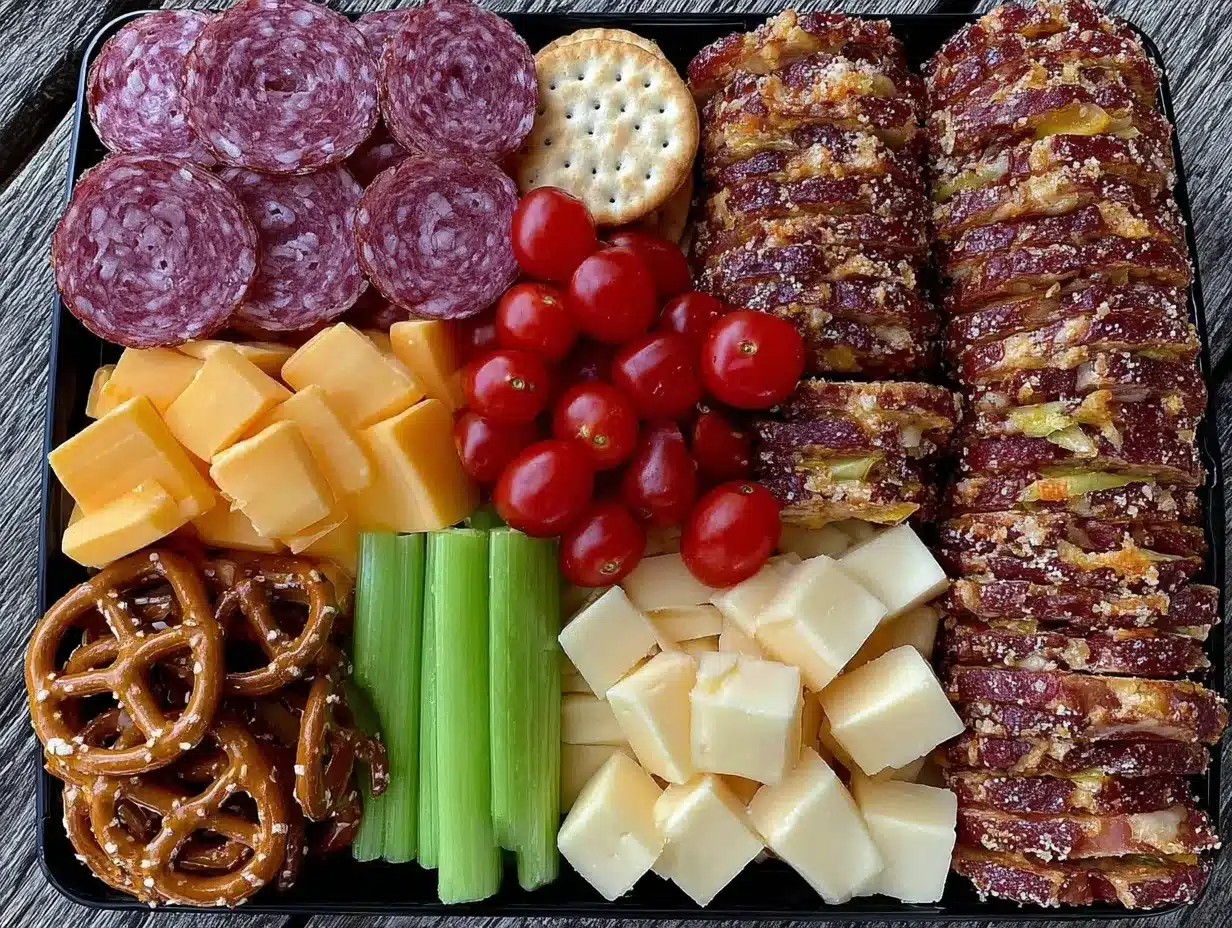
- Snack containers or divided lunch boxes – I recommend using BPA-free plastic or glass with compartments to keep everything separated and fresh.
- Small bowls or ramekins – handy for dips like hummus or yogurt, preventing sogginess.
- Sharp knife and cutting board – for slicing cheese, fruits, and veggies precisely.
- Measuring spoons and cups – helpful for portion control, especially with nuts and dips.
- Optional: Egg slicer if you use hard-boiled eggs – saves time and gives uniform slices.
If you don’t have a divided container, using small silicone cupcake liners inside a regular plate or lunch box works great too. Personally, I’ve gone through a few different brands of snack containers, and the ones with tight-sealing lids make all the difference in keeping everything fresh. Also, if you’re using sharp knives, remember to keep them well-maintained — a dull blade can turn slicing into a disaster.
Preparation Method
- Prep the Protein: Slice about 4 oz (115g) of turkey breast into bite-sized pieces or roll slices into neat little bundles. If using hard-boiled eggs, peel and halve them carefully. (Time: 5 minutes)
- Cut the Cheese: Slice or cube 2 oz (60g) of cheddar cheese. Keep the pieces small enough to eat in one or two bites but large enough to avoid crumbling. (Time: 3 minutes)
- Wash and Slice Fresh Produce: Rinse cherry tomatoes, cucumber, baby carrots, and grapes. Slice cucumbers into thin rounds and halve cherry tomatoes if preferred. Prepare apple slices just before assembling to avoid browning; you can toss them lightly in lemon juice if you want to keep them fresh longer. (Time: 5-7 minutes)
- Arrange the Crackers and Nuts: Place about 10-12 whole grain crackers in one section of your container. Add a small handful of almonds or walnuts in another compartment to keep the crunch separate from moisture. (Time: 2 minutes)
- Portion the Dips: Spoon 2-3 tablespoons of hummus or Greek yogurt dip into a small ramekin or silicone cup. This prevents soggy veggies and keeps the dip neat. (Time: 1 minute)
- Assemble the Tray: Start placing the protein, cheese, and fresh produce in their respective compartments. Balance colors and textures so the tray looks appealing — a mix of reds, greens, and creams always helps. (Time: 3-5 minutes)
- Final Touches: Add dried cranberries or raisins in a small section if using. Double-check that each compartment is secure before closing the lid, so nothing shifts during transport. (Time: 1 minute)
Tip: If you’re prepping multiple trays for the week, keep fresh fruit and crackers separate until just before serving to maintain the best texture. I once packed everything in one container and ended up with soggy crackers — lesson learned the hard way! Also, don’t forget to chill your trays in the fridge if you aren’t eating them right away; freshness matters.
Cooking Tips & Techniques
Even though this recipe is no-cook, a few techniques help make your Easy DIY Lunchable Style Snack Trays stand out.
- Balance Flavors and Textures: Think about pairing salty with sweet, crunchy with creamy. For example, sharp cheddar with sweet grapes or crunchy crackers with smooth hummus.
- Cutting Consistency: Uniform sizes not only make the tray look better but help with easy, mess-free eating. I always take a moment to slice cheese and veggies evenly — it makes a difference when you’re snacking on the go.
- Keep Moisture Separate: Use small containers for dips and juicy fruits to avoid soggy crackers or limp veggies.
- Prep Ahead but Assemble Later: You can slice and portion ingredients a day ahead, but assembling the tray right before eating keeps everything fresh and crisp.
- Watch Out for Browning: Apple slices brown quickly; toss them with a little lemon juice or swap in other fruits like grapes or berries if you’re prepping early.
I once packed a tray with too many juicy tomatoes right next to crackers — rookie mistake. Since then, I always keep juicy items separate. Also, multitasking works wonders here: prep your protein while boiling eggs or washing produce to save time. These little habits make the whole process feel smoother.
Variations & Adaptations
This snack tray is incredibly flexible, so here are some ideas to shake things up:
- Vegetarian Version: Swap turkey for extra cheese varieties, hard-boiled eggs, or plant-based deli slices. Add roasted chickpeas for protein crunch.
- Seasonal Flavors: Swap grapes for fresh berries in summer or dried figs and persimmons in fall. Use seasonal veggies like roasted sweet peppers or snap peas.
- Allergen-Friendly: Use gluten-free crackers and dairy-free cheese alternatives like cashew-based spreads. Substitute nuts with pumpkin seeds for nut allergies.
- International Twist: Swap cheddar for mozzarella and add olives and cherry tomatoes for a Mediterranean vibe. Or try smoked salmon with cream cheese and cucumber slices for a Scandinavian flair.
- Personal Favorite: I like adding a small scoop of guacamole or avocado slices for creaminess — it’s a simple upgrade that never fails.
Whether you’re catering to dietary needs or just feeling adventurous, this snack tray recipe adapts well. Plus, changing it up keeps things fun and exciting. Sometimes I add a sprinkle of everything bagel seasoning on cream cheese for a little extra zing. Give it a try!
Serving & Storage Suggestions
These snack trays are best served chilled or at room temperature. Personally, I enjoy them right out of the fridge on warm afternoons, but if you’re taking them to work or school, letting them sit for 10 minutes before eating helps bring out the flavors.
Pair your tray with a refreshing iced tea, sparkling water with a splash of lemon, or even a small glass of kombucha for a little fizz. For a fuller meal, add a light soup or salad on the side — I remember how well a simple tomato basil soup complemented a similar snack tray during a chilly lunch break.
Storage-wise, assemble trays the night before but keep crackers and fresh fruits separate if possible to maintain crunch and freshness. Keep everything refrigerated in airtight containers up to 2 days. If you want to prep protein or veggies ahead, store them in sealed containers and combine just before serving.
Reheating isn’t necessary, but if you include hard-boiled eggs or cheese, avoid microwaving as it changes texture. Instead, enjoy cold or at room temp. Flavors often mellow and blend slightly if the trays rest a few hours, making for a nice, balanced taste when you’re ready.
Nutritional Information & Benefits
On average, one snack tray contains about 350-400 calories, with roughly 20-25 grams of protein, 30-35 grams of carbohydrates, and 15-20 grams of healthy fats. The fiber content ranges from 5-7 grams, thanks to whole grain crackers and fresh veggies.
Key ingredients like turkey and eggs provide lean protein essential for sustained energy. Fresh produce adds vitamins, antioxidants, and fiber supporting digestion. Nuts supply healthy fats that promote heart health. Using whole grain crackers boosts fiber intake as well.
This snack tray is gluten-friendly if you select gluten-free crackers and dairy-free if you opt for plant-based cheese alternatives. It’s a balanced option for anyone wanting a nutritious, easy meal without excess sugars or artificial additives.
Personally, I appreciate how this tray combines nutrient density with convenience, fitting neatly into my active lifestyle without sacrificing flavor or satisfaction. It’s the kind of recipe that supports wellness quietly and deliciously.
Conclusion
These Easy DIY Lunchable Style Snack Trays are more than just a quick fix—they’re a little ritual of care and flavor that fits perfectly into busy days. Whether you’re packing for yourself, your kids, or friends, this recipe offers flexibility, nutrition, and that satisfying bite of homemade goodness.
Feel free to customize based on your preferences or what’s in your pantry. I love how these trays invite creativity while keeping things simple and wholesome. Honestly, making these trays feels like recreating a tiny moment of calm, just like that afternoon in Mrs. Patterson’s kitchen, and I hope you find that same quiet joy in them.
Give this recipe a try and let me know how you personalize your snack trays. Sharing your twists or tips would make my day! Happy snacking!
FAQs
Can I make these snack trays ahead of time?
You can prep most ingredients a day ahead but assemble the trays just before serving to keep everything fresh and crunchy.
What are good protein alternatives for vegetarians?
Try adding hard-boiled eggs, cheese varieties, roasted chickpeas, or plant-based deli slices for a protein boost.
How do I keep crackers from getting soggy?
Keep crackers separate from moist ingredients and dips by using compartments or small containers for dips.
Can I freeze these snack trays?
It’s best not to freeze assembled trays as fresh produce and crackers won’t hold up well. You can freeze cooked proteins separately if needed.
What’s a good dip option if I’m avoiding dairy?
Hummus, guacamole, or dairy-free yogurt-based dips work great as tasty, dairy-free alternatives.
For those wanting more snack inspiration, you might enjoy my crispy garlic chicken recipe or the fresh flavors in my summer fresh salads. Both bring easy, flavorful ideas to your table.
Pin This Recipe!
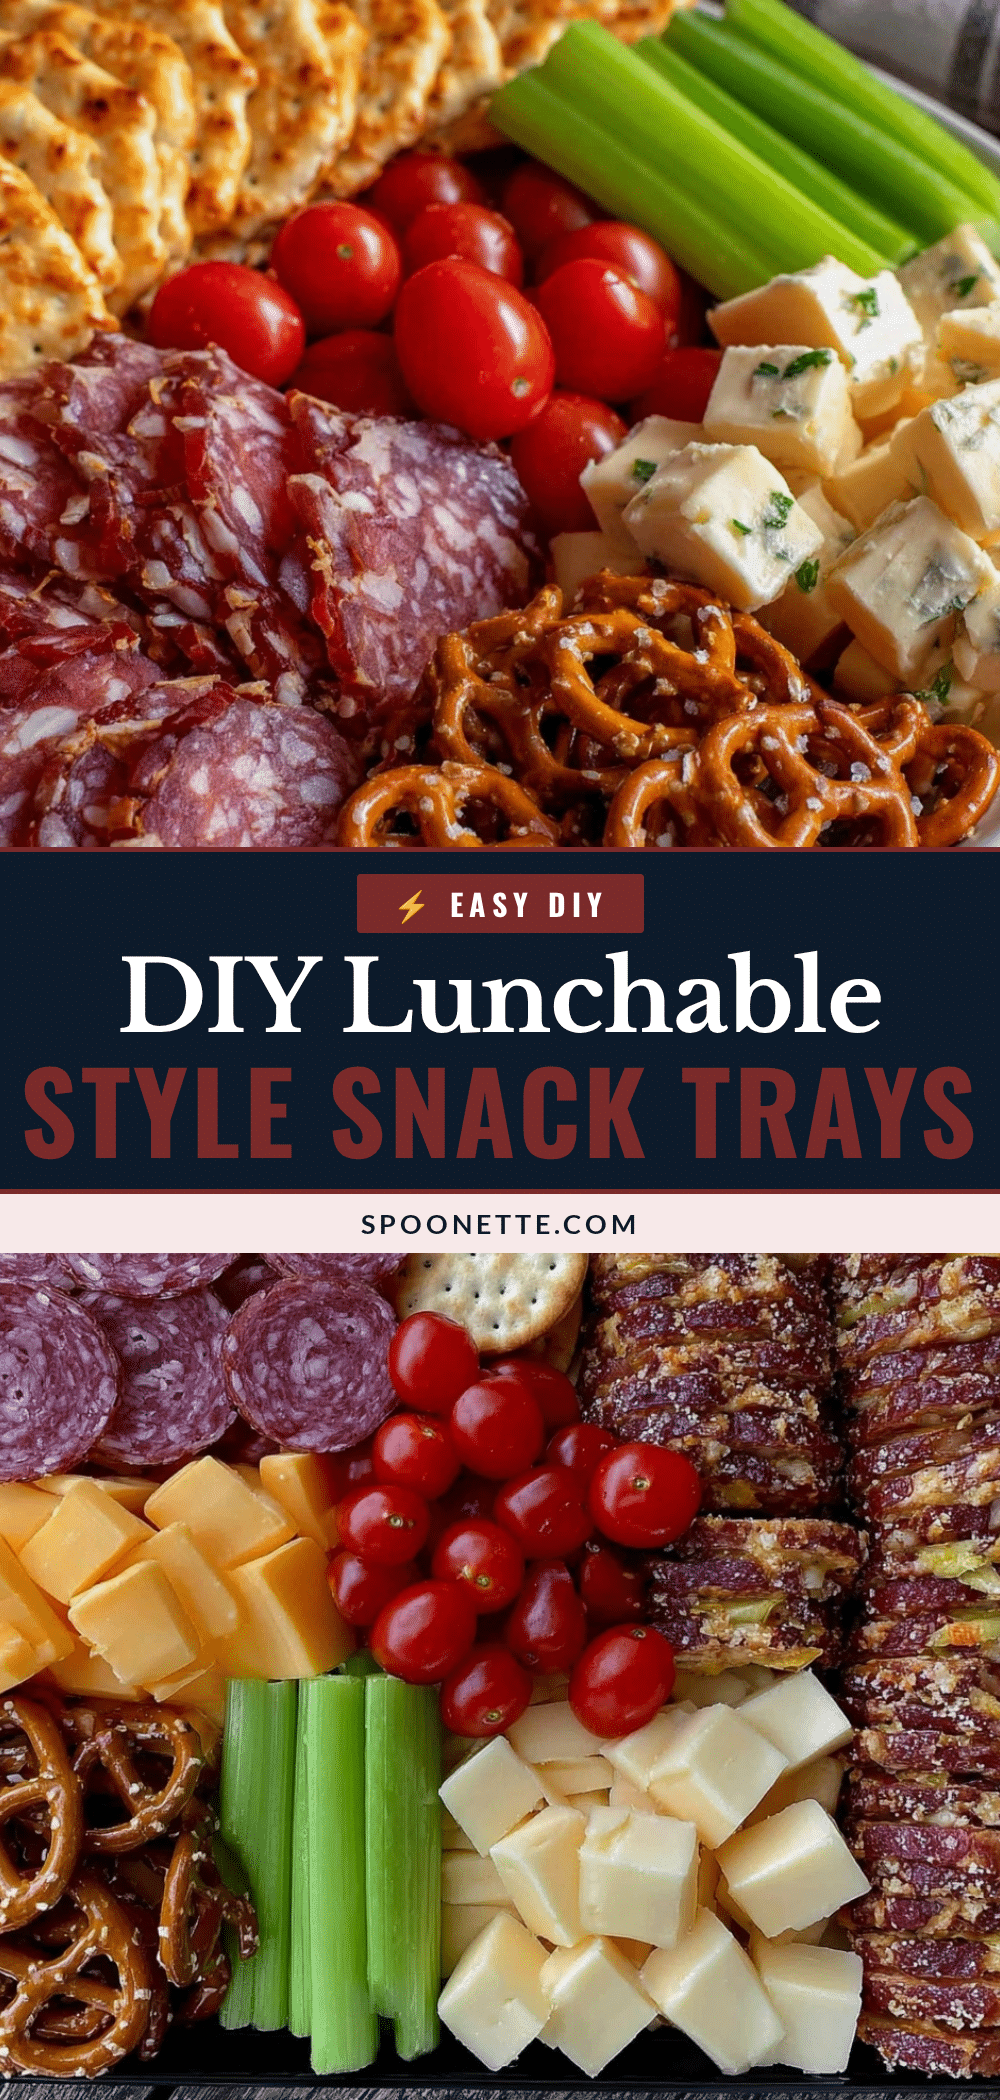
Easy DIY Lunchable Style Snack Trays for Quick Healthy Snacks
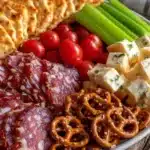
These snack trays are quick, customizable, and healthy, perfect for a light lunch or snack on-the-go. They combine protein, carbs, fresh produce, and sweet elements for a balanced and satisfying bite.
- Prep Time: 10 minutes
- Cook Time: 0 minutes
- Total Time: 10 minutes
- Yield: 1 serving 1x
- Category: Snack
- Cuisine: American
Ingredients
- 4 oz (115g) sliced turkey breast or chicken breast, hormone-free deli-sliced
- 2 oz (60g) cheddar cheese, sliced or cubed (sharp or mild)
- Hard-boiled eggs, halved (optional)
- 10–12 whole grain crackers (e.g., Mary’s Gone Crackers)
- Mini rice cakes or pita chips (optional)
- Handful cherry tomatoes
- ½ cup (75g) cucumber slices
- ½ cup (75g) baby carrots or snap peas
- ½ cup (75g) fresh grapes or apple slices
- 1–2 tbsp dried cranberries or raisins (optional)
- 2–3 tbsp hummus or Greek yogurt dip
- Small handful almonds or walnuts
Instructions
- Slice about 4 oz (115g) of turkey breast into bite-sized pieces or roll slices into neat bundles. Peel and halve hard-boiled eggs if using. (5 minutes)
- Slice or cube 2 oz (60g) of cheddar cheese into bite-sized pieces. (3 minutes)
- Rinse cherry tomatoes, cucumber, baby carrots, and grapes. Slice cucumbers into thin rounds and halve cherry tomatoes if preferred. Prepare apple slices just before assembling, optionally tossing with lemon juice to prevent browning. (5-7 minutes)
- Place 10-12 whole grain crackers in one section of your container. Add a small handful of almonds or walnuts in another compartment. (2 minutes)
- Spoon 2-3 tablespoons of hummus or Greek yogurt dip into a small ramekin or silicone cup. (1 minute)
- Arrange the protein, cheese, and fresh produce in their compartments, balancing colors and textures. (3-5 minutes)
- Add dried cranberries or raisins in a small section if using. Ensure compartments are secure before closing the lid. (1 minute)
Notes
Keep crackers and fresh fruits separate until just before serving to maintain crunch. Use small containers for dips to avoid sogginess. Prepare ingredients a day ahead but assemble trays right before eating for freshness. Toss apple slices with lemon juice to prevent browning. Chill trays if not eating immediately. Avoid microwaving hard-boiled eggs or cheese to preserve texture.
Nutrition
- Serving Size: One snack tray
- Calories: 350400
- Sugar: 812
- Sodium: 400600
- Fat: 1520
- Saturated Fat: 57
- Carbohydrates: 3035
- Fiber: 57
- Protein: 2025
Keywords: snack tray, healthy snacks, lunchable style, quick snacks, DIY snack tray, protein snack, easy snack, kid-friendly snack