Love this? Save it for later!
Share the inspiration with your friends
The pickle competition at my friend Sarah’s annual summer barbecue was in three days and I’d completely forgotten. Everyone else would be bringing their grandmother’s secret recipe, something they’d been perfecting for decades. I had a bag of kirby cucumbers from the farmer’s market, a jar of peppercorns I wasn’t sure was still good, and absolutely zero pickling experience. Honestly, I almost just grabbed a jar from the grocery store on the way there. But something made me stop—maybe it was the stubborn part of me that hates showing up empty-handed, or maybe it was just the memory of my dad’s deli pickles from when I was a kid.
So I called my aunt, the one who cans everything from tomatoes to venison, and she laughed when I told her my predicament. “Honey,” she said, “you don’t need to can them. Just make refrigerator pickles.” She rattled off a recipe so simple I wrote it on a napkin. No boiling water baths, no sterilizing jars, no complicated equipment. Just cucumbers, vinegar, dill, and time. I made them that night, crossed my fingers, and showed up to the party with my little mason jars. Maybe you’ve been there—bringing something you’re not sure about, hoping it’s at least edible.
Well, let me tell you, those pickles disappeared in twenty minutes. People were asking for the recipe, and Sarah’s mom—who brings her award-winning bread and butter pickles every year—actually asked me for my brine proportions. I was shocked. These weren’t some multi-generational family heirloom recipe. They were cucumbers I’d thrown together on a Tuesday night out of desperation. But that’s the thing about these Crunchy 48-Hour Refrigerator Dill Pickles—they taste like you put in way more effort than you actually did. The secret is all in the timing and the technique, and once you make them, you’ll never go back to store-bought.
Why You’ll Love This Recipe
I’ve tested this recipe about a dozen times now, tweaking the salt levels and the vinegar ratios until it was just right. Let me tell you what makes these pickles special.
- Quick & Easy: Active prep time is under 15 minutes. No canning equipment needed, no complicated steps. Just slice, brine, and wait.
- Simple Ingredients: You probably already have most of these in your pantry. The only thing you might need to buy is fresh dill and cucumbers.
- Perfect for Summer: These are my go-to for barbecues, picnics, and lazy Sunday afternoons. They’re refreshing and crisp.
- Crowd-Pleaser: I’ve brought these to four different gatherings now, and every single time, someone asks for the recipe. Kids love them too—they’re not too sour or too salty.
- Unbelievably Crunchy: The 48-hour wait is what gives these pickles their signature crunch. You won’t get that limp, sad texture you sometimes find in store-bought jars.
What makes this recipe different from all the others? It’s the balance. Some recipes use too much vinegar and you end up with pickles that taste like a chemistry experiment. Others use too little salt and they turn out bland. I’ve found the sweet spot—a brine that’s tangy but not harsh, salty but not overwhelming, with just enough garlic and dill to make you want to eat the whole jar in one sitting. Honestly, it’s become my most-requested recipe, and I still can’t believe how easy it is.
What Ingredients You Will Need
This recipe uses simple, wholesome ingredients to deliver that classic dill pickle flavor with a satisfying crunch. Most of these are pantry staples, and the fresh ingredients are easy to find at any grocery store.
- Kirby cucumbers, 2 pounds (about 6-8 medium cucumbers) — These are the best for pickling because they’re firm with fewer seeds. Look for ones that feel heavy for their size and have no soft spots. English cucumbers work in a pinch, but they won’t be as crunchy.
- Water, 2 cups (filtered if possible, but tap works fine)
- White vinegar, 1 cup (distilled white vinegar gives the cleanest flavor, but apple cider vinegar works too for a slightly different taste)
- Kosher salt, 2 tablespoons (I prefer Diamond Crystal brand—it dissolves more evenly. Don’t use table salt, it has additives that can make the brine cloudy)
- Granulated sugar, 1 tablespoon (just a touch to balance the acidity. You won’t taste it as sweetness, I promise)
- Fresh dill, 1 large bunch (about 10-12 sprigs) — Use the fronds and some of the stems too, that’s where the flavor is. If you only have dried dill, use 2 tablespoons, but fresh really is better here.
- Garlic cloves, 6-8 (peeled and smashed slightly with the side of a knife to release their oils)
- Black peppercorns, 1 teaspoon (whole, not ground—you want them to infuse slowly)
- Red pepper flakes, ½ teaspoon (optional, for a little heat. I add them about half the time, depending on my mood)
- Mustard seeds, 1 teaspoon (optional, but adds a nice pop of flavor and texture. I buy mine from the bulk section at the grocery store)
That’s it. No weird preservatives, no calcium chloride to keep them crunchy (though you can add a pinch if you’re nervous about texture). Just real food that’s been doing this pickling thing for centuries.
Equipment Needed
You don’t need much for this recipe, which is part of why I love it. Here’s what you’ll need:
- Large glass or ceramic bowl (for mixing the brine. Avoid metal bowls—the vinegar can react with some metals and leave a metallic taste)
- Quart-sized mason jars, 2-3 (wide-mouth jars are easier to pack cucumbers into. I use Ball or Kerr brand, but any glass jar with a tight-fitting lid works. Save your old pickle jars!)
- Sharp knife and cutting board (for slicing cucumbers. A mandoline works great if you want uniform slices, but I usually just use my chef’s knife)
- Measuring cups and spoons (for accurate brine proportions. Pickling is more science than art, so measurements matter here)
- Whisk or spoon (for dissolving the salt and sugar in the brine)
- Small saucepan (for heating the brine. You want it hot enough to dissolve everything, but not boiling)
If you don’t have mason jars, you can use any glass container with a lid. I’ve even used a big glass mixing bowl covered with plastic wrap in a pinch. Just make sure whatever you use is clean and has a tight seal. And if you don’t have a mandoline, don’t worry—I actually prefer hand-cut slices because they’re more rustic and have different textures in each bite.
Preparation Method
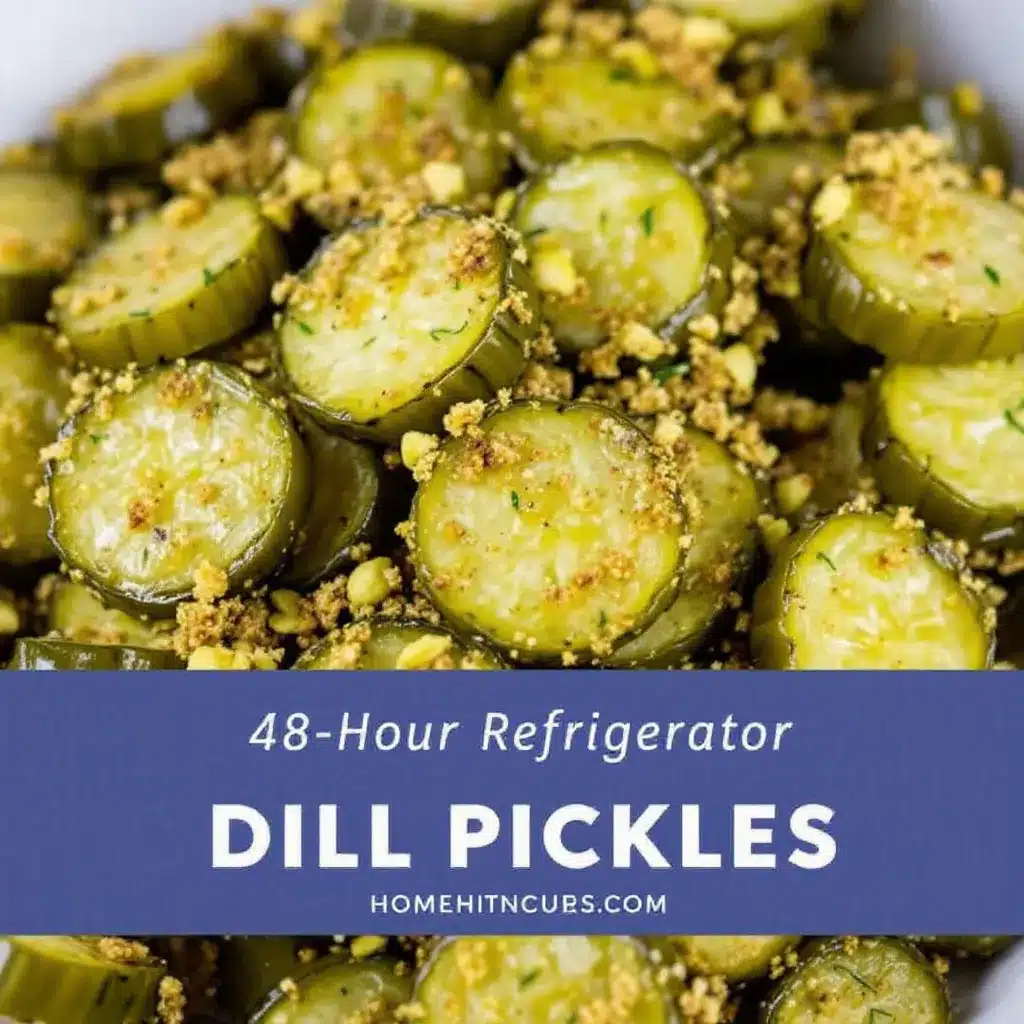
Alright, let’s get to the good part. Here’s how to make these pickles step by step.
- Prepare the cucumbers. Wash your cucumbers thoroughly under cold water. Cut off the blossom end (the end opposite the stem)—it contains enzymes that can make pickles mushy. Trust me on this one, I learned the hard way. Slice your cucumbers into spears, chips, or leave them whole if they’re small enough. For spears, I cut each cucumber into quarters lengthwise. For chips, slice them about ¼-inch thick. The slices will pickle faster than spears, so keep that in mind if you’re in a hurry.
- Make the brine. In a small saucepan, combine the water, white vinegar, kosher salt, and sugar. Heat over medium heat, stirring occasionally, until the salt and sugar are completely dissolved. This usually takes about 3-4 minutes. Don’t let it boil—you just want it hot enough to dissolve everything. Remove from heat and let it cool slightly while you pack the jars.
- Pack the jars. Divide the garlic cloves, fresh dill sprigs, black peppercorns, red pepper flakes (if using), and mustard seeds (if using) evenly among your mason jars. Then pack the cucumber slices or spears tightly into the jars. Pack them in there good—you want as many cucumbers as possible because they’ll shrink a little as they pickle. Leave about ½ inch of headspace at the top of each jar.
- Pour the brine. Carefully pour the warm brine over the cucumbers, making sure they’re completely submerged. If you need more brine, you can make a quick extra batch using the same proportions (2 parts water to 1 part vinegar, plus salt and sugar). Use a chopstick or butter knife to gently poke around in the jars to release any air bubbles. Air bubbles are the enemy of crunchy pickles—they can create soft spots.
- Seal and refrigerate. Screw the lids on tightly and give each jar a gentle shake to distribute the spices. Let them cool on the counter for about 30 minutes, then put them in the refrigerator. Here’s the hard part—you have to wait 48 hours before opening them. I know, it feels like forever. But the first time you crack open that jar and hear that perfect crunch, you’ll understand why the wait is worth it.
- Check and adjust. After 24 hours, you can give the jars a little shake to redistribute the spices. Some people like to taste a pickle at 24 hours (I won’t tell anyone if you do), but they really do need the full 48 hours to develop that perfect flavor and crunch. At 48 hours, they’re ready to eat.
A few notes on timing: If you slice your cucumbers into thin chips, they might be ready closer to 36 hours. Spears and whole cucumbers need the full 48 hours. And if you’re like me and you forget to make them until the morning of your event, well, they’ll still be good at 24 hours—just not quite as flavorful.
Cooking Tips & Techniques
I’ve made a lot of mistakes with pickles over the years, so you don’t have to. Here’s what I’ve learned:
The crunch secret. The number one question I get is how to keep pickles crunchy. First, start with fresh cucumbers—the fresher the better. Cucumbers that have been sitting in your fridge for a week will never be as crunchy. Second, cut off that blossom end I mentioned earlier. Third, make sure your brine is warm but not hot when you pour it over the cucumbers. Boiling brine can start cooking the cucumbers, making them soft. And fourth, don’t skip the 48-hour wait. The salt in the brine slowly firms up the cucumber cell walls. It’s science, and it works.
The salt matters. I used table salt the first time I made these, and the brine was cloudy and the pickles tasted a little… off. Kosher salt dissolves more cleanly and doesn’t have the anti-caking agents that table salt has. If you only have table salt, use about half the amount—it’s much denser than kosher salt.
Don’t skip the garlic smash. Smashing the garlic cloves with the side of your knife releases their oils and gives you a much more flavorful pickle. Whole garlic cloves just kind of sit there looking pretty. Smashed garlic infuses into the brine and makes every bite better.
Timing is everything. These pickles are best between day 2 and day 7. After about 10 days, they start to soften a little. They’re still good, just not as crunchy. That’s why I only make one batch at a time—so I always have fresh ones on hand. I usually make a new batch every Sunday so I have pickles ready for the week.
Variations & Adaptations
Once you’ve mastered the basic recipe, you can play around with it. Here are some of my favorite variations:
Spicy Garlic Pickles: Double the garlic and add a whole sliced jalapeño to each jar. These are my husband’s favorite—he puts them on everything from sandwiches to tacos. The heat builds as they sit, so after a few days, they’ve got a nice kick.
Bread and Butter Style: If you like sweeter pickles, increase the sugar to ¼ cup and add ½ teaspoon of turmeric for that classic yellow color. My neighbor Karen makes these and they’re dangerously good—I can eat a whole jar in one sitting.
Herb Garden Pickles: Add fresh tarragon, thyme, or even a sprig of rosemary to the jars. I tried this last summer when my herb garden was overflowing, and the tarragon version was surprisingly good. It gives the pickles a slightly anise-like flavor that’s really refreshing.
Low-Sodium Version: Cut the salt in half and add an extra tablespoon of vinegar. They won’t be quite as crunchy, but they’ll still be delicious. I make these for my dad, who has to watch his salt intake, and he loves them.
Keto-Friendly: This recipe is already low-carb and keto-friendly as written. Just skip the sugar or use a sugar substitute like monk fruit sweetener. The sugar is mostly for balance, so you won’t miss it much if you leave it out.
My personal favorite variation is adding a few slices of fresh ginger to each jar. It gives the pickles this subtle warmth that’s perfect with the dill. I stumbled on this by accident when I was out of mustard seeds and grabbed ginger instead. Best mistake I ever made.
Serving & Storage Suggestions
These pickles are incredibly versatile. Here’s how to enjoy them:
Serving temperature: Serve them cold, straight from the fridge. The cold temperature really emphasizes that crunch. I love pulling out a jar about 10 minutes before serving so they’re not ice-cold, just nicely chilled.
What to eat them with: Obviously, they’re amazing on burgers and sandwiches. But don’t stop there. Chop them up and add them to potato salad or tuna salad. Serve them alongside grilled meats—they cut through the richness beautifully. I even chop them fine and mix them into cream cheese for a quick spread. My go-to summer lunch is a turkey sandwich with these pickles and a side of chips. Simple and perfect.
Storage: Keep the jars sealed in the refrigerator. They’ll stay good for up to 3 weeks, but honestly, they never last that long in my house. The pickles will continue to pickle as they sit, getting more flavorful (and slightly softer) over time. If you notice the brine getting cloudy, that’s normal—it’s just the salt and spices doing their thing.
Reusing the brine: After you finish a jar of pickles, you can reuse the brine to make another batch. Just add fresh cucumbers and let them sit for another 48 hours. The brine won’t be as strong the second time around, so you might want to add a little extra vinegar and salt. I usually get two batches out of one brine before it starts to lose its punch.
Freezing: I don’t recommend freezing these pickles. The texture will be mushy when they thaw. Just make a fresh batch—it’s so easy, there’s no reason to freeze them.
Nutritional Information & Benefits
These pickles are a healthy snack option, especially if you’re watching your calories or carbs. Here’s the rough nutritional breakdown per serving (about ½ cup of pickle slices):
| Nutrient | Amount |
|---|---|
| Calories | 15-20 |
| Total Fat | 0g |
| Sodium | 450-500mg |
| Total Carbohydrates | 3-4g |
| Dietary Fiber | 1g |
| Sugars | 2g |
| Protein | 1g |
Pickles are naturally low in calories and fat-free. They’re also a good source of vitamin K, which is important for bone health. The fermentation process (even in refrigerator pickles) creates beneficial probiotics that support gut health. Plus, the vinegar in the brine has been shown to help stabilize blood sugar levels after meals.
A few things to keep in mind: These pickles are high in sodium, so if you’re watching your salt intake, go easy on them. They’re also gluten-free, dairy-free, and vegan, so they work for almost any diet. And if you’re on a low-FODMAP diet, just skip the garlic—the pickles will still be delicious.
I personally love that I can snack on these without any guilt. When I’m craving something crunchy in the afternoon, a handful of pickles hits the spot way better than chips ever could.
Conclusion
These Crunchy 48-Hour Refrigerator Dill Pickles have become a staple in my kitchen, and I bet they’ll become one in yours too. They’re proof that you don’t need fancy equipment or generations of family wisdom to make something truly special. Just fresh ingredients, a little patience, and the willingness to try something new.
I love that this recipe is forgiving—you can tweak the spices, adjust the vinegar, and make it your own. That’s what cooking should be about, you know? Not following rules, but finding what tastes good to you. Maybe you’ll discover that you love them with extra garlic, or maybe you’ll be like me and accidentally stumble on a ginger variation that becomes your new favorite.
So go ahead, grab some cucumbers and give these a try. Trust the 48-hour wait—I promise it’s worth it. And when you crack open that jar and hear that first perfect crunch, come back and tell me about it. I’d love to hear how they turned out, what variations you tried, and whether they disappeared as fast at your gathering as they did at mine. Happy pickling!
Frequently Asked Questions
Can I use English cucumbers instead of Kirby cucumbers?
You can, but they won’t be as crunchy. English cucumbers have thinner skins and more seeds, which means they soften faster. If you use them, try to find the firmest ones you can and don’t skip cutting off the blossom end. They’ll still taste great, just expect a slightly softer texture.
Why are my pickles not crunchy?
There are a few common reasons. First, your cucumbers might not have been fresh enough. Second, you might have skipped cutting off the blossom end. Third, your brine might have been too hot when you poured it over the cucumbers. And fourth, you might not have waited the full 48 hours. The salt needs time to firm up the cell walls. If you’re still having trouble, try adding a pinch of calcium chloride (sold as Pickle Crisp) to each jar.
Can I reuse the brine for another batch?
Yes, you can! After you finish your first jar of pickles, you can add fresh cucumber slices to the leftover brine and let them sit for another 48 hours. The second batch won’t be quite as flavorful, so you might want to add a splash of fresh vinegar and a pinch of salt. I usually get two batches out of one brine before it starts to lose its punch.
How long do these pickles last in the refrigerator?
They’ll stay good for up to 3 weeks in the refrigerator. The flavor will continue to develop over time, getting stronger and more complex. However, the texture will start to soften after about 10 days. That’s why I recommend making smaller batches more frequently rather than one big batch that sits for weeks.
Can I make these pickles without fresh dill?
Fresh dill really is best for this recipe, but if you can’t find it, you can use dried dill weed instead. Use about 2 tablespoons of dried dill for the whole recipe. The flavor won’t be quite as bright, but it’ll still be good. You can also experiment with other herbs like fresh tarragon or thyme for a different flavor profile.
Pin This Recipe!
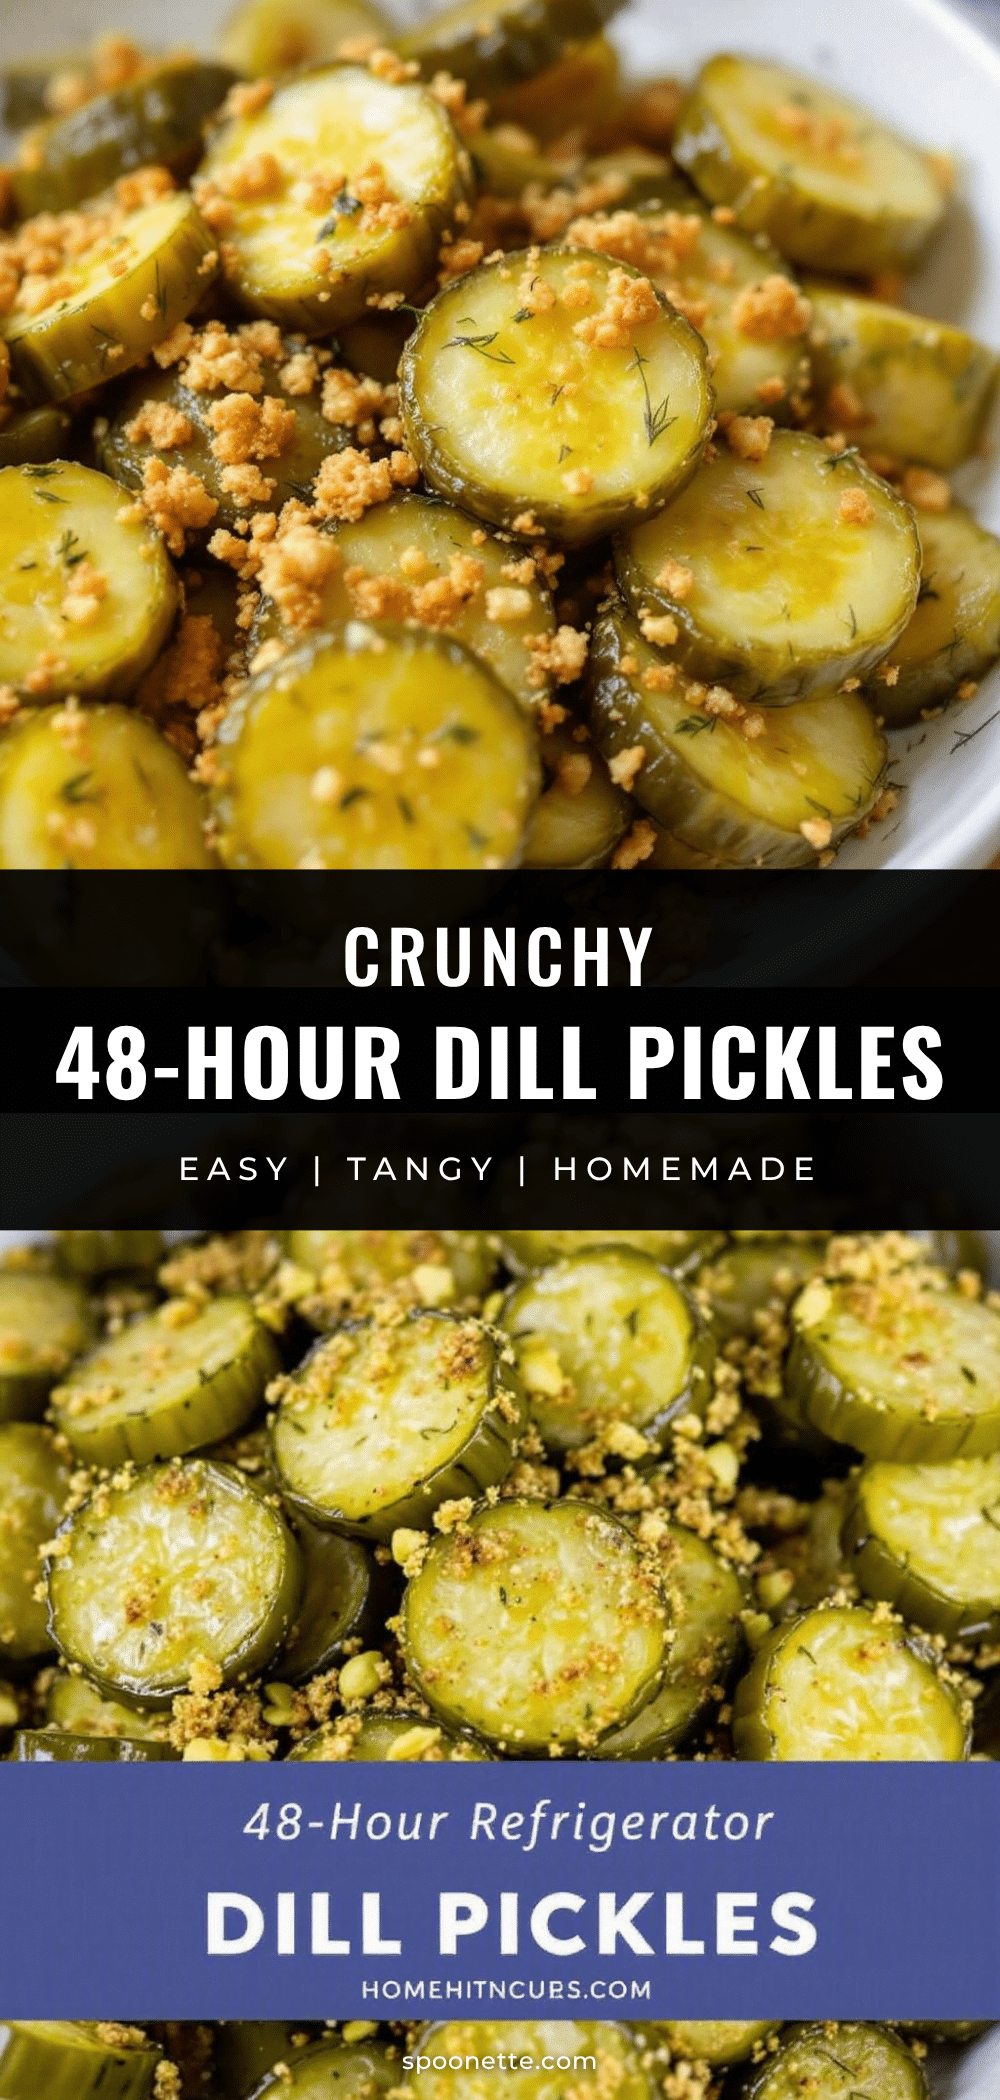
Best Crunchy 48-Hour Refrigerator Dill Pickles Recipe
These easy refrigerator dill pickles are incredibly crunchy and flavorful, made with simple ingredients and no canning equipment. Perfect for summer barbecues and gatherings, they taste like you put in way more effort than you actually did.
- Prep Time: 15 minutes
- Cook Time: 5 minutes
- Total Time: 48 hours 20 minutes
- Yield: 2-3 quarts (about 16-24 servings) 1x
- Category: Appetizer, Side Dish
- Cuisine: American
Ingredients
- 2 pounds Kirby cucumbers (about 6–8 medium)
- 2 cups water (filtered if possible)
- 1 cup distilled white vinegar
- 2 tablespoons kosher salt (Diamond Crystal preferred)
- 1 tablespoon granulated sugar
- 1 large bunch fresh dill (about 10–12 sprigs)
- 6–8 garlic cloves, peeled and smashed
- 1 teaspoon whole black peppercorns
- ½ teaspoon red pepper flakes (optional)
- 1 teaspoon mustard seeds (optional)
Instructions
- Wash cucumbers thoroughly. Cut off the blossom end (opposite the stem). Slice into spears, chips, or leave whole if small. For spears, quarter lengthwise; for chips, slice ¼-inch thick.
- In a small saucepan, combine water, white vinegar, kosher salt, and sugar. Heat over medium heat, stirring occasionally, until salt and sugar are completely dissolved (about 3-4 minutes). Do not boil. Remove from heat and let cool slightly.
- Divide garlic cloves, fresh dill sprigs, black peppercorns, red pepper flakes (if using), and mustard seeds (if using) evenly among 2-3 quart-sized mason jars. Pack cucumber slices or spears tightly into jars, leaving about ½ inch headspace.
- Pour warm brine over cucumbers, ensuring they are completely submerged. Use a chopstick or butter knife to gently release any air bubbles.
- Screw lids on tightly and give each jar a gentle shake. Let cool on counter for about 30 minutes, then refrigerate. Wait 48 hours before opening for best flavor and crunch.
- After 24 hours, you may shake jars to redistribute spices. At 48 hours, pickles are ready to eat.
Notes
For maximum crunch, use fresh Kirby cucumbers, cut off the blossom end, and ensure brine is warm but not boiling. Kosher salt is preferred over table salt. Pickles are best between day 2 and day 7. After about 10 days, they start to soften. Brine can be reused for one more batch with fresh cucumbers.
Nutrition
- Serving Size: ½ cup pickle slices
- Calories: 1520
- Sugar: 2
- Sodium: 450500
- Carbohydrates: 34
- Fiber: 1
- Protein: 1
Keywords: refrigerator pickles, dill pickles, crunchy pickles, easy pickles, no canning, homemade pickles, summer recipe



