Love this? Save it for later!
Share the inspiration with your friends
The neighborhood block party was in less than two hours and I’d completely blanked on bringing a snack. Everyone else was rolling in with trays of fancy charcuterie boards, gourmet dips, and homemade pastries that looked like they’d taken days to prepare. Meanwhile, I had one lonely loaf of bread, a jar of peanut butter, and some jelly sitting on the counter. Honestly, I was starting to panic because I knew my offering needed to stand out — or at least not get tossed aside.
I’ve always been the accidental overachiever in these situations — the one who scrambles last minute but somehow ends up winning the casual contest without meaning to. So, I whipped up these Easy Homemade PB&J Uncrustables in about 10 minutes flat. The sizzle of the bread pressing against the panini maker was replaced by the quiet hum of the freezer door closing after I packed them away. They were freezer-friendly, portable, and honestly, a total lifesaver.
Maybe you’ve been there too — staring down the clock, wondering how to make something simple feel special. The secret here? These little sandwiches are just the right combo of nostalgia and convenience, with a soft, crustless finish that tastes like a childhood memory wrapped up in a modern snack hack. Let me tell you, the cracked cutting board and the jelly smudges on the counter were totally worth it. This recipe stuck with me because it turns the classic peanut butter and jelly into a snack that’s ready whenever you are — no fuss, no mess, just pure comfort you can freeze and enjoy later.
Why You’ll Love This Recipe
After testing this recipe multiple times between weekday mornings and weekend get-togethers, I can say it hits all the right notes. I’ve seen it become the go-to in my kitchen, especially when time isn’t on my side but the craving for something homemade is strong.
- Quick & Easy: Comes together in under 15 minutes, perfect for busy mornings or last-minute snack preps.
- Simple Ingredients: Uses pantry staples you probably already have — no surprise grocery runs needed.
- Perfect for Freezer-Friendly Snacks: Make a batch ahead, freeze, and grab them on the go without any mess.
- Crowd-Pleaser: Kids, adults, and even picky eaters love these — they’re nostalgic without being boring.
- Unbelievably Delicious: The soft texture and sealed edges keep the filling from leaking, so you get pure peanut butter and jelly goodness in every bite.
This isn’t just another PB&J sandwich — it’s a little bit of genius wrapped in bread. The trick is sealing the edges tightly, which stops the jelly from making a mess and keeps the sandwich soft like those store-bought uncrustables you remember. Honestly, it feels like comfort food without the guilt or hassle.
Whether you’re prepping for a road trip, packing school lunches, or just want a quick freezer stash, this homemade version is a game changer. It’s the kind of recipe that makes you close your eyes and smile after the first bite — simple, satisfying, and just a little bit special.
What Ingredients You Will Need
This recipe uses simple, wholesome ingredients to deliver bold flavor and satisfying texture without the fuss. Most of these are pantry staples, and you can easily swap a few to suit your taste or dietary needs.
- Bread: Soft white sandwich bread, crusts removed (I recommend Nature’s Own for the perfect texture)
- Peanut Butter: Creamy or chunky, depending on your preference (natural peanut butter like Smucker’s Natural works well)
- Jelly or Jam: Grape or strawberry jelly is classic, but feel free to use preserves or fruit spread (homemade strawberry jam from spring berries is a lovely seasonal swap)
- Butter or Margarine (Optional): For lightly buttering the outside if you want a grilled effect when reheating
Substitution Tips:
- Use almond butter or sunflower seed butter for nut-free or different flavor options.
- Gluten-free sandwich bread works great if you need a gluten-free snack.
- Swap jelly with mashed fresh fruit or honey for a less sweet alternative.
Equipment Needed
- Rolling Pin: To gently flatten the bread for easy sealing (a wine bottle works in a pinch!)
- Round Cookie Cutter or Sandwich Cutter: About 3 to 4 inches in diameter to shape the sandwiches neatly (a biscuit cutter or even a small bowl can substitute)
- Baking Sheet or Tray: For placing the sandwiches before freezing
- Parchment Paper: To prevent sticking during freezing
- Freezer-Safe Bags or Containers: For storing the finished sandwiches
I’ve tried using a sandwich press before, but honestly, the cutter and rolling pin combo is the easiest and cleanest method. Plus, it means you can make as many as you want without needing special appliances. If you’re on a budget, a simple plastic cutter and a sturdy glass work just fine here. Just keep your rolling pin clean so the bread stays soft and doesn’t tear.
Preparation Method
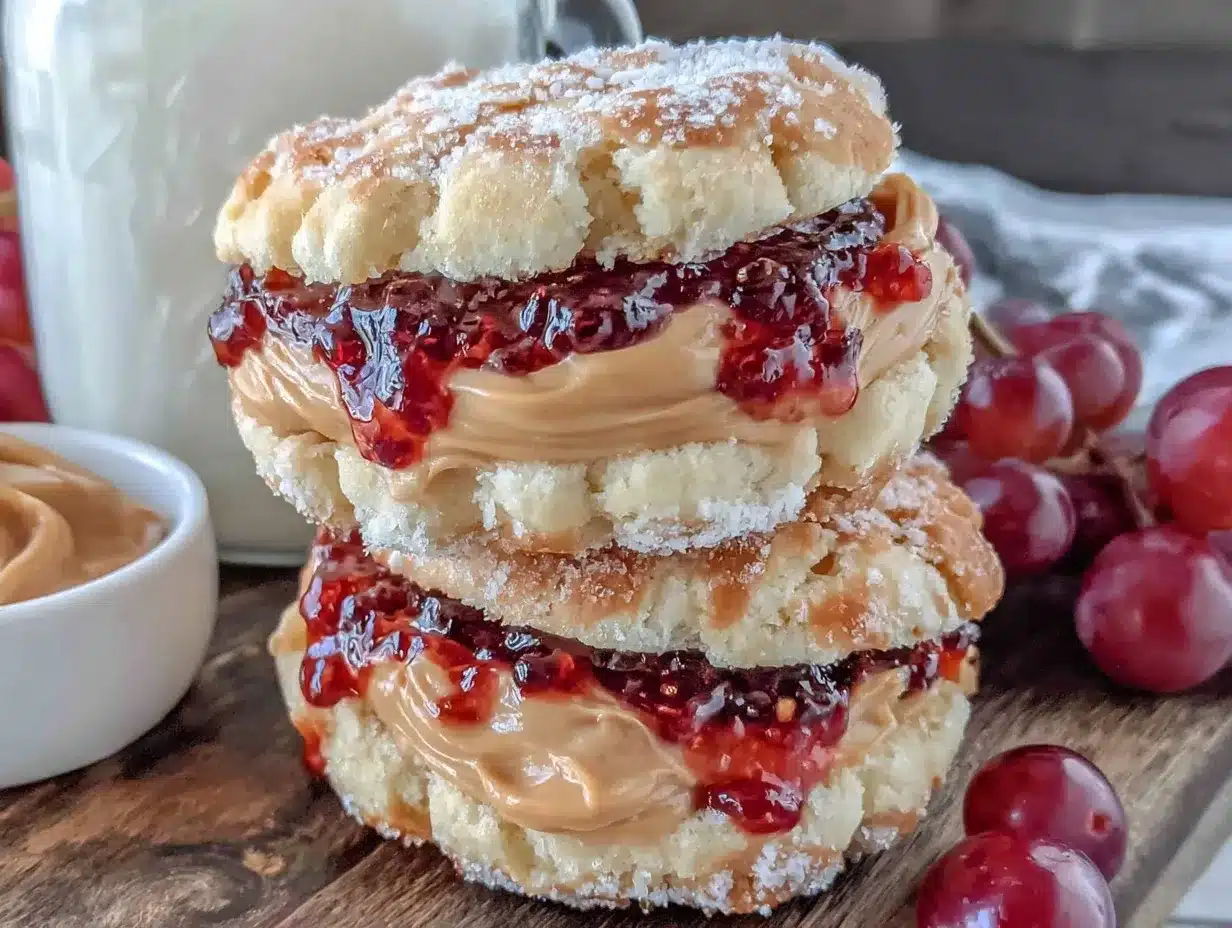
- Remove crusts: Lay out your sandwich bread slices and trim off the crusts with a sharp knife. This step is key to get that classic uncrustable look. (Time: 5 minutes)
- Flatten the bread: Using a rolling pin, gently press each slice to about 1/4 inch thick. This softens the bread and makes it easier to seal later. Don’t press too hard or it’ll tear! (Time: 3 minutes)
- Spread the fillings: On half of the bread slices, spread a generous 1 to 1.5 tablespoons (15-22 g) of peanut butter, leaving a small border around the edges. Next, add about 1 tablespoon (15 g) of jelly on top of the peanut butter, spreading evenly but not too close to the edges to avoid leaks. (Time: 5 minutes)
- Seal the sandwiches: Place the remaining bread slices over the filled ones. Press down gently to stick them together. Then, use your cookie cutter to cut out round sandwiches, pressing firmly to seal the edges. You might see jelly peek out — just wipe it off with a damp cloth. (Time: 5 minutes)
- Freeze: Arrange the sealed sandwiches on a parchment-lined baking sheet in a single layer. Pop them in the freezer for at least 2 hours until solid. This step stops them from sticking together when stored. (Time: 2 hours)
- Store: Transfer frozen sandwiches to airtight freezer bags or containers, separating layers with parchment paper if stacking. Label with date. (Time: 2 minutes)
Pro tip: If you want a grilled sandwich later, brush the outside lightly with melted butter before reheating. It adds a lovely golden crust and extra flavor.
Cooking Tips & Techniques
Making these homemade PB&J Uncrustables is mostly straightforward, but a few tricks can save you from sticky situations.
- Don’t overfill: Too much jelly or peanut butter leads to leaks and mess. A thin border around the edges helps seal the filling inside.
- Press firmly: When cutting and sealing, apply firm, even pressure to keep the sandwich intact through freezing and thawing.
- Use fresh bread: Older or dry bread tears easily. Fresh, soft sandwich bread gives you the best texture and seal.
- Prevent sticking: Freeze sandwiches individually on a tray before bagging to keep them from clumping together.
- Reheat carefully: For a warm snack, microwave on low power or toast in a sandwich press with butter for a crisp outer layer without drying the inside.
On my first try, I stuffed way too much jelly in one sandwich — let’s just say it exploded in the freezer bag and made a sticky mess. Lesson learned: less is more! Also, flattening the bread gently was key for a neat seal. You’ll get the hang of it after a couple of tries.
Variations & Adaptations
This recipe is flexible, so you can easily switch things up to suit your needs or cravings.
- Nut-Free Version: Use sunflower seed butter and apple butter or seedless jam for allergy-friendly snacks.
- Seasonal Twist: Swap jelly for fresh mashed berries or pumpkin butter in the fall for a festive feel.
- Flavor Boost: Add a sprinkle of cinnamon or a drizzle of honey with the peanut butter for extra depth.
- Gluten-Free Adaptation: Use gluten-free sandwich bread and check your spreads for additives if needed.
- Chocolate Lover’s Take: Mix a spoonful of chocolate spread with peanut butter for a dessert-style snack.
I once tried making these with almond butter and homemade raspberry preserves — they vanished at a friend’s picnic faster than I could blink. Feel free to experiment and find your favorite combo!
Serving & Storage Suggestions
These homemade PB&J Uncrustables are best served chilled straight from the freezer or thawed slightly at room temperature. For a warm treat, toast them lightly in a pan or sandwich press.
They pair wonderfully with crunchy veggie sticks, fresh fruit, or a cold glass of milk for a nostalgic snack experience. For adults, a cup of coffee or tea complements them nicely.
Store the sandwiches in airtight freezer bags or containers for up to 3 months. When ready to eat, thaw in the fridge overnight or at room temperature for 30 minutes. If in a rush, microwave on low power for 15–20 seconds — just watch or they’ll get soggy.
Flavors actually mellow and blend beautifully after freezing, so the jelly becomes wonderfully jammy and the peanut butter softens just right.
Nutritional Information & Benefits
Each easy homemade PB&J Uncrustable contains approximately:
| Nutrient | Amount (Per Sandwich) |
|---|---|
| Calories | 250-280 kcal |
| Protein | 7-9 grams |
| Fat | 10-12 grams (mostly from peanut butter) |
| Carbohydrates | 30-35 grams |
| Fiber | 3-4 grams |
Peanut butter provides healthy fats and protein that help keep you full, while jelly adds natural sweetness. Using whole-grain or enriched sandwich bread can boost fiber and nutrients. This recipe fits well into balanced diets and can be adapted for gluten-free or nut-free needs.
From a wellness perspective, having a homemade, freezer-friendly snack on hand helps avoid processed options loaded with preservatives and extra sugars. Plus, it keeps lunchtime nostalgia alive with a wholesome twist.
Conclusion
Making your own Easy Homemade PB&J Uncrustables is a total game changer for quick, freezer-friendly snacks that feel special without the hassle. Whether you’re juggling busy mornings, packing school lunches, or need a sweet and satisfying treat on the fly, this recipe has you covered.
Feel free to tweak the fillings or bread to match your taste and dietary needs — that’s the beauty of this recipe. Honestly, I keep coming back to it because it’s simple, reliable, and brings a little smile with every bite. Plus, it’s saved me from snack disasters more times than I can count!
If you try this recipe, I’d love to hear how you make it your own. Leave a comment below or share your favorite twist. Here’s to easy snacks and happy bellies!
FAQs
Can I use crunchy peanut butter for this recipe?
Absolutely! Crunchy peanut butter adds a nice texture contrast. Just be careful not to overfill to avoid leaks.
How long can I keep these PB&J Uncrustables in the freezer?
They last well for up to 3 months when stored in airtight freezer bags or containers.
What’s the best way to thaw these sandwiches?
Thaw in the refrigerator overnight or at room temperature for about 30 minutes. For a quick option, microwave on low power for 15-20 seconds.
Can I use other nut butters or spreads?
Yes! Almond butter, sunflower seed butter, or even chocolate-hazelnut spread work great as alternatives.
Is it necessary to remove the crusts?
Removing crusts gives the classic uncrustable look and helps with sealing, but you can leave them on if you prefer a heartier sandwich.
Pin This Recipe!
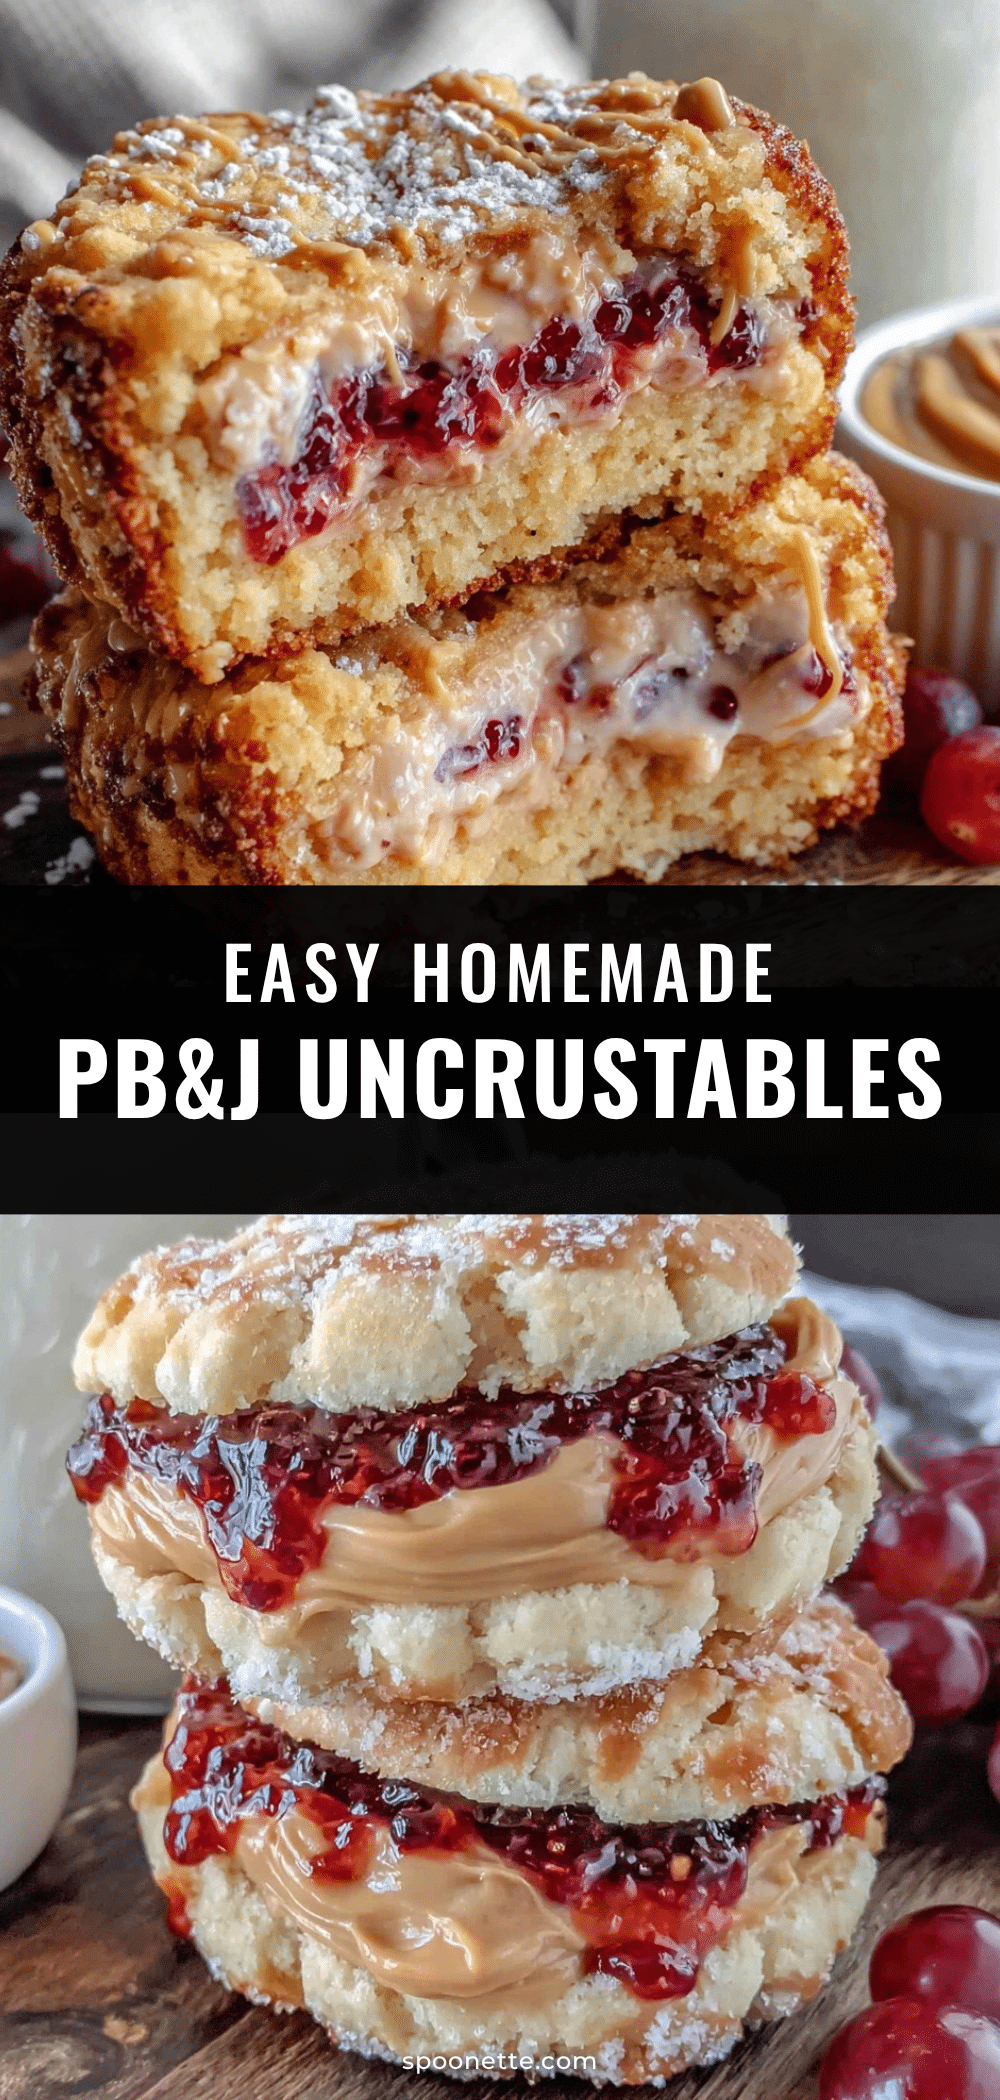
Easy Homemade PB&J Uncrustables Recipe Perfect for Freezer-Friendly Snacks
This recipe transforms classic peanut butter and jelly sandwiches into freezer-friendly, crustless snacks that are quick to make and perfect for on-the-go enjoyment.
- Prep Time: 15 minutes
- Cook Time: 0 minutes
- Total Time: 2 hours 15 minutes
- Yield: 6 sandwiches
- Category: Snack
- Cuisine: American
Ingredients
- Soft white sandwich bread, crusts removed
- Peanut butter (creamy or chunky)
- Jelly or jam (grape or strawberry recommended)
- Butter or margarine (optional, for grilling)
Instructions
- Remove crusts from sandwich bread slices using a sharp knife.
- Using a rolling pin, gently flatten each bread slice to about 1/4 inch thick.
- Spread 1 to 1.5 tablespoons of peanut butter on half of the bread slices, leaving a small border around the edges.
- Add about 1 tablespoon of jelly on top of the peanut butter, spreading evenly but not too close to the edges.
- Place the remaining bread slices over the filled ones and press down gently to stick them together.
- Use a round cookie cutter (3 to 4 inches diameter) to cut out round sandwiches, pressing firmly to seal the edges.
- Arrange the sealed sandwiches on a parchment-lined baking sheet in a single layer and freeze for at least 2 hours until solid.
- Transfer frozen sandwiches to airtight freezer bags or containers, separating layers with parchment paper if stacking, and label with the date.
Notes
Do not overfill the sandwiches to prevent leaks. Press firmly when sealing edges. Use fresh, soft bread to avoid tearing. Freeze sandwiches individually on a tray before storing to prevent sticking. For a grilled effect, brush outside with melted butter before reheating.
Nutrition
- Serving Size: 1 sandwich
- Calories: 265
- Sugar: 10
- Sodium: 150
- Fat: 11
- Saturated Fat: 2
- Carbohydrates: 33
- Fiber: 3.5
- Protein: 8
Keywords: PB&J, peanut butter and jelly, uncrustables, freezer-friendly snacks, homemade sandwiches, easy snack, kid-friendly



