Love this? Save it for later!
Share the inspiration with your friends
“I wasn’t expecting to be pulling together a dessert at the last minute, but there I was, standing in my tiny kitchen with just four ingredients and a craving for something silky and chocolatey. It was Mother’s Day morning, and my plan to bake a fancy cake had completely fallen apart — the oven had decided to take a day off, and honestly, I was out of time. So, I grabbed some heavy cream, dark chocolate, sugar, and vanilla extract and just went for it. The result? These easy no-bake 4-ingredient chocolate mousse cups that somehow felt like a fancy treat without any fuss or stress.”
That unexpected kitchen scramble turned into my go-to Mother’s Day dessert — simple, indulgent, and loved by everyone who tries it. You know that feeling when you want something sweet but don’t want to spend hours or make a huge mess? This recipe nails that vibe perfectly. And let me tell you, the look on my mom’s face when I served these cups after brunch made me realize sometimes the best dishes come from quick thinking and a little improvisation.
Maybe you’ve been there too — needing a dessert that’s quick, elegant, and hits that chocolate craving just right. These chocolate mousse cups are smooth, rich, and come together in no time, making them perfect for Mother’s Day or any time you want to impress without the hassle. Plus, with only four ingredients, there’s no chance for complicated messes or ingredient scavenger hunts. I’ll share all my tips so you can whip these up and feel like a dessert pro, even if your oven’s on strike too!
Why You’ll Love This Recipe
After testing this recipe multiple times, I can honestly say it’s one of the easiest and most satisfying chocolate desserts you can make. Whether you’re a beginner or a seasoned cook, these mousse cups deliver every time. Here’s why they stand out:
- Quick & Easy: Ready in about 15 minutes, perfect for last-minute celebrations or when you just want something sweet without the fuss.
- Simple Ingredients: No need for fancy or hard-to-find items; you probably have everything already in your pantry or fridge.
- Perfect for Mother’s Day: Elegant enough to feel special, yet effortless enough to make without stress.
- Crowd-Pleaser: Smooth, creamy texture with rich chocolate flavor that both kids and adults rave about.
- Unbelievably Delicious: The balance of bittersweet chocolate with whipped cream creates a dreamy, melt-in-your-mouth experience.
What sets this recipe apart is its simplicity combined with an indulgent taste. I’ve tried versions with more ingredients and complicated steps, but honestly, this one’s my favorite because the four ingredients shine through without distractions. The technique of folding whipped cream into melted chocolate creates that classic mousse texture without needing eggs or gelatin — which means it’s also a bit more accessible and less intimidating.
Plus, I love that you can make these ahead of time and chill them until you’re ready to serve, making your Mother’s Day flow smoother. This isn’t just a dessert — it’s a little moment of joy you can create in under 20 minutes, and trust me, it’ll be the highlight of your celebration.
What Ingredients You Will Need
This recipe keeps things refreshingly simple with just four key ingredients, each playing a vital role in building the luscious texture and deep chocolate flavor. Nothing fancy, just straightforward components you can trust.
- Dark Chocolate (6 oz / 170 g): Use good-quality chocolate with around 60-70% cocoa. Brands like Ghirardelli or Lindt work wonderfully here because they melt smoothly and give that rich, slightly bittersweet taste.
- Heavy Cream (1 ½ cups / 360 ml): Cold, fresh heavy cream whipped to soft peaks for that airy, creamy base. If you want a lighter version, you can try whipping half cream and half milk, but full-fat cream gives the best texture.
- Granulated Sugar (2 tablespoons / 25 g): Just enough to balance the chocolate’s bitterness and add a touch of sweetness without overpowering.
- Pure Vanilla Extract (1 teaspoon): Adds warmth and depth to the flavor. I always reach for Nielsen-Massey vanilla because it’s rich and natural, but any good-quality vanilla extract will do.
Optional additions (not required but nice to have on hand): a pinch of sea salt to bring out the chocolate flavor, or a few fresh berries for garnish. If you’re thinking about variations, you could swap the dark chocolate for milk chocolate if you prefer a sweeter mousse — just know it’ll be less intense.
These ingredients come together to make a dessert that feels indulgent but is surprisingly light. And the best part? No eggs, no complicated tempering — just real, simple stuff you trust. You might even find yourself coming back to this recipe when you want a chocolate fix without the hassle.
Equipment Needed
- Mixing Bowls: One large bowl for whipping the cream, preferably chilled to help it whip faster and better.
- Heatproof Bowl: For melting the chocolate over a double boiler or in the microwave. I often use a glass or metal bowl for even heating.
- Hand Mixer or Stand Mixer: Essential for whipping the cream to soft peaks quickly. You can whip by hand, but it takes longer and is more tiring.
- Rubber Spatula: To gently fold the whipped cream into the melted chocolate without deflating the mixture.
- Serving Cups or Glasses: Small dessert cups, ramekins, or even mason jars work great for individual portions.
If you don’t have a double boiler, no worries — the microwave method works well but watch the chocolate carefully, heating in short bursts to avoid burning. I’ve used everything from fancy mousse glasses to simple small bowls, and honestly, the dessert tastes just as amazing no matter the presentation.
Keeping your tools clean and dry is key here, especially the bowl and whisk for whipping cream — any grease can stop the cream from whipping properly. I learned that the hard way once, so a quick rinse with hot water and dry before whipping is a little trick that saves a lot of hassle.
Preparation Method
- Chill your mixing bowl and beaters: Place them in the fridge for about 15 minutes before starting. Cold equipment helps the cream whip faster and hold its shape better.
- Melt the chocolate: Chop 6 ounces (170 g) of dark chocolate into small, uniform pieces. Set up a double boiler by simmering water in a pot and placing a heatproof bowl on top without touching the water. Stir the chocolate gently until fully melted and smooth, about 3-5 minutes. Alternatively, microwave in 20-second bursts, stirring between each, until melted. Let it cool slightly but not harden.
- Whip the cream: Pour 1 ½ cups (360 ml) of cold heavy cream into your chilled bowl. Add 2 tablespoons (25 g) granulated sugar and 1 teaspoon vanilla extract. Beat on medium-high speed until soft peaks form — the cream should hold shape but still be smooth and fluffy. This usually takes 3-5 minutes.
- Fold the cream into the chocolate: Pour about one-third of the whipped cream into the melted chocolate. Using a rubber spatula, gently fold it together by cutting through the middle and turning the bowl, being careful not to deflate the air you just whipped in. Once partially combined, fold in the remaining whipped cream until no streaks remain.
- Portion into cups: Spoon or pipe the mousse into your chosen serving glasses or ramekins. Smooth the top gently with the back of a spoon or an offset spatula.
- Chill: Refrigerate the cups for at least 2 hours, preferably 3-4, to allow the mousse to set and flavors to meld.
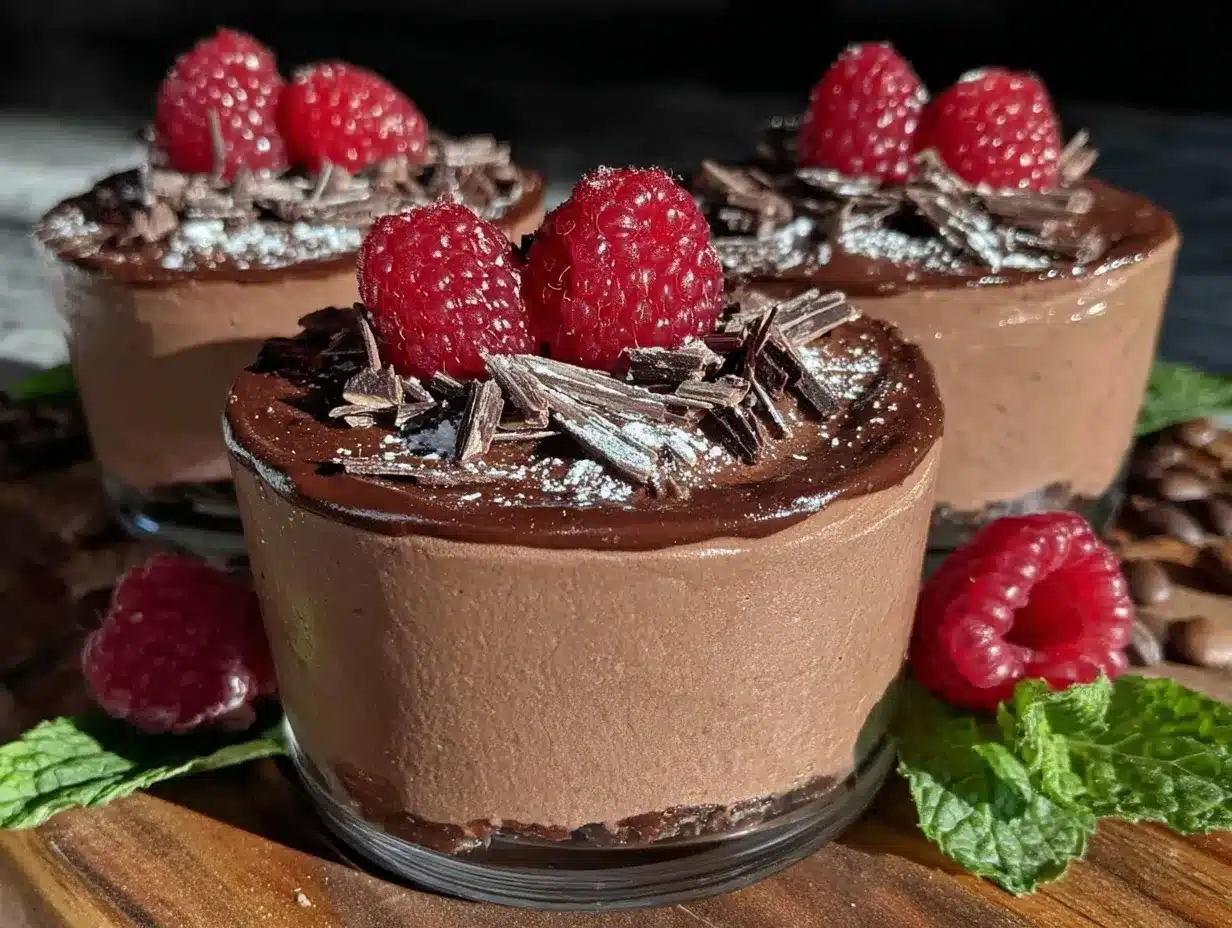
- Serve: Just before serving, you can garnish with fresh berries, a dusting of cocoa powder, or a few chocolate shavings for that extra touch.
Pro tip: Don’t rush the chilling step. The mousse needs time to firm up; otherwise, it might feel too soft or runny. Also, folding gently is key — I’ve ruined batches by stirring too aggressively. Just take your time and enjoy the process, it’s surprisingly soothing!
Cooking Tips & Techniques
Making mousse sounds fancy, but honestly, the biggest tip is to keep it simple and gentle. Whipping the cream to the right consistency is your foundation — soft peaks mean you still have some flexibility to fold without overmixing, which keeps the mousse light and fluffy.
One common mistake is overheating the chocolate. If it’s too hot, it’ll melt the whipped cream when you combine them, resulting in a runny mess. Let the chocolate cool to just warm before folding in the cream to avoid this.
When folding, resist the urge to stir like you’re making cake batter. Instead, use a gentle folding motion — imagine you’re folding a letter, turning the mixture over itself to keep as much air as possible. This makes all the difference for that cloud-like texture.
Timing-wise, I like to melt the chocolate first so it can cool while I whip the cream — this way, everything comes together smoothly without waiting around. Also, chilling the mousse for a few hours is non-negotiable. It’s the difference between a quick chocolate cream and a true mousse.
Lastly, don’t forget to chill your bowls and beaters — it’s a small step that makes whipping cream much easier and quicker. I learned that from a pastry chef friend and it changed my mousse game forever.
Variations & Adaptations
While this recipe is fantastic as-is, I love tweaking it to suit different tastes or dietary needs. Here are some ideas you might want to try:
- Vegan Version: Use coconut cream instead of heavy cream and swap dark chocolate for a dairy-free variety. Whip the coconut cream chilled until fluffy and follow the same folding method.
- Flavor Twists: Add a splash of coffee or espresso powder to the melted chocolate for a mocha mousse. Alternatively, a little orange zest stirred into the chocolate adds a fresh citrus note.
- Nutty Crunch: Sprinkle chopped toasted hazelnuts or almonds on top before serving for contrast in texture.
- Seasonal Berries: In spring or summer, top with fresh strawberries, raspberries, or blueberries to brighten the rich chocolate.
- Low-Sugar Adaptation: Use a sugar substitute like erythritol or reduce sugar slightly, but keep in mind it may affect the cream’s whipping slightly.
Personally, I once stirred in a teaspoon of chili powder for a surprising kick that my family loved — it’s like a little secret in the mousse that wakes up your taste buds. Feel free to experiment and make this recipe truly yours.
Serving & Storage Suggestions
This chocolate mousse is best served chilled straight from the fridge. The cool temperature enhances the creamy texture and lets the chocolate flavor shine. For presentation, I like to serve it in clear glasses or pretty ramekins so you can see those luscious layers.
Pair it with lightly sweetened whipped cream or fresh berries for a perfect balance. A cup of freshly brewed coffee or a glass of dessert wine also complements the richness nicely if you’re making it for a special occasion.
To store, cover the mousse cups tightly with plastic wrap or lids and keep refrigerated for up to three days. The texture might firm up slightly, but it stays delicious. Avoid freezing as the cream can separate and become grainy after thawing.
If you want to re-serve chilled mousse after it’s been sitting out, just pop it back in the fridge for 30 minutes to regain its shape and coolness. Flavors often deepen after resting, so leftovers can taste even better the next day!
Nutritional Information & Benefits
Each serving of these mousse cups is a modest indulgence, roughly estimated at 250-300 calories depending on portion size. The main source of calories comes from the heavy cream and chocolate, providing a good dose of fats for satiety.
Dark chocolate, especially varieties with 60% cocoa or more, is rich in antioxidants and can support heart health when eaten in moderation. Heavy cream adds calcium and vitamin A, though it’s best enjoyed as an occasional treat due to its saturated fat content.
This recipe is naturally gluten-free and can be adapted for vegan diets with simple swaps. It contains dairy and may not be suitable for those with chocolate allergies.
From a wellness perspective, I appreciate desserts that use real, minimal ingredients — no weird additives or preservatives. It feels good to treat yourself with something wholesome yet satisfying.
Conclusion
This easy no-bake 4-ingredient chocolate mousse cup recipe is proof that sometimes the simplest things bring the most joy. Whether you’re scrambling last minute or planning ahead, these mousse cups deliver comfort, elegance, and pure chocolate bliss with minimal effort.
Feel free to make the recipe your own — add your favorite flavor twists or toppings to suit your style. Honestly, I keep coming back to this one because it’s reliable, delicious, and always a crowd-pleaser, especially on special days like Mother’s Day.
If you try it, I’d love to hear how it goes! Drop a comment below sharing your favorite variations or any tips you discover. Here’s to sweet moments made easy — happy cooking and even happier celebrating!
FAQs
Can I make these chocolate mousse cups ahead of time?
Absolutely! They taste great after chilling for at least 2 hours and can be stored in the fridge for up to 3 days. Just cover them well to keep the texture fresh.
What if I don’t have heavy cream?
You can try coconut cream as a dairy-free alternative or use whipping cream with lower fat, though the texture might be less rich. Avoid milk, as it won’t whip properly.
Can I use milk chocolate instead of dark chocolate?
Yes, but the mousse will be sweeter and less intense. Adjust the sugar accordingly and choose a good-quality milk chocolate for best results.
How do I know when the whipped cream is ready?
It should form soft peaks that hold shape but still look smooth and fluffy. Over-whipping can turn it grainy or even into butter, so stop as soon as stiff peaks form.
Is this recipe suitable for kids?
Yes, it’s a kid-friendly dessert with no raw eggs or complicated steps. Just be mindful of the caffeine content in dark chocolate and adjust the type of chocolate if preferred.
For a delicious twist on chocolate desserts, you might also enjoy recipes like creamy vanilla panna cotta or the joyfully simple easy peanut butter cookie bars. Both share that effortless vibe perfect for busy days.
Pin This Recipe!
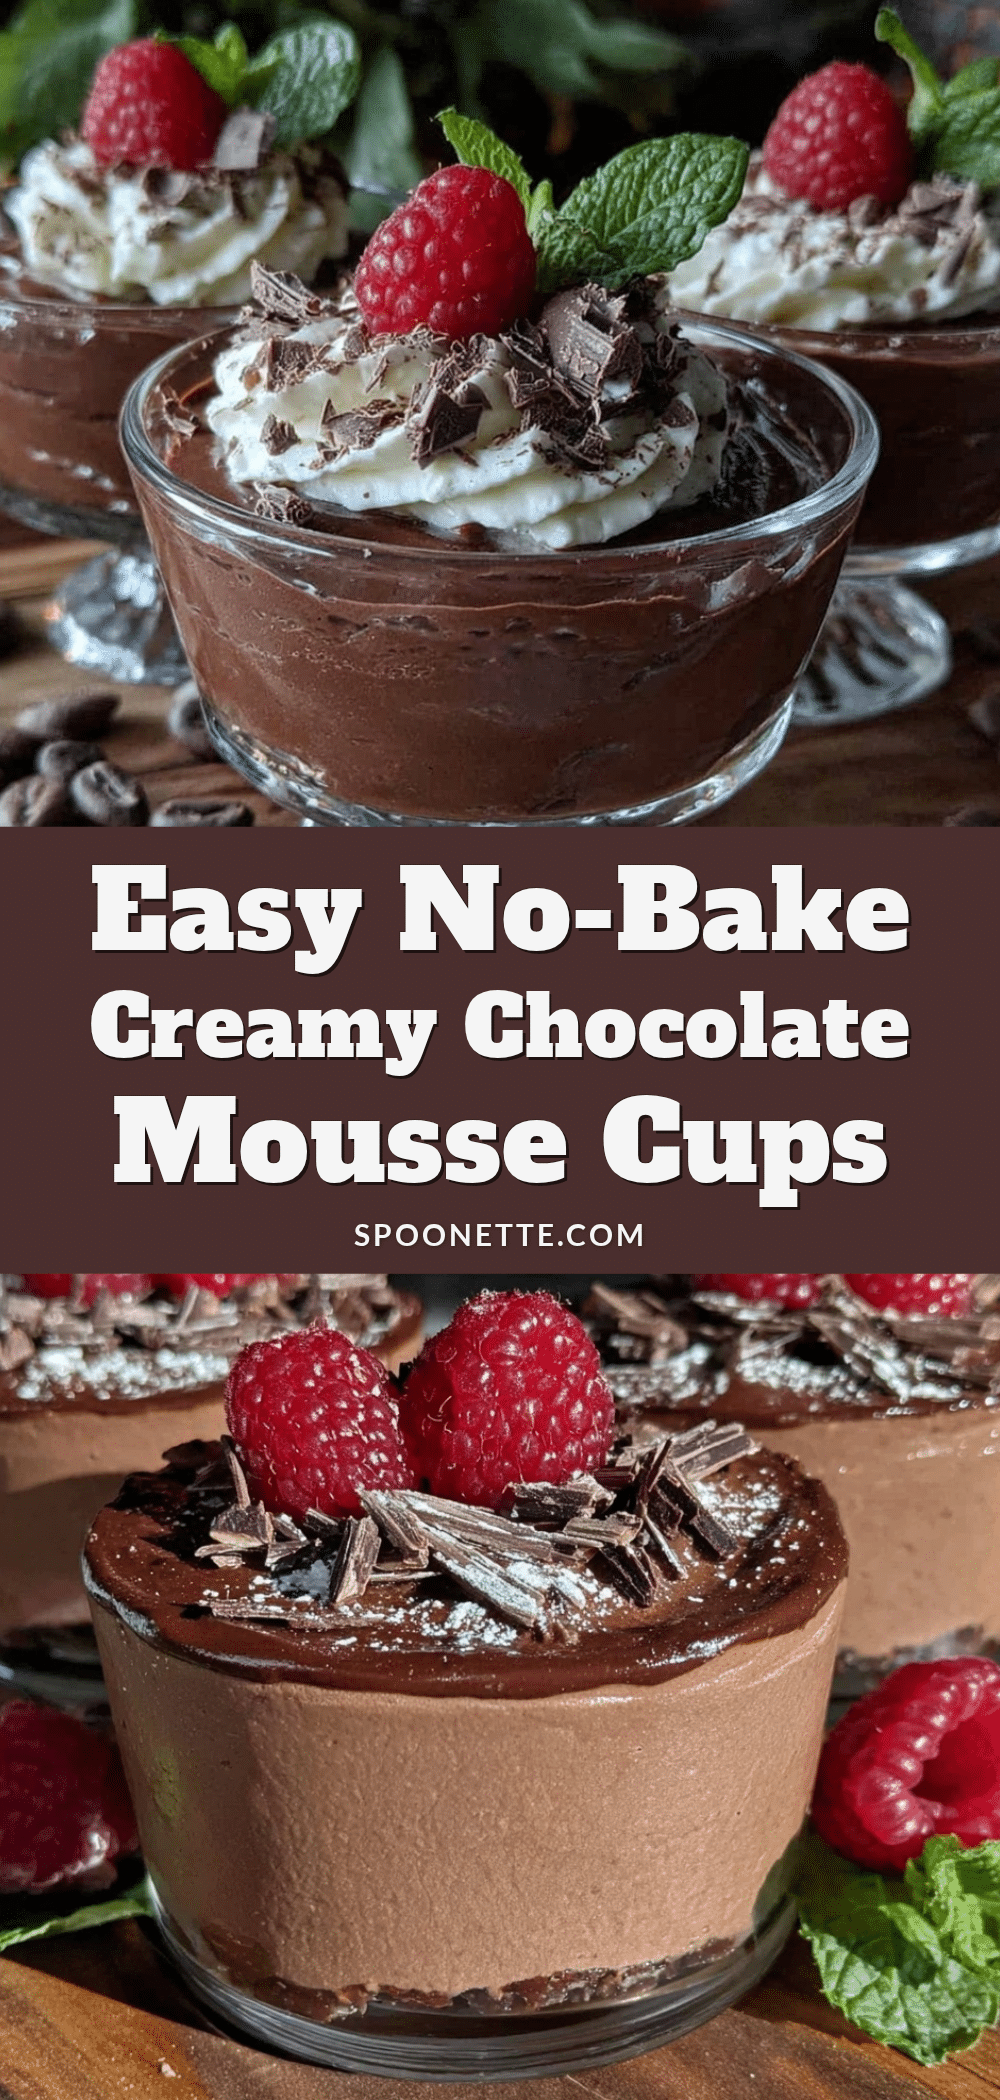
Easy No-Bake 4-Ingredient Chocolate Mousse Cups Perfect for Mother’s Day

A quick and indulgent no-bake chocolate mousse made with just four simple ingredients, perfect for last-minute celebrations like Mother’s Day.
- Prep Time: 15 minutes
- Cook Time: 0 minutes
- Total Time: 2 hours 15 minutes
- Yield: 6 servings 1x
- Category: Dessert
- Cuisine: American
Ingredients
- 6 oz (170 g) dark chocolate (60-70% cocoa)
- 1 ½ cups (360 ml) cold heavy cream
- 2 tablespoons (25 g) granulated sugar
- 1 teaspoon pure vanilla extract
Instructions
- Chill your mixing bowl and beaters in the fridge for about 15 minutes before starting.
- Chop the dark chocolate into small pieces. Melt it using a double boiler or microwave in 20-second bursts, stirring until smooth. Let cool slightly but do not harden.
- Pour cold heavy cream into the chilled bowl. Add granulated sugar and vanilla extract. Beat on medium-high speed until soft peaks form, about 3-5 minutes.
- Pour about one-third of the whipped cream into the melted chocolate. Gently fold together using a rubber spatula without deflating the mixture.
- Fold in the remaining whipped cream until no streaks remain.
- Spoon or pipe the mousse into serving cups or ramekins and smooth the top.
- Refrigerate for at least 2 hours, preferably 3-4 hours, to set.
- Serve chilled, optionally garnished with fresh berries, cocoa powder, or chocolate shavings.
Notes
Chill bowls and beaters before whipping cream for better results. Melt chocolate gently and let it cool slightly before folding in cream to avoid runny mousse. Fold whipped cream gently to keep mousse light and airy. Chill mousse for at least 2 hours to set properly. Avoid freezing to prevent texture changes.
Nutrition
- Serving Size: 1 mousse cup (approx
- Calories: 275
- Sugar: 15
- Sodium: 25
- Fat: 22
- Saturated Fat: 14
- Carbohydrates: 18
- Fiber: 3
- Protein: 3
Keywords: chocolate mousse, no-bake dessert, easy chocolate mousse, 4-ingredient dessert, Mother's Day dessert, quick chocolate mousse



