Love this? Save it for later!
Share the inspiration with your friends
My sister-in-law swore she hated pickles. For years. Wouldn’t touch them, wouldn’t even let one sit on her plate at a barbecue. Then last summer, she showed up at my door with a mason jar in her hand and asked if I had any more of “those little cucumbers I made that one time.” Caught red-handed. Or should I say, caught green-and-briny-handed.
Honestly, I wasn’t surprised. These Quick Garlic Dill Refrigerator Pickles have a way of changing minds. They’re not those limp, sad slices that fall apart in your sandwich. They’re crisp, they’re punchy, and they have this garlicky-dill thing going on that makes you reach for another one before you’ve even finished chewing. I made my first batch on a Tuesday afternoon when my garden decided to produce about forty cucumbers all at once. I had no plan, no canning equipment, and frankly, no patience for a complicated process. So I just threw some stuff in a jar and hoped for the best.
Three days later, I opened the fridge to find the jar half-empty. My husband claimed he was just “testing” them. Sure. That first crunchy bite had this unexpected brightness that made me wonder why I ever bothered with store-bought. Maybe you’ve been there—overwhelmed by cucumbers or just craving something tangy and cold without the fuss of actual canning. These pickles are for you. They’re the kind of recipe that stays with you because it actually works, no fancy skills required.
Why You’ll Love This Recipe
Let me tell you why these pickles have become my most-requested recipe. I’ve tested this method at least a dozen times, tweaking the salt level and the garlic ratio until it felt just right. My neighbor, who runs a small farm stand, even asked for the recipe after I brought a jar to her annual block party. That’s when I knew I had something good.
- Quick & Easy: Comes together in about 5 minutes of active work. No boiling water baths, no complicated sealing processes—just slice, stir, and refrigerate.
- Simple Ingredients: You probably have most of these in your kitchen right now. Cucumbers, garlic, dill, vinegar, salt, and a little sugar. That’s it.
- Perfect for Summer Gatherings: Great for picnics, potlucks, burger nights, or just snacking straight from the jar when nobody’s watching.
- Crowd-Pleaser: I’ve watched pickle skeptics go back for thirds. Kids love them because they’re not too sour, and adults appreciate the fresh dill flavor.
- Unbelievably Delicious: The texture is the real star here—crisp, snappy, and satisfying in a way that store-bought pickles just can’t match.
What makes this recipe different from the rest is the balance. I spent a while figuring out the perfect vinegar-to-water ratio so the pickles taste bright without being harsh. The garlic infuses slowly in the fridge, giving you a mellow, savory note that builds over a few days. It’s not just another pickle recipe—it’s the one that makes you close your eyes after that first bite. Comfort food reimagined: fresher, faster, and with the same soul-soothing crunch.
What Ingredients You Will Need
This recipe uses simple, wholesome ingredients to deliver bold flavor and satisfying texture without any fuss. Most of these are pantry staples, and the fresh ones are easy to find at any grocery store or farmers market.
- Cucumbers (1 pound or about 3-4 medium): Use pickling cucumbers like Kirby or Persian for the best crunch. English cucumbers work too, but they’re a bit less firm. I prefer Kirby cucumbers—they hold up beautifully in the brine and stay crisp for weeks.
- Fresh dill (4-6 sprigs): Fresh dill makes a huge difference here. Dried dill works in a pinch, but you’ll lose some of that bright, grassy flavor. I grab a bunch from the farmers market and use the whole thing, stems and all.
- Garlic (4-6 cloves, smashed): Smashing the cloves releases more flavor than slicing. Use fresh garlic, not the pre-minced stuff from a jar—trust me on this one.
- White vinegar (1 cup / 240 ml): Standard white vinegar gives you that classic pickle tang. Apple cider vinegar works too and adds a slightly fruitier note, but white vinegar keeps the color of the pickles nice and bright.
- Water (1 cup / 240 ml): Filtered water is best if your tap water has a strong chlorine taste. It can affect the final flavor of the brine.
- Salt (1 tablespoon / 18 g): Use kosher salt or pickling salt. Table salt has anti-caking agents that can make the brine cloudy. I use Diamond Crystal kosher salt—it dissolves evenly and doesn’t leave any weird aftertaste.
- Sugar (1 teaspoon / 4 g): Just a touch to balance the acidity. You can skip it if you prefer a more tart pickle, but I find it rounds out the flavors nicely.
- Black peppercorns (1 teaspoon): Optional but recommended. They add a subtle warmth that complements the dill and garlic.
- Red pepper flakes (½ teaspoon): Optional for heat. I add these to one jar and leave them out of another so everyone’s happy.
For substitutions, you can use apple cider vinegar instead of white vinegar for a milder flavor. If you’re watching your sodium, reduce the salt to 2 teaspoons—just know the pickles won’t stay as crisp as long. I’ve also made these with honey instead of sugar, and it works beautifully if you don’t mind a slightly different sweetness.
Equipment Needed
You don’t need any specialized canning equipment for these pickles. That’s the whole point. Here’s what you’ll need:
- 1-quart mason jar or similar glass container: A wide-mouth jar makes it easier to pack in the cucumber slices. I’ve used old pasta sauce jars too—just make sure they’re clean and have a tight-fitting lid.
- Sharp knife and cutting board: A good chef’s knife makes slicing the cucumbers uniform and quick. I use a 8-inch chef’s knife, but any sharp knife works.
- Measuring cups and spoons: For the brine ingredients. Nothing fancy needed.
- Small bowl or liquid measuring cup: For mixing the brine before pouring it over the cucumbers.
- Wooden spoon or chopstick: To help release air bubbles after pouring the brine. A chopstick works perfectly for reaching into the jar.
If you don’t have a mason jar, any glass container with a non-reactive lid will work. Avoid metal lids that might react with the vinegar—plastic lids or glass lids are ideal. I learned this the hard way when my favorite metal lid developed a weird taste after a few days in the brine.
Preparation Method
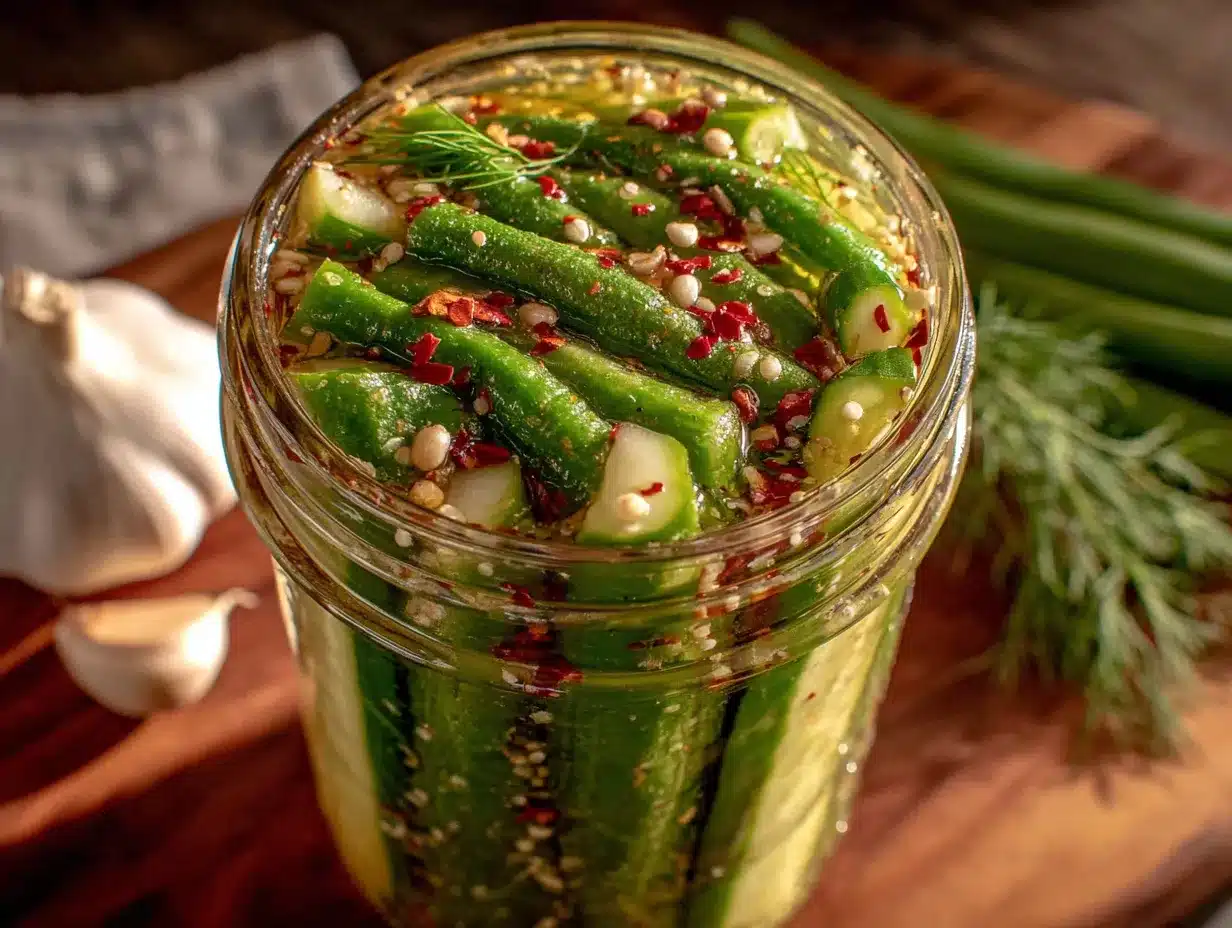
This is the easy part. Seriously, if you can slice a cucumber, you can make these pickles. Here’s how:
- Wash and slice the cucumbers (2-3 minutes): Give your cucumbers a good rinse under cool water. Trim off the stem end, but leave a little bit on—it helps keep the slices firm. Slice them into rounds about ¼-inch thick. If you’re feeling fancy, you can cut them into spears instead. I usually do a mix of both in the same jar because variety is nice.
- Prepare the aromatics (1 minute): Smash each garlic clove with the flat side of your knife. This releases the oils without turning the garlic into a paste. Rinse the dill sprigs and pat them dry. Nothing worse than soggy dill.
- Pack the jar (2 minutes): Layer the cucumber slices, garlic cloves, dill sprigs, and peppercorns in your mason jar. Pack them in fairly tightly—they’ll shrink a bit as they brine. I like to alternate layers of cucumbers with a garlic clove and a dill sprig so the flavor distributes evenly.
- Make the brine (1 minute): In a small bowl or liquid measuring cup, combine the white vinegar, water, salt, and sugar. Stir until the salt and sugar are completely dissolved. This takes about 30 seconds of vigorous whisking. If your kitchen is cold, you might need to let it sit for a minute and stir again.
- Pour the brine over the cucumbers (30 seconds): Slowly pour the brine into the jar until the cucumbers are completely submerged. Leave about ½ inch of headspace at the top. If you need more brine, mix up another half-batch—it’s just equal parts vinegar and water with salt and sugar.
- Release air bubbles (30 seconds): Gently tap the jar on the counter a few times, then use a chopstick or wooden spoon to poke around the edges of the jar. This releases any trapped air bubbles that could cause uneven brining.
- Seal and refrigerate (5 seconds): Put the lid on tightly and give the jar a gentle shake to distribute everything evenly. Place it in the refrigerator.
- Wait (24-48 hours): Here’s the hard part—you have to wait. The pickles need at least 24 hours to develop flavor, but 48 hours is even better. I know, I know. But trust the process. The first time I made these, I snuck a taste after 12 hours and was disappointed. Day two was a completely different story.
A quick note: Don’t skip the step of releasing air bubbles. I forgot once and ended up with a few slices that didn’t get fully brined—they were bland and sad. A chopstick poke takes ten seconds and makes a real difference.
Cooking Tips & Techniques
I’ve made more batches of these pickles than I can count, and I’ve learned a few things along the way. Here’s what I wish someone had told me:
Don’t skip the salt. I tried reducing the salt once because I was feeling health-conscious, and the pickles turned out soft and lifeless within a week. Salt isn’t just for flavor—it helps maintain that crisp texture by drawing out excess moisture from the cucumbers. Use the full amount.
Temperature matters. Make sure your brine is at room temperature before pouring it over the cucumbers. Hot brine will start cooking the cucumbers slightly, making them soft. Cold brine straight from the fridge is fine, but room temperature is ideal because it dissolves the salt and sugar more easily.
Slice uniformly. I know it’s tempting to just hack away at the cucumbers, but uniform slices mean even brining. Thicker slices take longer to pickle, and thinner ones can get too soft. Aim for ¼-inch thickness—it’s the sweet spot between crunchy and flavorful.
Patience is a virtue. The pickles will taste good after 24 hours, but they reach their peak around day three or four. The garlic mellows out, the dill infuses deeply, and the salt and vinegar balance perfectly. I always make a double batch so I can start eating one jar while the other continues to develop.
Shake it up. Give the jar a gentle shake every day or two to redistribute the brine and aromatics. This ensures every slice gets equal exposure to the flavors. I do this when I open the fridge for coffee in the morning—it becomes a habit.
One of my biggest failures? I used pre-minced garlic from a jar once because I was out of fresh garlic. The pickles turned out cloudy and had a weird, almost metallic taste. Never again. Fresh garlic is non-negotiable here.
Variations & Adaptations
One of the best things about this recipe is how easy it is to customize. Here are some variations I’ve tried and loved:
Spicy Garlic Dill Pickles: Add 2-3 slices of fresh jalapeño or a whole dried chili to the jar along with the other aromatics. I did this for a Super Bowl party and the jar was empty within an hour. The heat builds slowly—it’s not overwhelming, just a pleasant warmth that lingers.
Sweet Bread & Butter Style: Increase the sugar to ¼ cup and add ½ teaspoon of turmeric for that classic yellow color. This version tastes more like the sweet pickles your grandma might have made. My kids actually prefer this one, though I still lean toward the savory original.
Herb Garden Mix: Swap half the dill for fresh tarragon, thyme, or even a few basil leaves. I tried this with tarragon last summer and it gave the pickles an almost anise-like flavor that was surprisingly good on sandwiches.
Low-Sodium Version: Reduce the salt to 1 teaspoon and add ½ teaspoon of celery seed for extra flavor without the sodium. The pickles won’t stay as crisp for as long, so eat them within two weeks.
Different Vinegar Options: Use apple cider vinegar for a fruitier tang, or rice vinegar for a milder, more delicate flavor. I keep a jar of each in my fridge for different moods—the rice vinegar version is amazing with Asian-inspired dishes.
For a quick variation, try adding a slice of red onion or a few peppercorns to each jar. It changes the flavor profile just enough to keep things interesting without complicating the process.
Serving & Storage Suggestions
These pickles are incredibly versatile. I serve them cold, straight from the fridge, usually on a small plate as a side or piled onto sandwiches and burgers. They’re also fantastic chopped up and added to potato salad or tuna salad for extra crunch and tang.
Serving temperature: Cold is best. The chill enhances the crispness and makes the flavors pop. If you’re serving them at a picnic, keep the jar in a cooler until the last minute.
Complementary dishes: These pickles pair beautifully with grilled meats, especially burgers and sausages. They’re also great alongside a rich cheese plate—the acidity cuts through the creaminess. For a simple lunch, I’ll have them with a turkey and Swiss sandwich on rye bread. The combination is perfection.
Storage instructions: Keep the jar sealed in the refrigerator at all times. These are not shelf-stable—they’re refrigerator pickles, which means they need to stay cold. They’ll last for up to 4-6 weeks, though I’ve never had a jar last that long because we eat them too quickly.
Reheating: Don’t. These are meant to be eaten cold. If you want warm pickles for some reason, you can let them sit at room temperature for 15 minutes before serving, but I don’t recommend heating them directly.
Flavor development: The pickles continue to develop flavor over time. The garlic becomes more mellow, the dill deepens, and the brine gets more complex. I actually prefer them after about a week in the fridge. The initial sharpness mellows into something more rounded and satisfying.
If you notice the brine getting cloudy after a few weeks, don’t worry—that’s normal. It’s just the salt and vinegar doing their thing. As long as the pickles smell fresh and look crisp, they’re fine to eat.
Nutritional Information & Benefits
These pickles are naturally low in calories and fat-free, making them a great snack option. Here’s an approximate nutritional breakdown per serving (about ½ cup of slices):
- Calories: 15-20
- Fat: 0g
- Sodium: 350-400mg (varies based on salt used)
- Carbohydrates: 3-4g
- Sugar: 1-2g
- Fiber: 0.5g
- Protein: 0.5g
The health benefits here come mostly from the cucumbers and garlic. Cucumbers are hydrating and contain antioxidants like flavonoids and tannins that help reduce inflammation. Garlic is known for its immune-boosting properties and may help lower blood pressure. The vinegar in the brine also has some potential benefits for blood sugar regulation, though the amounts here are small.
These pickles are naturally gluten-free, dairy-free, and vegan. If you’re watching your sodium intake, you can reduce the salt, but the pickles won’t stay as crisp. I personally see these as a treat—they add flavor and crunch to meals without a lot of calories, which is a win in my book.
Conclusion
These Quick Garlic Dill Refrigerator Pickles are the kind of recipe that makes you feel like a kitchen genius with almost zero effort. They’re crisp, flavorful, and infinitely customizable. Whether you’re a pickle purist who loves the classic dill taste or someone who likes to experiment with spicy or sweet variations, this recipe works.
I love these pickles because they remind me that good food doesn’t have to be complicated. Sometimes the best things come from throwing a few ingredients in a jar and letting time do the work. They’ve saved me more times than I can count—when I need a quick side dish, a sandwich upgrade, or just a crunchy snack to get me through the afternoon.
Now it’s your turn. Make a batch, stick it in the fridge, and try not to eat them all before they’ve had a chance to develop. I’d love to hear how they turn out—drop a comment below and let me know your favorite variation. And if you come up with a new combination, share it! That’s how recipes evolve and get even better.
Happy pickling, friend. Your taste buds are about to thank you.
Frequently Asked Questions
Can I use English cucumbers instead of pickling cucumbers?
Yes, English cucumbers work fine. They’re a bit less firm than pickling varieties, so they won’t stay as crisp for as long. I recommend eating them within two weeks for the best texture. Just make sure to leave the skin on—it adds color and a little extra crunch.
How long do these refrigerator pickles last?
They’ll stay fresh and crisp for 4-6 weeks in the refrigerator. After that, the texture starts to soften and the flavor becomes less vibrant. I’ve never had a jar last that long because they disappear so fast, but if you’re making a big batch, mark the date on the lid so you know when they were made.
Can I reuse the brine for another batch?
You can, but the second batch won’t be as flavorful. The brine loses some of its potency after the first use because the cucumbers absorb a lot of the salt and vinegar. I usually just make fresh brine for each new batch—it takes less than a minute to mix up.
Do I need to boil the jars or sterilize them?
No, that’s the beauty of refrigerator pickles. Since they’re stored in the fridge and eaten within a few weeks, you don’t need to sterilize the jars. Just make sure they’re clean and free of any food residue. I wash mine with hot soapy water and dry them thoroughly before using.
Why are my pickles soft instead of crisp?
Soft pickles usually mean one of three things: you used too little salt, the cucumbers were old or already soft when you started, or you sliced them too thin. Make sure you’re using fresh, firm cucumbers and the full amount of salt. Also, don’t skip the step of releasing air bubbles—trapped air can affect the brining process and lead to softer pickles.
Pin This Recipe!
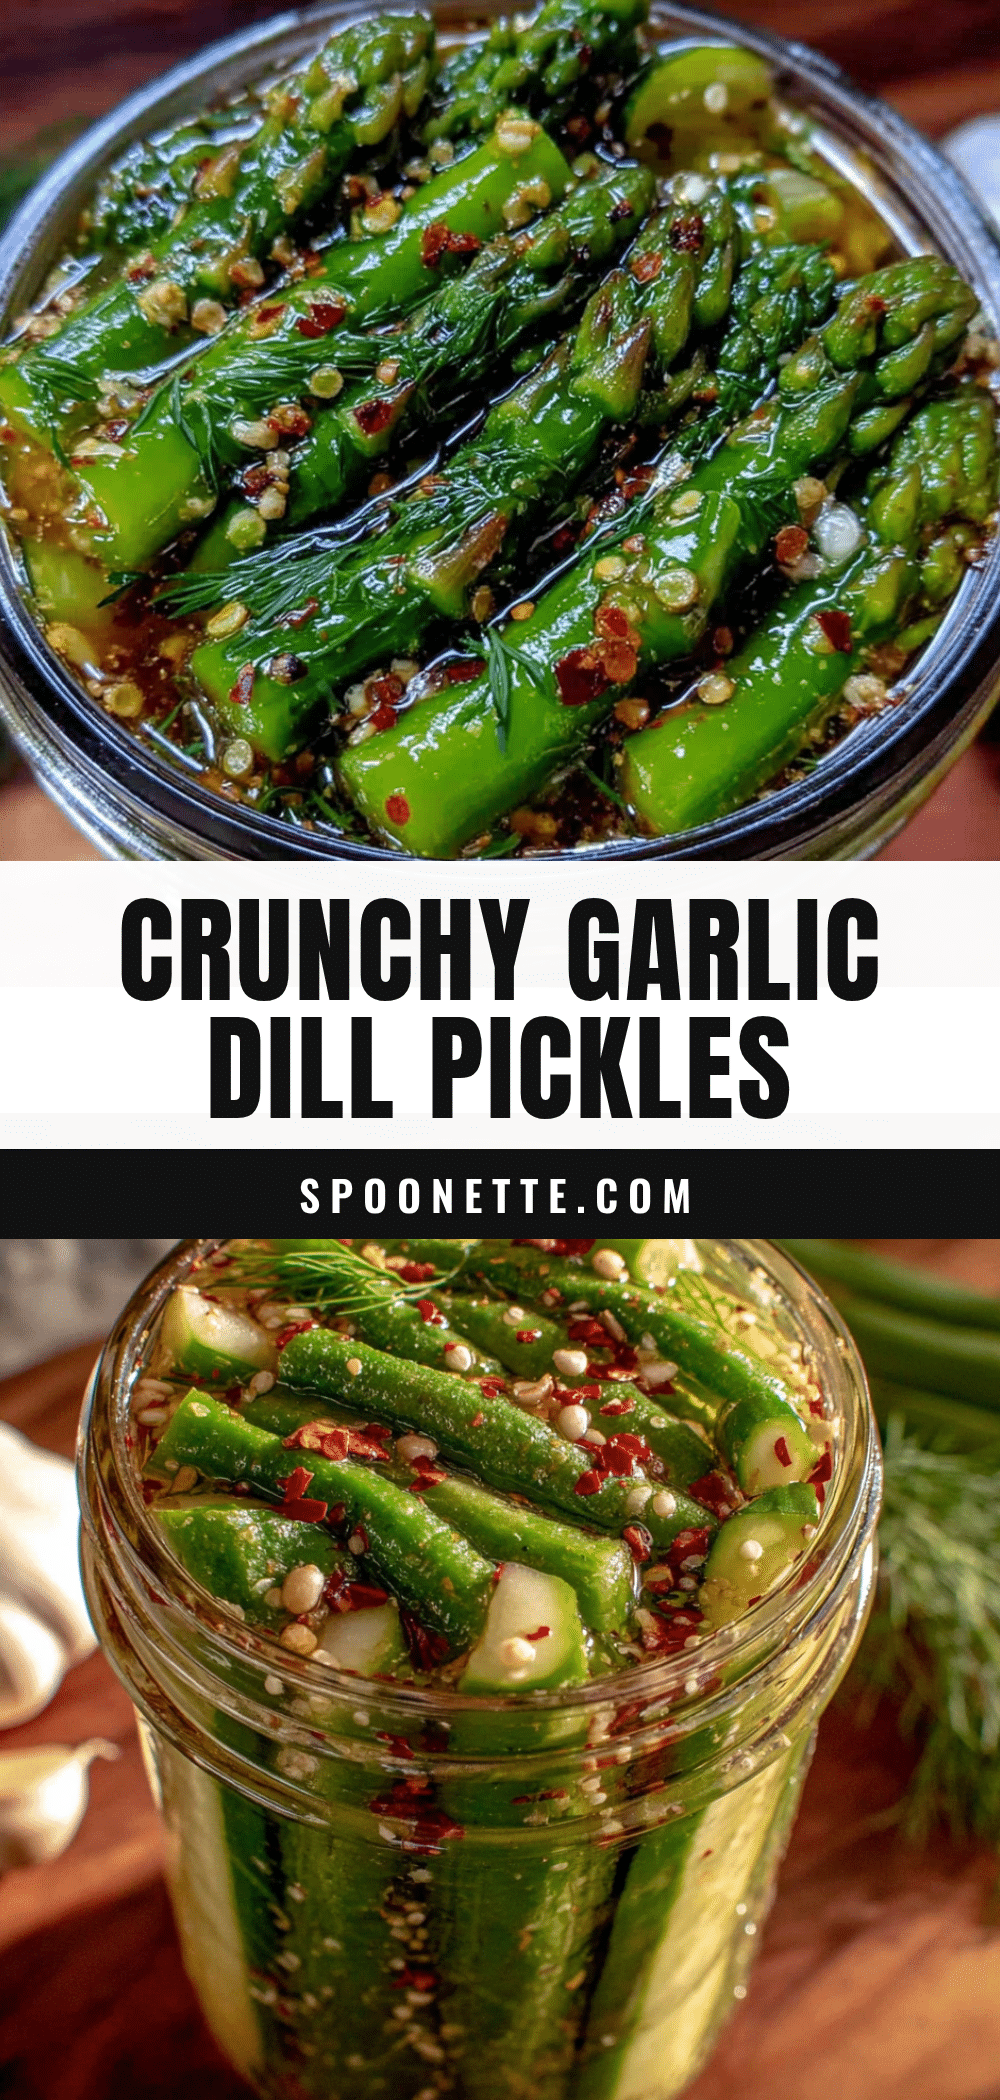
Quick Garlic Dill Refrigerator Pickles: Easy 5-Minute Recipe
These Quick Garlic Dill Refrigerator Pickles are crisp, punchy, and packed with garlicky-dill flavor. Ready in just 5 minutes of active work, they’re the perfect easy snack or sandwich topper.
- Prep Time: 5 minutes
- Cook Time: 0 minutes
- Total Time: 5 minutes (plus 24-48 hours refrigeration)
- Yield: 4 servings 1x
- Category: Side Dish
- Cuisine: American
Ingredients
- 1 pound cucumbers (about 3–4 medium), preferably Kirby or Persian
- 4–6 sprigs fresh dill
- 4–6 cloves garlic, smashed
- 1 cup (240 ml) white vinegar
- 1 cup (240 ml) water
- 1 tablespoon (18 g) kosher salt or pickling salt
- 1 teaspoon (4 g) sugar
- 1 teaspoon black peppercorns (optional)
- ½ teaspoon red pepper flakes (optional)
Instructions
- Wash and slice the cucumbers into ¼-inch thick rounds. Trim off the stem end but leave a little bit on to help keep slices firm.
- Smash each garlic clove with the flat side of a knife. Rinse the dill sprigs and pat dry.
- Layer the cucumber slices, garlic cloves, dill sprigs, and peppercorns in a 1-quart mason jar. Pack them in fairly tightly.
- In a small bowl or liquid measuring cup, combine the white vinegar, water, salt, and sugar. Stir until the salt and sugar are completely dissolved.
- Slowly pour the brine into the jar until the cucumbers are completely submerged, leaving about ½ inch of headspace.
- Gently tap the jar on the counter a few times, then use a chopstick or wooden spoon to release any trapped air bubbles.
- Put the lid on tightly and give the jar a gentle shake to distribute everything evenly. Place it in the refrigerator.
- Wait at least 24-48 hours before eating for best flavor. The pickles reach their peak around day 3-4.
Notes
Don’t skip the salt—it helps maintain crisp texture. Use fresh garlic, not pre-minced. For best results, let pickles develop for 48 hours before eating. Shake the jar gently every day or two to redistribute flavors. These are not shelf-stable; keep refrigerated at all times.
Nutrition
- Serving Size: ½ cup
- Calories: 1520
- Sugar: 12
- Sodium: 350400
- Carbohydrates: 34
- Fiber: 0.5
- Protein: 0.5
Keywords: refrigerator pickles, quick pickles, garlic dill pickles, easy pickles, no canning pickles, homemade pickles



