Love this? Save it for later!
Share the inspiration with your friends
I was standing in my kitchen last Tuesday, staring at the clock like it had personally offended me. Dinner was in an hour, the kids were circling like hungry sharks, and I had promised myself I’d prep snacks for the week. That’s when the smell of peanut butter hit me — not from my pantry, but from the memory of my neighbor Carol’s kitchen, three summers ago, when she handed me a warm granola bar wrapped in wax paper. I was 32 and exhausted, and that single bite changed how I thought about homemade snacks forever.
Honestly, I didn’t even like granola bars before that moment. The store-bought ones always tasted like cardboard dressed up in sugar. But Carol’s version was different — chewy, salty-sweet, and held together with nothing but peanut butter and honey. She laughed when I asked for the recipe. “There’s no baking involved,” she said. “You’re overthinking it.” And she was right. I’ve been making these quick no-bake peanut butter granola bars ever since, tweaking them just a little each time.
Maybe you’ve been there — standing in the snack aisle, reading labels, wondering why something so simple has to be so complicated. These bars are the answer. They come together in about five minutes of actual work, and the hardest part is waiting for them to set in the fridge. I mean, let’s face it: we all need a win in the kitchen sometimes, and this recipe delivers every single time.
Why You’ll Love This Recipe
I’ve tested this recipe about a dozen times — not because it needed fixing, but because I wanted to see just how foolproof it really is. Spoiler alert: it’s very foolproof. Here’s what makes these quick no-bake peanut butter granola bars stand out from every other recipe you’ve tried.
- Ready in 5 Minutes of Active Time — No oven, no stovetop, no complicated steps. Just mix, press, and chill. Perfect for those days when you need a snack solution right now.
- Pantry Staples Only — You probably have everything already. Peanut butter, honey, oats, and a few mix-ins. No special trips to the store required.
- Perfect for Meal Prep — Make a batch on Sunday and grab one all week. They hold up beautifully in the fridge or freezer.
- Kid-Approved and Adult-Friendly — My kids devour these, but I’ve also brought them to book club and watched grown adults fight over the last piece.
- Endlessly Customizable — Swap the peanut butter for almond butter, add chocolate chips, throw in some dried fruit — it’s hard to mess this up.
What really sets this recipe apart is the texture. Most no-bake bars turn out either too crumbly or rock-hard. I spent weeks figuring out the perfect ratio of wet to dry ingredients, and this version hits that sweet spot — chewy, sturdy, and just soft enough to be satisfying without falling apart in your lunch bag. It’s the kind of recipe that makes you wonder why you ever bought granola bars in the first place.
What Ingredients You Will Need
This recipe uses simple, wholesome ingredients that work together to create bars that are both delicious and sturdy. Most of these are probably already living in your pantry right now.
For the Base
- 1 cup creamy peanut butter (I prefer Skippy or a natural brand that doesn’t separate too much — the consistency matters here)
- ½ cup honey (or maple syrup for a vegan option; the honey gives a slightly better bind)
- 2 cups old-fashioned rolled oats (not quick oats — they make the bars too mushy)
- 1 cup crispy rice cereal (adds that perfect crunch; you can use puffed quinoa for a gluten-free version)
- ½ teaspoon salt (if your peanut butter is unsalted; skip this if it’s already salted)
- 1 teaspoon vanilla extract (pure, not imitation — it makes a difference)
Optional Mix-Ins
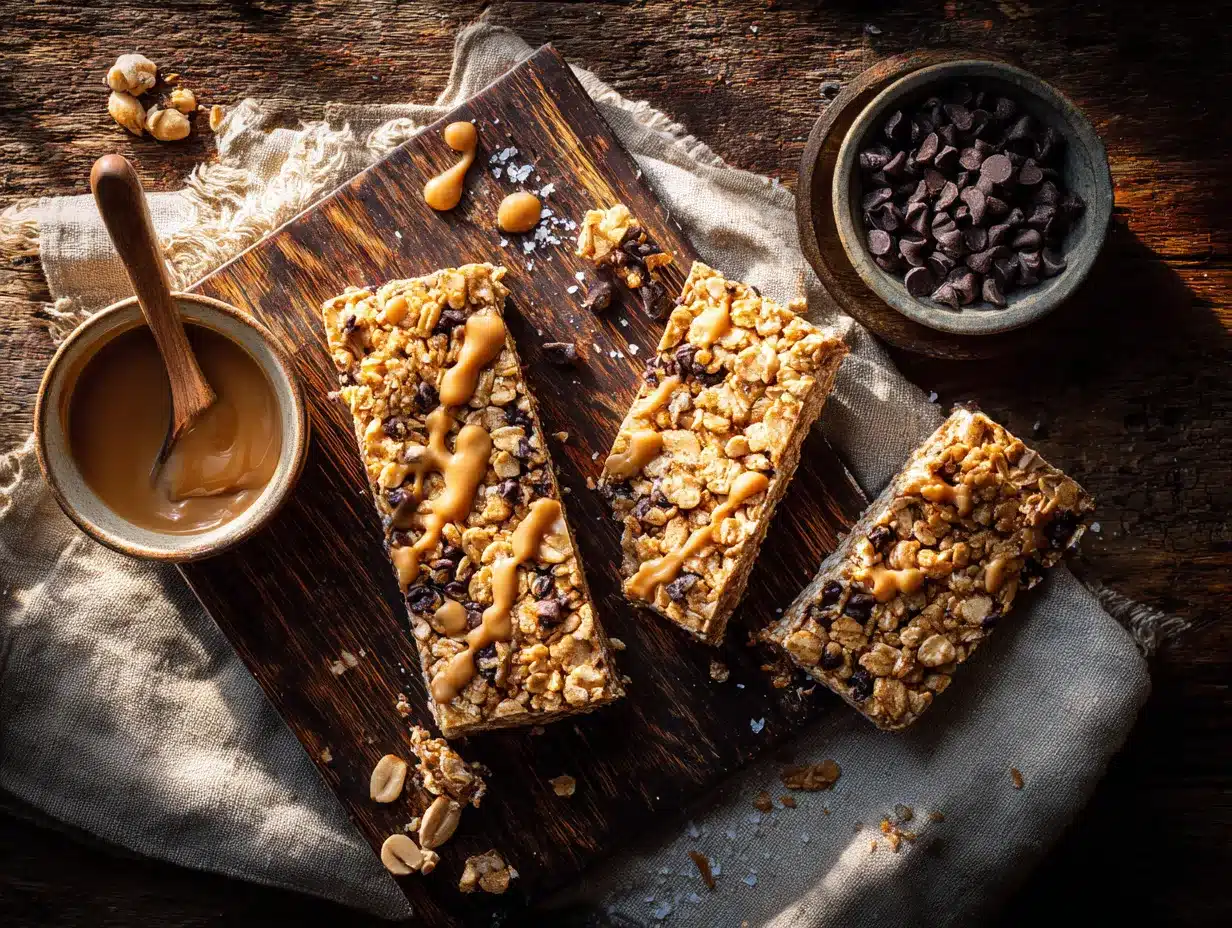
- ½ cup mini chocolate chips (dark, milk, or semi-sweet — your call)
- ¼ cup chopped peanuts (for extra crunch)
- ¼ cup dried cranberries or raisins (adds a little tartness)
- 2 tablespoons flaxseed or chia seeds (for a nutritional boost)
A quick note on peanut butter: don’t use the natural kind that separates into oil and solids unless you’re willing to stir it really, really well. I learned this the hard way when my first batch turned into a greasy mess. The bars still tasted fine, but they never set properly. Stick with a standard creamy peanut butter for the best texture.
If you’re allergic to peanuts, sunflower seed butter works beautifully here. Just know that the bars will turn a slightly greenish color — that’s totally normal and happens because of a reaction between the sunflower seeds and baking soda (even though there’s no baking soda in this recipe, the chlorophyll reacts with other ingredients). It’s weird but harmless.
Equipment Needed
You don’t need much for these quick no-bake peanut butter granola bars, which is honestly one of my favorite things about them.
- 8×8-inch baking pan — This is the ideal size for bars that are thick but not too thick. A 9×9 works too, but your bars will be slightly thinner.
- Parchment paper — Absolutely essential. Line the pan with two overlapping strips so you can lift the whole block out easily. Trust me on this.
- Large mixing bowl — Any bowl big enough to hold all the ingredients without spilling.
- Spatula or wooden spoon — For mixing and pressing the mixture into the pan.
- Measuring cups and spoons — This recipe is forgiving, but accurate measurements help with consistency.
- Plastic wrap or wax paper — For pressing the mixture down without it sticking to your hands.
If you don’t have an 8×8 pan, you can use a loaf pan or even a pie plate — just adjust the thickness. I once made these in a muffin tin for individual portions, and they turned out great. Just press the mixture firmly into each cup and chill as usual.
Preparation Method
Here’s where the magic happens. These quick no-bake peanut butter granola bars come together so fast you’ll barely believe it. Let me walk you through it step by step.
- Line your 8×8 pan with parchment paper. Leave some overhang on two opposite sides — this creates handles for lifting the bars out later. If you don’t have parchment, you can use aluminum foil lightly greased with cooking spray.
- Warm the peanut butter and honey together. In a microwave-safe bowl, combine the peanut butter and honey. Microwave for 20-30 seconds, just until they’re soft and stirrable. Don’t overheat — you’re not making candy here. Stir until smooth. If you don’t have a microwave, warm them gently in a small saucepan over low heat, stirring constantly.
- Add the vanilla and salt. Stir in the vanilla extract and salt (if using). The mixture should look glossy and smell amazing at this point.
- Combine the dry ingredients. In your large mixing bowl, toss together the rolled oats and crispy rice cereal. Make sure they’re evenly distributed before adding the wet ingredients.
- Pour the wet mixture over the dry. Scrape every last bit of that peanut butter-honey mixture onto the oats and cereal. Use your spatula to fold everything together until every oat and rice puff is coated. This takes about a minute of thorough mixing. If you’re adding chocolate chips or other mix-ins, fold them in now.
- Transfer to the prepared pan. Spoon the mixture into your parchment-lined pan. It will look kind of messy — that’s okay.
- Press firmly and evenly. Here’s the trick: place a piece of plastic wrap or wax paper over the mixture, then use your hands or the bottom of a flat measuring cup to press it down firmly. Press hard — really hard. You want the bars to be compact, not loose. Uneven pressing leads to crumbly bars, so take your time with this step. The mixture should feel dense and uniform when you’re done.
- Chill for at least 2 hours. Pop the pan in the refrigerator. Don’t rush this — the bars need time to set properly. If you’re in a hurry, you can pop them in the freezer for about 45 minutes, but fridge-chilled bars hold together better.
- Lift and cut. Once chilled, use the parchment handles to lift the whole block out of the pan. Place it on a cutting board and use a sharp knife to cut into 12 bars (or 16 smaller ones). Wipe the knife clean between cuts for neater edges.
One thing I learned the hard way: don’t skip the pressing step. My first batch looked beautiful in the pan but crumbled into a sad pile of oats when I tried to cut them. Pressing firmly compacts everything and creates bars that actually hold their shape.
Another tip: if your mixture feels too dry and crumbly, add another tablespoon of warm honey or peanut butter. If it feels too wet and sticky, add a few more oats. The texture should be like a thick, sticky dough that holds together when squeezed.
Cooking Tips & Techniques
After making these quick no-bake peanut butter granola bars more times than I can count, I’ve picked up a few tricks that make a real difference.
Don’t overheat the peanut butter. I once got distracted and microwaved it for a full minute. The bars turned out greasy and never set right. Warm it just enough to make it stirrable — 20 seconds is usually perfect.
Use room temperature ingredients. Cold peanut butter doesn’t mix well with honey. If your pantry is chilly, let the peanut butter sit on the counter for 15 minutes before starting. Or just warm it gently like I mentioned above.
Press with purpose. I cannot stress this enough. Use a piece of wax paper or plastic wrap between your hand and the mixture so nothing sticks. Then press down with the flat bottom of a glass or measuring cup. Really lean into it. The more compact your mixture, the better your bars will hold together.
Chill overnight if you can. Two hours is the minimum, but overnight chilling gives you the best texture. The bars become firmer and easier to cut cleanly. Plus, the flavors meld together beautifully.
Cut with a warm knife. Run your knife under hot water, dry it off, then cut. The warmth helps the blade glide through without dragging the mixture. Wipe and re-warm between cuts for the cleanest edges.
One mistake I made early on was using quick oats instead of rolled oats. Quick oats absorb too much moisture and turn the bars into a mushy paste. Rolled oats give you that satisfying chewy texture. Stick with the old-fashioned kind.
Variations & Adaptations
These quick no-bake peanut butter granola bars are incredibly forgiving, so don’t be afraid to experiment. Here are some of my favorite variations.
Chocolate Peanut Butter Dream
Add ¼ cup cocoa powder to the dry ingredients and use chocolate chips as your mix-in. It’s basically a candy bar disguised as a healthy snack. I made these for a bake sale once and they sold out in ten minutes.
Trail Mix Bars
Swap half the crispy rice cereal for a mix of chopped almonds, dried cherries, and pumpkin seeds. Add a pinch of cinnamon for warmth. These are my go-to for hiking trips — they hold up beautifully in a backpack.
Vegan Version
Use maple syrup instead of honey and dark chocolate chips (most are vegan). Make sure your crispy rice cereal doesn’t contain honey or vitamin D (some brands do). The texture is slightly different — maple syrup is thinner than honey — so you might need to add an extra tablespoon of peanut butter to compensate.
Low-Sugar Option
Replace the honey with ⅓ cup of unsweetened applesauce and add 2 tablespoons of almond flour to help with binding. The bars won’t be as sweet, but they’re still delicious. My husband actually prefers these — he says the honey version is too sweet for him.
Nut-Free School-Safe Bars
Use sunflower seed butter and certified nut-free oats. Omit any nut-based mix-ins and use seeds or dried fruit instead. These are perfect for lunchboxes. Just be aware of the greenish tint I mentioned earlier — it’s totally normal.
I once tried adding protein powder to make post-workout bars. It worked, but the bars were much drier. If you want to try it, add an extra tablespoon of honey and an extra tablespoon of peanut butter to balance it out.
Serving & Storage Suggestions
These quick no-bake peanut butter granola bars are best served cold or at room temperature. I actually prefer them straight from the fridge — they’re firmer and more satisfying to bite into.
For serving: Cut the bars and arrange them on a plate. They’re perfect on their own, but you can drizzle a little melted chocolate on top for a fancier presentation. I’ve also crumbled them over yogurt for breakfast — it’s amazing.
For storage: Keep the bars in an airtight container in the refrigerator for up to two weeks. Layer them between sheets of parchment paper so they don’t stick together. If you live in a humid climate, definitely keep them refrigerated — they can get soft at room temperature.
For freezing: These bars freeze beautifully. Wrap each bar individually in plastic wrap, then place them all in a freezer bag. They’ll keep for up to three months. Grab one straight from the freezer for a quick snack — they thaw in about 10 minutes at room temperature, or you can eat them frozen (they’re like ice cream bars, honestly).
For lunchboxes: If you’re packing these for school or work, wrap them tightly in plastic wrap or wax paper. They’ll stay fresh for the whole day without refrigeration, as long as your kitchen isn’t too warm.
One thing I noticed: the flavors actually get better after a day or two in the fridge. The oats soften slightly and absorb the peanut butter and honey, creating a more cohesive texture. So don’t be disappointed if the first bar seems a little loose — give them time.
Nutritional Information & Benefits
These quick no-bake peanut butter granola bars are a solid choice for a balanced snack. Here’s the approximate nutritional breakdown per bar (based on 12 bars, without optional mix-ins):
| Nutrient | Amount Per Bar |
|---|---|
| Calories | 220 |
| Total Fat | 11g |
| Saturated Fat | 2g |
| Carbohydrates | 26g |
| Fiber | 3g |
| Sugar | 14g |
| Protein | 7g |
Peanut butter provides healthy monounsaturated fats and protein, which help keep you full and satisfied. Oats are rich in beta-glucan, a type of soluble fiber that supports heart health. Honey offers quick energy, and if you add seeds or nuts, you’ll get extra fiber, vitamins, and minerals.
These bars are naturally gluten-free if you use certified gluten-free oats. They’re also vegetarian. The main allergens to watch for are peanuts and gluten (from oats, which are often processed near wheat). If you’re serving a crowd, it’s always a good idea to label them clearly.
I personally love that these bars give my kids sustained energy without the sugar crash that comes from store-bought snacks. They’re not exactly health food — there’s still honey and chocolate chips involved — but they’re a much better option than anything you’ll find in a wrapper.
Conclusion
These quick no-bake peanut butter granola bars have become a staple in my kitchen for a reason. They’re fast, forgiving, and genuinely delicious — the kind of recipe that makes you feel like you’ve hacked the system. No oven, no fuss, no complicated techniques. Just good food that comes together in minutes.
I love that I can customize them based on what I have in my pantry or what my family is craving. Some weeks it’s chocolate chips and coconut; other weeks it’s dried cranberries and sunflower seeds. The base recipe is so reliable that I never worry about it failing, no matter what I throw in.
If you’ve been buying granola bars at the store, I really hope you give these a try. They’re cheaper, healthier, and way more satisfying. And honestly, there’s something special about knowing exactly what’s in your food — no preservatives, no weird ingredients, just real food made by your own hands.
I’d love to hear how yours turn out! Leave a comment below and let me know what mix-ins you used. Did you try a variation I haven’t thought of? Share it with the community. And if you loved this recipe, don’t forget to pin it for later or share it with a friend who needs a quick snack solution. Happy snacking!
Frequently Asked Questions
Can I use crunchy peanut butter instead of creamy?
Absolutely. Crunchy peanut butter adds extra texture and works just as well. Just make sure it’s not the natural kind that separates, or stir it really well before using.
Why are my bars falling apart?
This usually happens for one of two reasons: you didn’t press the mixture firmly enough into the pan, or you didn’t chill them long enough. Next time, press harder and give them at least 2 hours in the fridge — overnight is even better.
Can I make these without honey?
Yes. Maple syrup is the best substitute, though the bars will be slightly softer. Agave nectar works too, but it’s sweeter, so use a little less. Brown rice syrup is another option, but it’s thicker and harder to find.
How long do these bars last at room temperature?
They’ll hold up for about 2-3 days at room temperature if stored in an airtight container. After that, they start to soften and may become sticky. For best results, keep them in the fridge.
Can I double this recipe?
Yes! Double everything and press the mixture into a 9×13-inch pan. You’ll need to chill it a bit longer — about 3-4 hours — to make sure the center sets properly. The bars will be slightly thicker, which is actually nice.
Pin This Recipe!
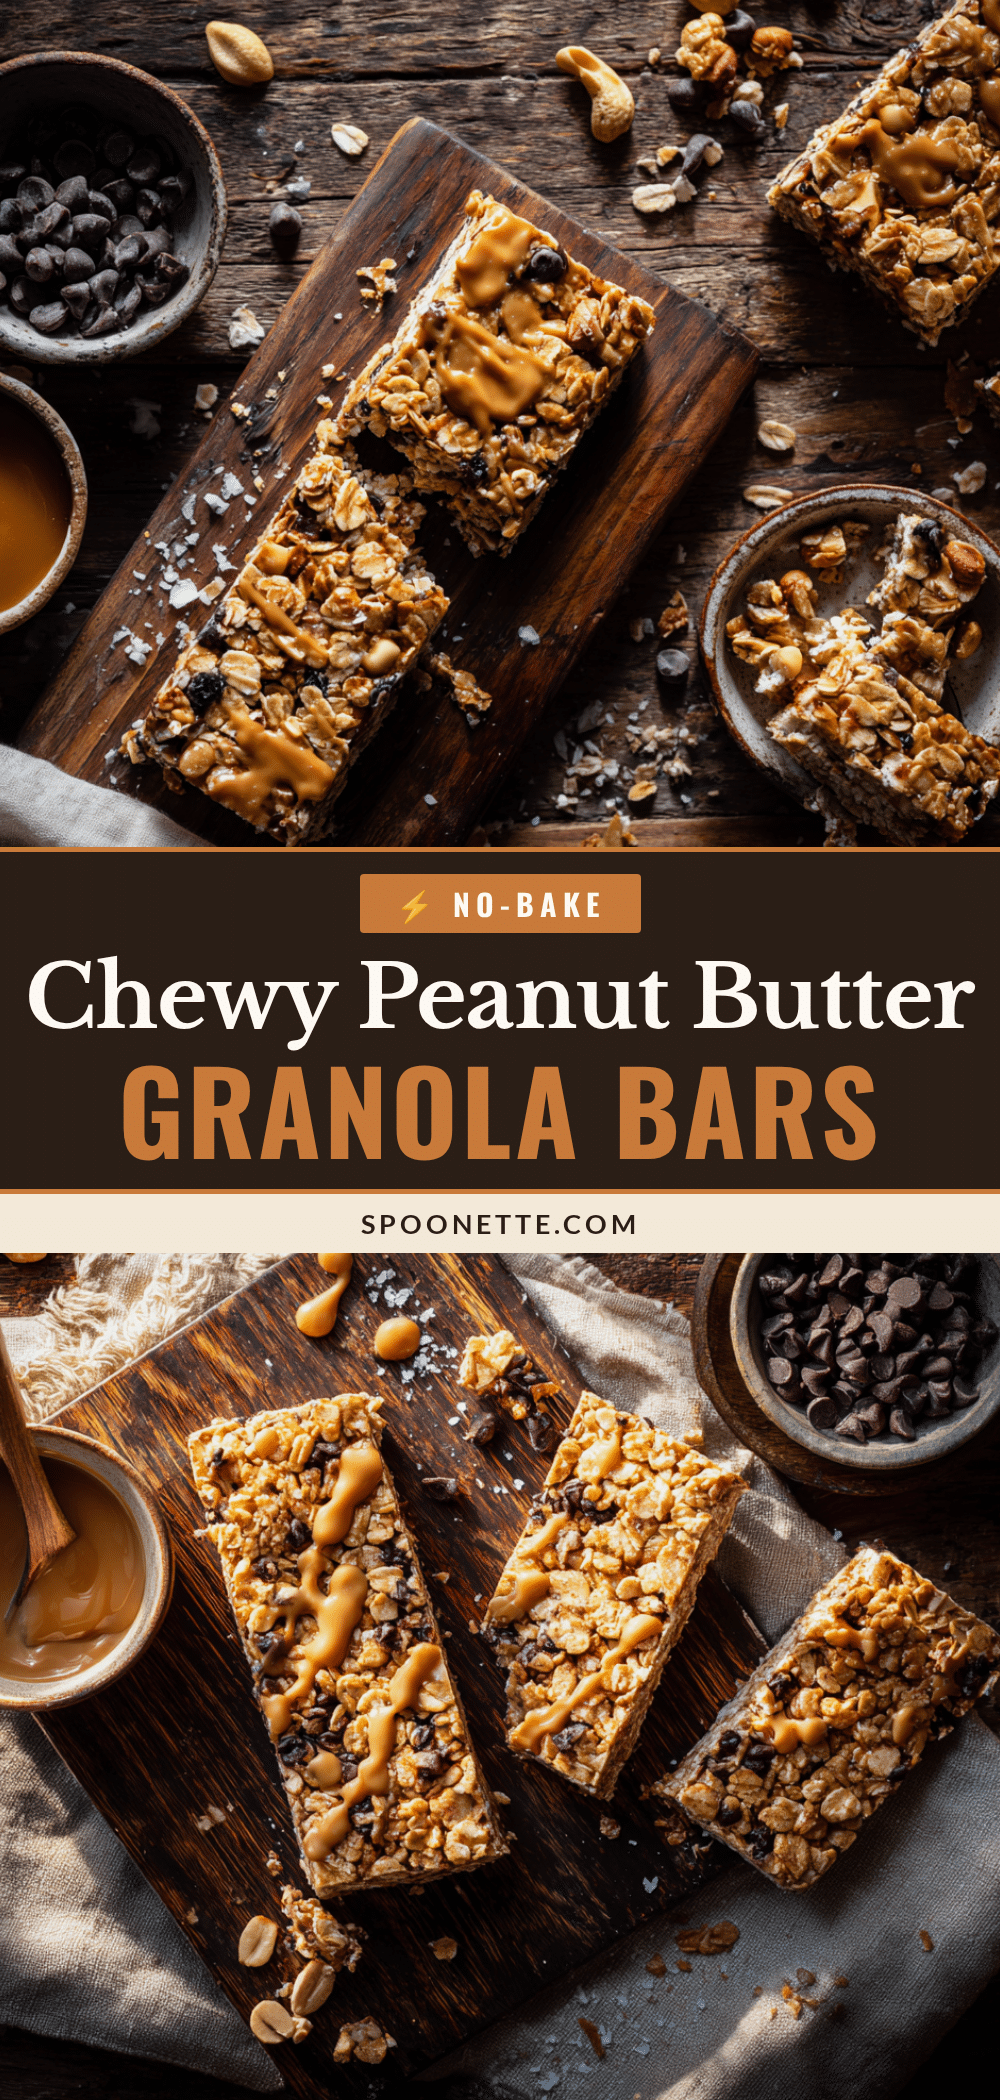
Quick No-Bake Peanut Butter Granola Bars: Easy 5-Minute Recipe
These quick no-bake peanut butter granola bars come together in about five minutes of active time and require no oven. Made with pantry staples like peanut butter, honey, and oats, they are chewy, salty-sweet, and perfect for meal prep, kid-approved, and endlessly customizable.
- Prep Time: 5 minutes
- Cook Time: 0 minutes
- Total Time: 2 hours 5 minutes (includes chilling)
- Yield: 12 servings 1x
- Category: Snack
- Cuisine: American
Ingredients
- 1 cup creamy peanut butter
- ½ cup honey
- 2 cups old-fashioned rolled oats
- 1 cup crispy rice cereal
- ½ teaspoon salt (if peanut butter is unsalted)
- 1 teaspoon vanilla extract
- ½ cup mini chocolate chips (optional)
- ¼ cup chopped peanuts (optional)
- ¼ cup dried cranberries or raisins (optional)
- 2 tablespoons flaxseed or chia seeds (optional)
Instructions
- Line an 8×8-inch baking pan with parchment paper, leaving overhang on two opposite sides.
- In a microwave-safe bowl, combine peanut butter and honey. Microwave for 20-30 seconds until soft and stirrable. Stir until smooth.
- Stir in vanilla extract and salt (if using).
- In a large mixing bowl, toss together rolled oats and crispy rice cereal until evenly distributed.
- Pour the peanut butter-honey mixture over the dry ingredients. Fold together until every oat and rice puff is coated. If using optional mix-ins, fold them in now.
- Spoon the mixture into the prepared pan.
- Place a piece of plastic wrap or wax paper over the mixture, then press down firmly and evenly using your hands or the bottom of a flat measuring cup until compact.
- Chill in the refrigerator for at least 2 hours (or overnight for best texture).
- Use the parchment handles to lift the block out of the pan. Place on a cutting board and cut into 12 bars (or 16 smaller ones) with a sharp knife. Wipe knife clean between cuts for neat edges.
Notes
Don’t use natural peanut butter that separates into oil and solids unless stirred very well. Press the mixture firmly to prevent crumbly bars. Chill overnight for best texture. For vegan version, use maple syrup instead of honey. For nut-free version, use sunflower seed butter and certified nut-free oats.
Nutrition
- Serving Size: 1 bar
- Calories: 220
- Sugar: 14
- Fat: 11
- Saturated Fat: 2
- Carbohydrates: 26
- Fiber: 3
- Protein: 7
Keywords: no-bake granola bars, peanut butter granola bars, easy snack, healthy snack, meal prep, kid-friendly, gluten-free option, vegan option



