Love this? Save it for later!
Share the inspiration with your friends
Introduction
“You won’t believe this only needs three ingredients,” my friend Jenna said, waving a spatula like it was a magic wand. It was a rainy Saturday afternoon, and we’d just realized the local ice cream shop was closed. Honestly, I was skeptical—no-churn ice cream that tastes like the real deal? But as Jenna scooped that first creamy bite of her homemade cookies and cream ice cream, I was hooked. The texture was silky, the flavor spot-on, and the best part? No fancy equipment or endless waiting.
Maybe you’ve been there—craving ice cream but dreading the churn or the long ingredient list. This easy 3-ingredient no-churn cookies and cream ice cream is exactly the kind of recipe that surprises you by how simple it is. I mean, it’s not just quick, it’s downright foolproof. I remember juggling a cracked bowl and a toddler’s urgent snack request while whipping this together, and it still turned out perfect. That’s why this recipe stuck with me—it’s comfort food that’s easy enough for any day of the week, yet special enough to impress unexpected guests.
So, let me tell you how this little recipe became a staple in my kitchen. It’s creamy, dreamy, and honestly, the kind of treat that makes you pause and savor every spoonful. If you love cookies and cream but hate complicated recipes, this one’s for you.
Why You’ll Love This Recipe
I’ve made plenty of ice cream recipes, but this easy 3-ingredient no-churn cookies and cream ice cream truly stands out. It’s tested, family-approved, and honestly, one of those recipes I keep coming back to when I want dessert without the fuss.
- Quick & Easy: Ready in under 10 minutes, perfect for those last-minute sweet cravings or spontaneous dessert plans.
- Simple Ingredients: Just heavy cream, sweetened condensed milk, and crushed cookies—you probably have these in your pantry right now!
- Perfect for Any Occasion: Whether it’s a casual weekend treat or a crowd-pleasing dessert for potlucks, this ice cream fits right in.
- Crowd-Pleaser: Kids, adults, picky eaters—you name it, everyone loves the familiar cookies and cream flavor.
- Unbelievably Delicious: The cookies add a satisfying crunch, while the creamy base melts in your mouth, creating that nostalgic ice cream shop vibe.
This isn’t your average cookies and cream ice cream. The no-churn method means you get rich, creamy texture without needing an ice cream machine. Plus, the crushed cookies mixed in at the perfect moment keep their crunch without turning soggy. Honestly, it’s the kind of recipe that makes you close your eyes after the first bite and smile.
What Ingredients You Will Need
This recipe uses simple, wholesome ingredients to deliver bold flavor and satisfying texture without any fuss. You don’t need to hunt for anything exotic—these are mostly pantry staples, perfect for whipping up dessert on a whim.
- Heavy Whipping Cream (1 cup / 240 ml) – The backbone for that creamy, smooth texture. I like using Organic Valley’s heavy cream for its richness.
- Sweetened Condensed Milk (1 can, 14 oz / 396 g) – This adds sweetness and helps the ice cream set without churning. Eagle Brand is a reliable choice here.
- Chocolate Sandwich Cookies (about 15-20 cookies) – Crushed but not pulverized, so you get those perfect chunks. Oreo is the classic, but any sandwich cookie works. For a twist, try mint-flavored ones!
Substitution Tip: If you want a dairy-free version, swap the heavy cream for canned coconut cream (chilled) and use sweetened condensed coconut milk. For gluten-free, look for gluten-free sandwich cookies or crush your favorite gluten-free cookies instead.
Equipment Needed
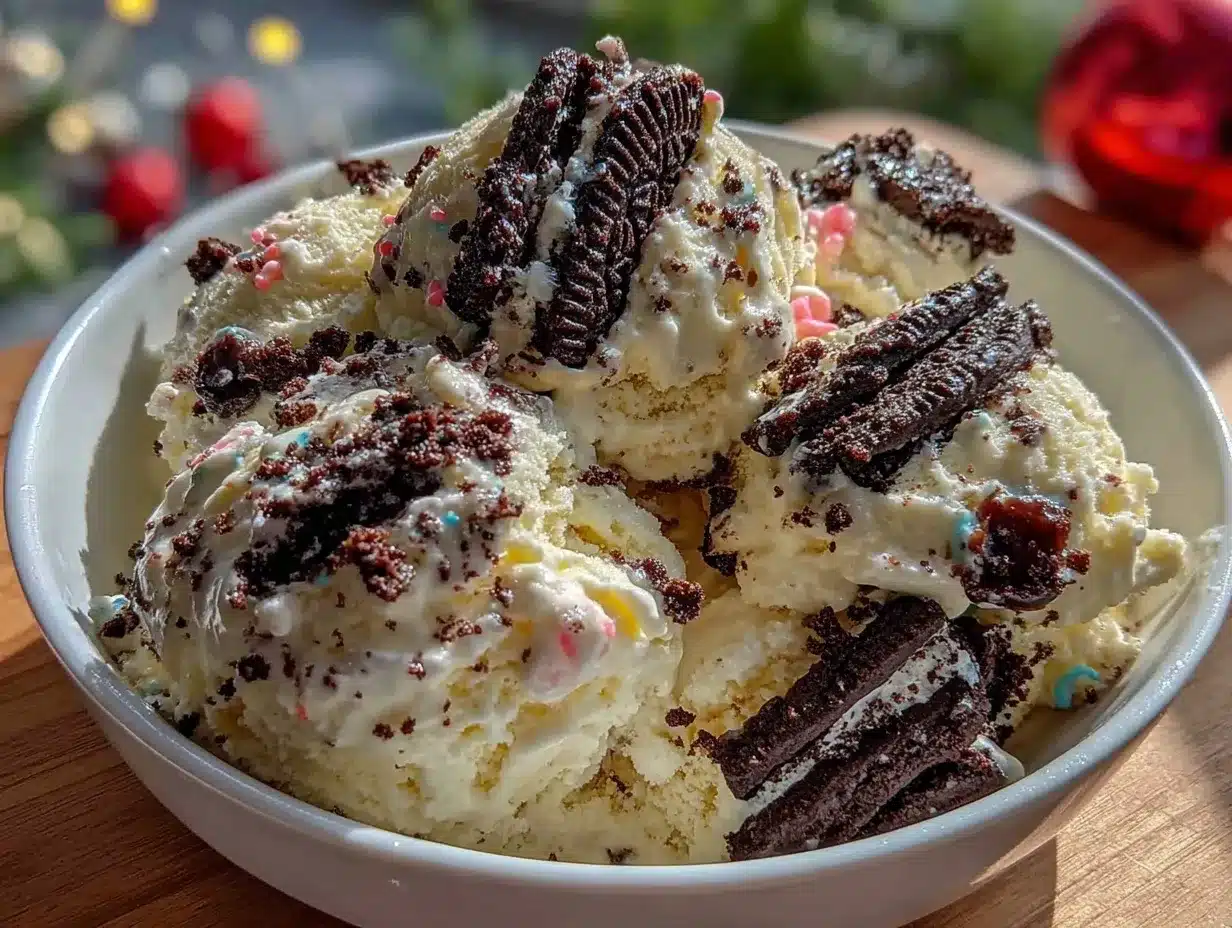
- Mixing Bowl: A large bowl to whip the cream. Glass or metal works best—plastic can hold onto grease and affect whipping.
- Electric Hand Mixer or Stand Mixer: Essential for whipping the cream to stiff peaks. You can try whisking by hand, but it’s a workout and less consistent.
- Spatula: For folding the sweetened condensed milk and cookies without deflating the whipped cream.
- Freezer-Safe Container: A loaf pan or any airtight container to freeze the ice cream. I prefer glass for easy scooping and no freezer odors.
- Measuring Cups & Spoons: For accuracy, especially with the cream and condensed milk.
If you don’t have an electric mixer, a whisk and a little patience can work, but trust me, the mixer saves time and effort. Also, keep your mixing bowl and beaters chilled for better whipping results.
Preparation Method
- Chill Your Tools: Place your mixing bowl and beaters in the fridge for about 15 minutes before starting. Cold tools help the cream whip better and faster.
- Whip the Heavy Cream: Pour 1 cup (240 ml) of heavy whipping cream into the chilled bowl. Using a hand mixer on medium-high speed, whip until stiff peaks form—about 3-5 minutes. You’ll know it’s ready when the cream holds a firm peak that doesn’t flop over when you lift the beaters.
- Fold in the Sweetened Condensed Milk: Gently add the entire 14 oz (396 g) can of sweetened condensed milk to the whipped cream. Use a spatula to fold the two together carefully—don’t overmix or you’ll lose that airy texture.
- Prepare the Cookies: Place your 15-20 chocolate sandwich cookies in a sealed bag and crush them into chunks—aim for a mix of small pieces and bigger chunks for texture. You don’t want crumbs, but some fine bits are okay.
- Fold in Cookies: Add the crushed cookies to the cream mixture. Fold gently but thoroughly, making sure the cookies are evenly distributed.
- Transfer and Freeze: Spoon the mixture into your freezer-safe container, smoothing the top. Cover tightly with a lid or plastic wrap to prevent ice crystals.
- Freeze Time: Freeze for at least 6 hours or overnight. The ice cream will firm up nicely without the need for churning.
Pro Tip: If you want to avoid freezer burn, place a piece of parchment paper directly on the ice cream surface before sealing the container. Also, let the ice cream sit at room temperature for 5 minutes before scooping to soften slightly—it makes serving a breeze!
Cooking Tips & Techniques
Making no-churn ice cream is surprisingly simple, but a few tricks can make your cookies and cream ice cream turn out perfect every time.
- Whip Cream to Stiff Peaks: This is crucial for the ice cream’s texture. If it’s under-whipped, your ice cream will be runny; over-whipped cream can turn grainy. Watch closely, and stop when peaks hold steady.
- Folding Gently Matters: When combining whipped cream with condensed milk and cookies, fold with care. Vigorous stirring will deflate the cream, resulting in a dense ice cream.
- Cookie Size is Key: Too big and they’re hard to scoop; too small and they disappear. Crushing cookies in varying sizes keeps nice texture and flavor bursts.
- Freeze Time Patience: I’ve been tempted to dig in early, but the ice cream needs at least 6 hours to set properly. Overnight is best for that scoopable consistency.
- Multitasking: While the ice cream freezes, it’s a great time to prep toppings or a simple sauce, like chocolate drizzle, to amp up your dessert.
Variations & Adaptations
This easy 3-ingredient no-churn cookies and cream ice cream is a great canvas for creativity.
- Mint Cookies: Swap regular chocolate sandwich cookies for mint-flavored ones for a refreshing twist.
- Peanut Butter Swirl: Fold in dollops of peanut butter before freezing for a nutty surprise.
- Dairy-Free Version: Use canned coconut cream and sweetened condensed coconut milk with gluten-free sandwich cookies for a vegan-friendly treat.
- Mixed Cookie Crumble: Combine Oreos with shortbread or chocolate chip cookies to add texture variety.
- Chocolate Chip Add-In: Toss in mini chocolate chips along with the cookies for extra chocolate bursts.
I tried adding crushed pretzels once—surprisingly delicious for a salty-sweet combo that keeps you reaching for more.
Serving & Storage Suggestions
Serve this ice cream straight from the freezer after resting at room temperature for 5 minutes to soften. Scoop into bowls or cones, and consider topping with fresh berries or a drizzle of hot fudge for extra indulgence.
Store leftovers in an airtight container in the freezer. It keeps well for up to two weeks without losing flavor or texture. When reheating isn’t an option, just let it soften a bit on the counter before scooping again.
Flavors tend to deepen after a day or two in the freezer, so sometimes I make it a day ahead to let the cookies soak in the creamy base a little more.
Nutritional Information & Benefits
Per serving (approximate, based on 8 servings):
| Calories | 250 |
|---|---|
| Fat | 16g |
| Saturated Fat | 10g |
| Carbohydrates | 25g |
| Sugars | 22g |
| Protein | 3g |
This recipe is rich and creamy thanks to heavy cream, which provides healthy fats that help keep you full. Sweetened condensed milk adds sugar but also protein and calcium. Cookies add some indulgence but also familiar comfort. For a treat, it balances satisfaction and simplicity.
If you need gluten-free or dairy-free options, the substitutions mentioned earlier keep it accessible without sacrificing taste.
Conclusion
This easy 3-ingredient no-churn cookies and cream ice cream is proof that homemade dessert doesn’t have to be complicated. It’s quick, delicious, and surprisingly satisfying. I love how it turns simple ingredients into a nostalgic treat that feels like a special occasion but is easy enough for any day.
Feel free to tweak it with your favorite cookies or mix-ins—you might find your own signature version! Let me know how your batch turns out or any creative spins you try. Honestly, I can’t wait to hear about your ice cream stories.
So grab those three ingredients, whip up this creamy delight, and treat yourself—you deserve it.
FAQs
Can I use low-fat cream or milk in this recipe?
Low-fat cream won’t whip as well, so for best results, stick with heavy whipping cream. Using milk alone won’t give you the creamy texture this ice cream needs.
How long can I store this no-churn ice cream in the freezer?
Store it in an airtight container for up to two weeks. Beyond that, texture and flavor might start to decline.
Can I add mix-ins other than cookies?
Absolutely! Nuts, chocolate chips, or swirls of caramel or peanut butter work great. Just fold them in gently before freezing.
Do I need an ice cream maker for this recipe?
Nope! That’s the beauty of this no-churn ice cream—it’s made without any special equipment.
How do I prevent ice crystals from forming?
Cover the ice cream tightly with plastic wrap or parchment paper pressed directly onto the surface before sealing the container. This helps reduce ice crystals and keeps your ice cream smooth.
For a similar no-fuss dessert, you might enjoy the simple no-bake chocolate cheesecake or the refreshing easy homemade lemon sorbet I shared earlier.
Pin This Recipe!
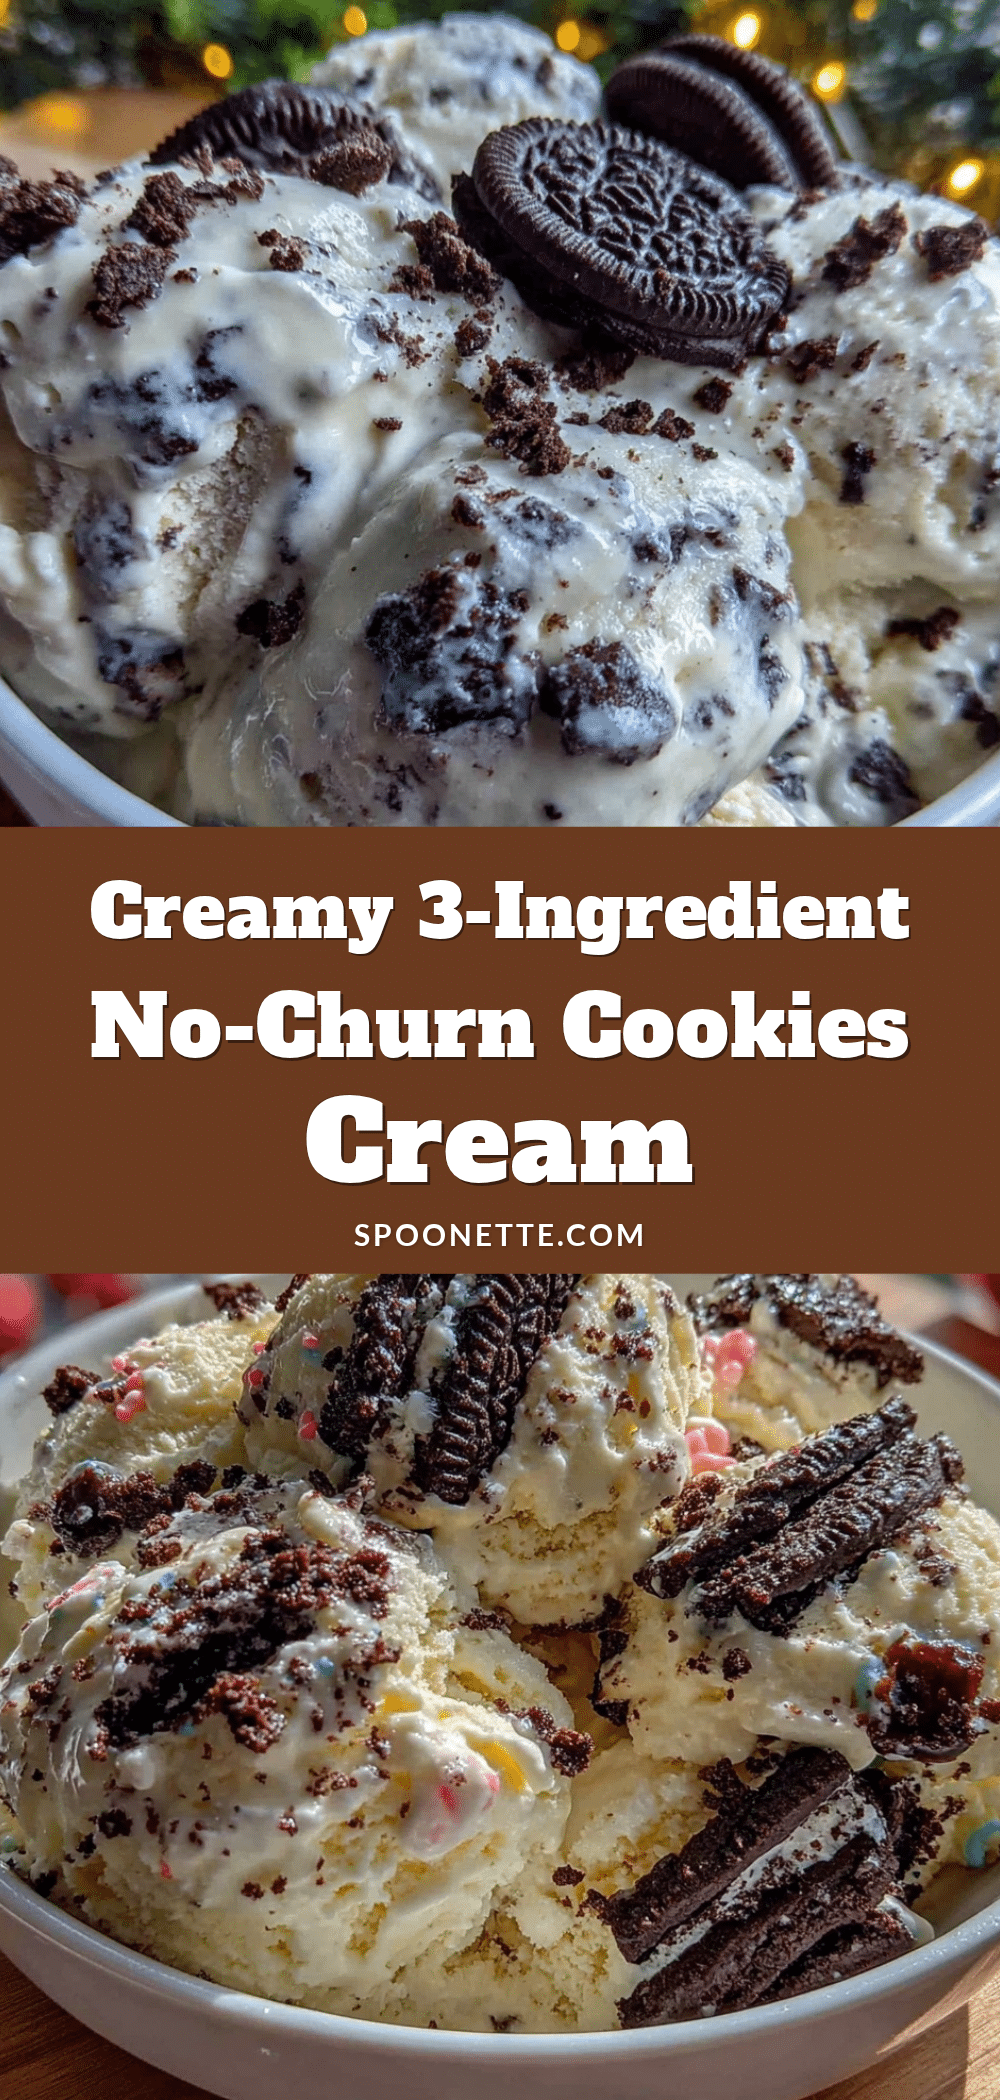
Easy 3-Ingredient No-Churn Cookies and Cream Ice Cream Recipe to Make Perfect Homemade Dessert

A quick and foolproof no-churn cookies and cream ice cream made with just three simple ingredients. Perfectly creamy with crunchy cookie chunks, this recipe requires no special equipment and is ready in under 10 minutes plus freezing time.
- Prep Time: 15 minutes
- Cook Time: 0 minutes
- Total Time: 6 hours 15 minutes
- Yield: 8 servings 1x
- Category: Dessert
- Cuisine: American
Ingredients
- 1 cup (240 ml) heavy whipping cream
- 1 can (14 oz / 396 g) sweetened condensed milk
- 15–20 chocolate sandwich cookies, crushed into chunks
Instructions
- Chill your mixing bowl and beaters in the fridge for about 15 minutes before starting.
- Pour 1 cup (240 ml) of heavy whipping cream into the chilled bowl. Using a hand mixer on medium-high speed, whip until stiff peaks form, about 3-5 minutes.
- Gently fold in the entire 14 oz (396 g) can of sweetened condensed milk using a spatula, being careful not to deflate the whipped cream.
- Place 15-20 chocolate sandwich cookies in a sealed bag and crush into chunks, avoiding pulverizing them into crumbs.
- Fold the crushed cookies gently but thoroughly into the cream mixture, ensuring even distribution.
- Spoon the mixture into a freezer-safe container, smooth the top, and cover tightly with a lid or plastic wrap.
- Freeze for at least 6 hours or overnight until firm.
- Before serving, let the ice cream sit at room temperature for 5 minutes to soften slightly.
Notes
Chill your mixing bowl and beaters before whipping cream for better results. Fold ingredients gently to maintain airy texture. Use parchment paper on ice cream surface before sealing container to prevent ice crystals. Let ice cream soften 5 minutes before scooping.
Nutrition
- Serving Size: 1/8 of the recipe
- Calories: 250
- Sugar: 22
- Fat: 16
- Saturated Fat: 10
- Carbohydrates: 25
- Protein: 3
Keywords: no-churn ice cream, cookies and cream, easy ice cream recipe, 3-ingredient dessert, homemade ice cream, no ice cream maker, quick dessert



